Items to Collect
*Note: Links to products within this post are either links to our website or affiliate links.
*Note: Links to products within this post are either links to our website or affiliate links.
- You
must have the Fairy Tale Dress pattern to be
able to take part in this sew-along. If you have not yet purchased
this, please do so here. This pattern is an instant download and you will have access to download it as soon as your purchase is completed.

- If
you do not have fabric for the project you will want to purchase some.
At the time of this writing we have have lots of fabric kits
available. We
also have lots of nice fabric selections on our website.
 Note: We greatly appreciate your purchase of patterns and kits from us. These purchases help pay for the sew-alongs and allow us to continue to offer them, along with the great prizes we give away. Thank you for your support!
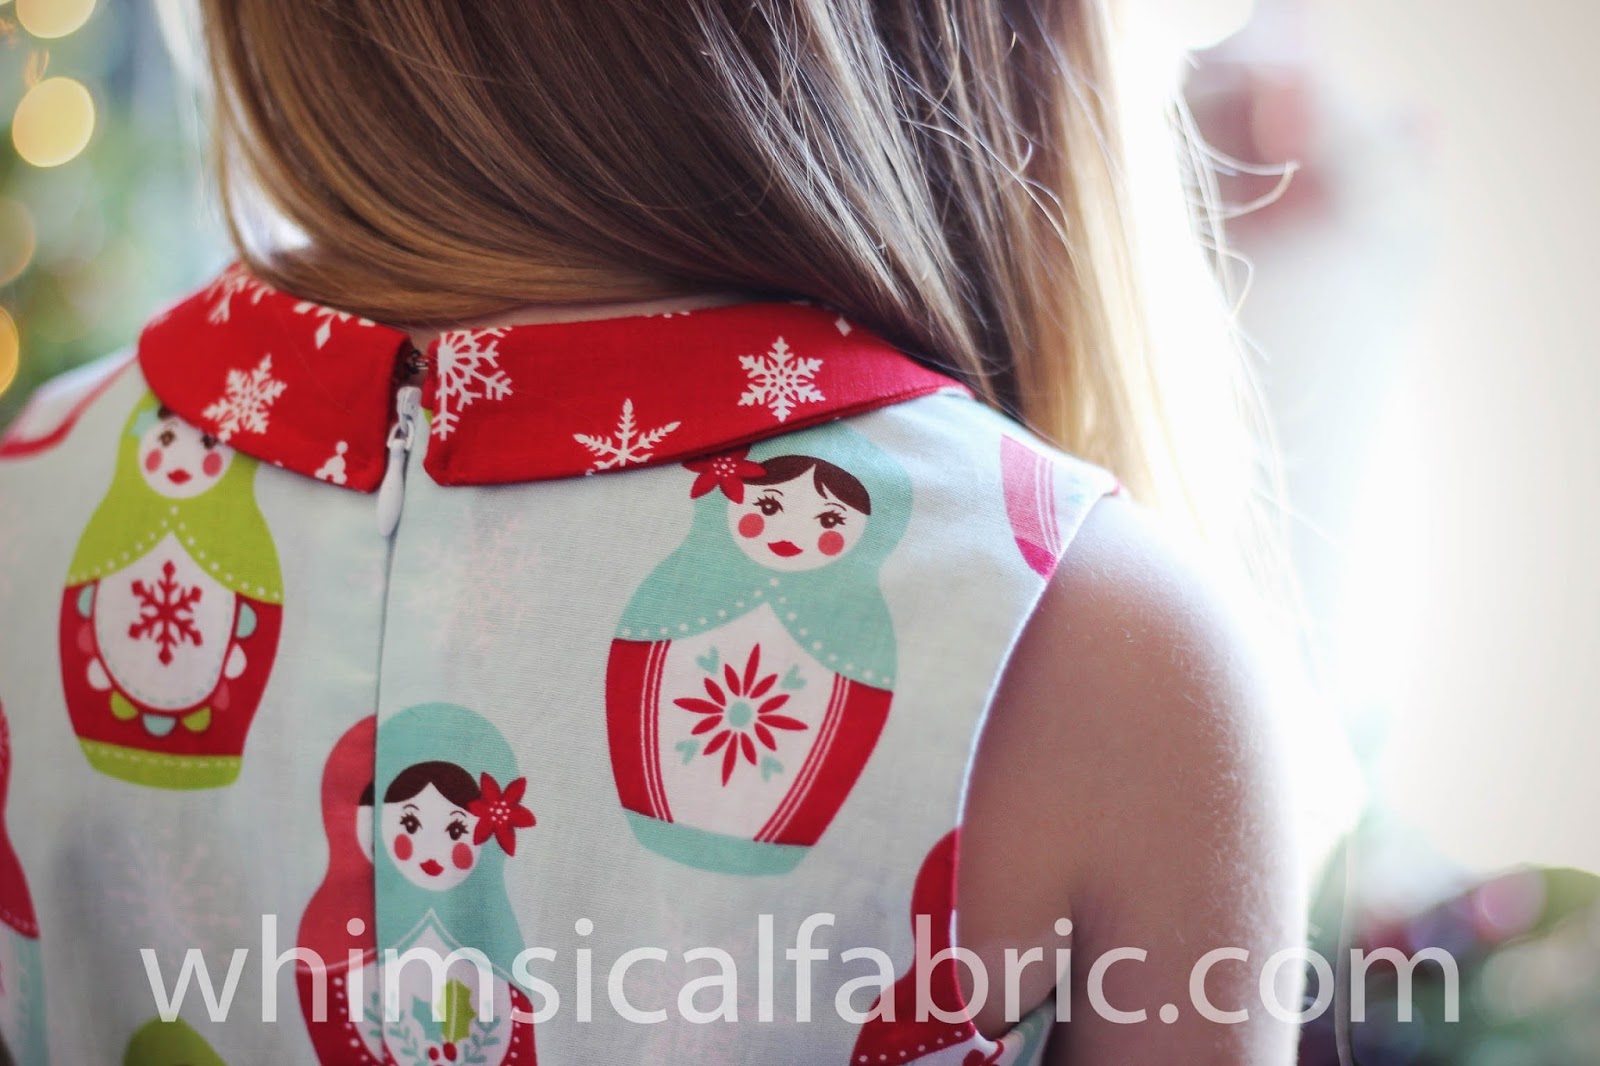
- In addition to the main fabric for the dress, you will want a fabric for the lining, collar, and belt or sash.

- The Fairy Tale dress has an option to add a tulle crinoline between the dress and the lining. The crinoline looks very nice and we are including these steps in the sew-along lessons. Kits all come with enough tulle to create the crinoline. If you did not purchase a kit, please make sure to pick up some tulle.

- Along with your fabrics you will need some fusible interfacing. A ½ yard should be enough. If you have or are purchasing a kit
from us it does include fusible interfacing. If you are not
purchasing a kit you will need to make sure you have some on hand.

- Since the bodice of the Fairy Tale dress is fitted, our first lesson teaches how to make a mulin and fit it to your little girl. We have included white batiste fabric in the kits for this lesson. If you do not purchase a kit, please make sure to pick up some fabric to make a muslin.

- The Fairy Tale dress pattern requires an invisible zipper. Sharon will show you how to cut it down a zipper that is too long in the lessons. Again, our fabric kits all come with zippers. We like to make those kits easy for you. If you are not purchasing a kit from us though, please make sure you have a zipper on hand.

- And
finally, you will need pins, a sewing machine, a good iron (a steam
iron is preferable for sewing), a pair of
fabric shears or a rotary cutter and mat, a quilting ruler, and a fabric marker/pen or chalk.


Optional Items to Collect -
The following items are totally optional.
- All Oliver+S patterns come with a really neat feature. Did you know that the very last page(s) of the PDF is the complete pattern pieces on a wide format page? You can take your file to most any printer and they can print this out for you. This will save you a lot of time, frustration, and tape.

- If you do decide to have a printer print out the large format, you most likely won't want to cut into your pattern. I like
to trace out all my pattern pieces on freezer paper. We will not be teaching this step, but you can read
more about it here. Feezer paper can be bought at most grocery stores (by the wax paper and aluminum foil) or on Amazon.


- Make sure to prewash and preshrink all of your fabrics. I wash my fabrics on warm or hot and then I dry my fabrics in the dryer with no softeners. I always preshrink in this way when I am using fabric for clothing construction. I would hate to work hard on something only to have it shrink and not fit when I was done.
- I also prewash my fusible interfacing to preshrink it. This will prevent any wrinkles or waves that might arise when you iron or launder your garment. To prewash your interfacing simply soak it in a sink for about 5 minutes in very warm water. You don't want the water too hot to avoid removing the iron-on finish, but you do want it warm enough to shrink the interfacing. After soaking, just pat it with a clean towel and hang it to dry.
- You DO NOT need to prewash your mulin fabric or your tulle.
- Press all of your fabrics (but not your fusible interfacing) well. I try to do this straight out of the dryer so that the wrinkles come out easier.
- Make sure to download the pattern PDF onto your computer, tablet, or smart phone. Your pattern will be located in your order history on our site. Log into your account, then click on the My Account at the very top right hand side of our site. You will then see a list of your orders. Click on the correct order and a download link will be available.
- If you are having a printer print your last page, don't wait to the last minute to have that done. Some printers have a couple of days wait for such things. orIf you are printing the pattern yourself, please make sure to have printed it and taped it together before lesson 1. We have not included this part in the lesson. For help in printing and taping, please see this previous lesson - Class Picnic Lesson 1.
- Don't forget to join our Whimsical Fabric & Me Group so you can post your progress pictures. Everyone who posts completed lesson pictures, on time, to the Facebook Group, will be entered into drawings to win some awesome prizes! Please note that this is a different group then what we have hosted the sew-alongs in the past. Please make sure to join this group so you don't miss out if you haven't already.
The Prizes
At the close of the Sew-Along we will be giving away 4 Oliver+S PDF patterns as prizes. Winners will be able to pick which pattern they desire form any of the Oliver+S patterns we stock. It's the perfect chance to snag some of these awesome patterns to sew in the new year. Make sure to join the Facebook Group so you have a chance to win! Each prize pattern has up to a $16.95 value.

We will give out entries for the prize pool drawing during the sew-along. There are three different ways to earn entries into the prize drawing.
- Each day that you turn in an assignment on time you will receive 1 entry per item you create. Thus, the more items you make, the more entries you will receive.
- We will also award 1 entry for purchasing the Fairy Tale pattern from us using the coupon code SewAlongSavings or from the Sew-Along #29 Category.
- In addition, if you purchased a kit from the Sew-Along #29 Category we will award you another 2 entries for each kit purchased. *Note: Patterns purchased within the kit count as pattern purchases outlined in step #2 above.
Danielle Storm
www.whimsicalfabric.com
No comments:
Post a Comment