** If you would like to see an image on our blog in a larger format, just click on it to enlarge.
Note: Links to products within this post are either links to our website or affiliate links.
Welcome to Day 2 of the Ellie Inspired Sleepy Bear PJ sew along!
If you do not have your pattern yet you can purchase it from the shop. It is a PDF so you can print today and be ready to start. You can purchase a kit as well from the shop. It has everything you need, other than thread, to make a set of cozy pjs!
Sleepy Bear PJ Kit


Happy Sewing,
Before you begin today's lesson please read all of the pattern
directions first. During today's lesson we will be sewing the pants together.

1. First we will start by sewing the pockets for the back of the pants.
The back pockets are optional. Start by placing two of the
pocket pieces right sides together. There should be two pockets pieces
for each pocket, for a total of four pockets pieces.

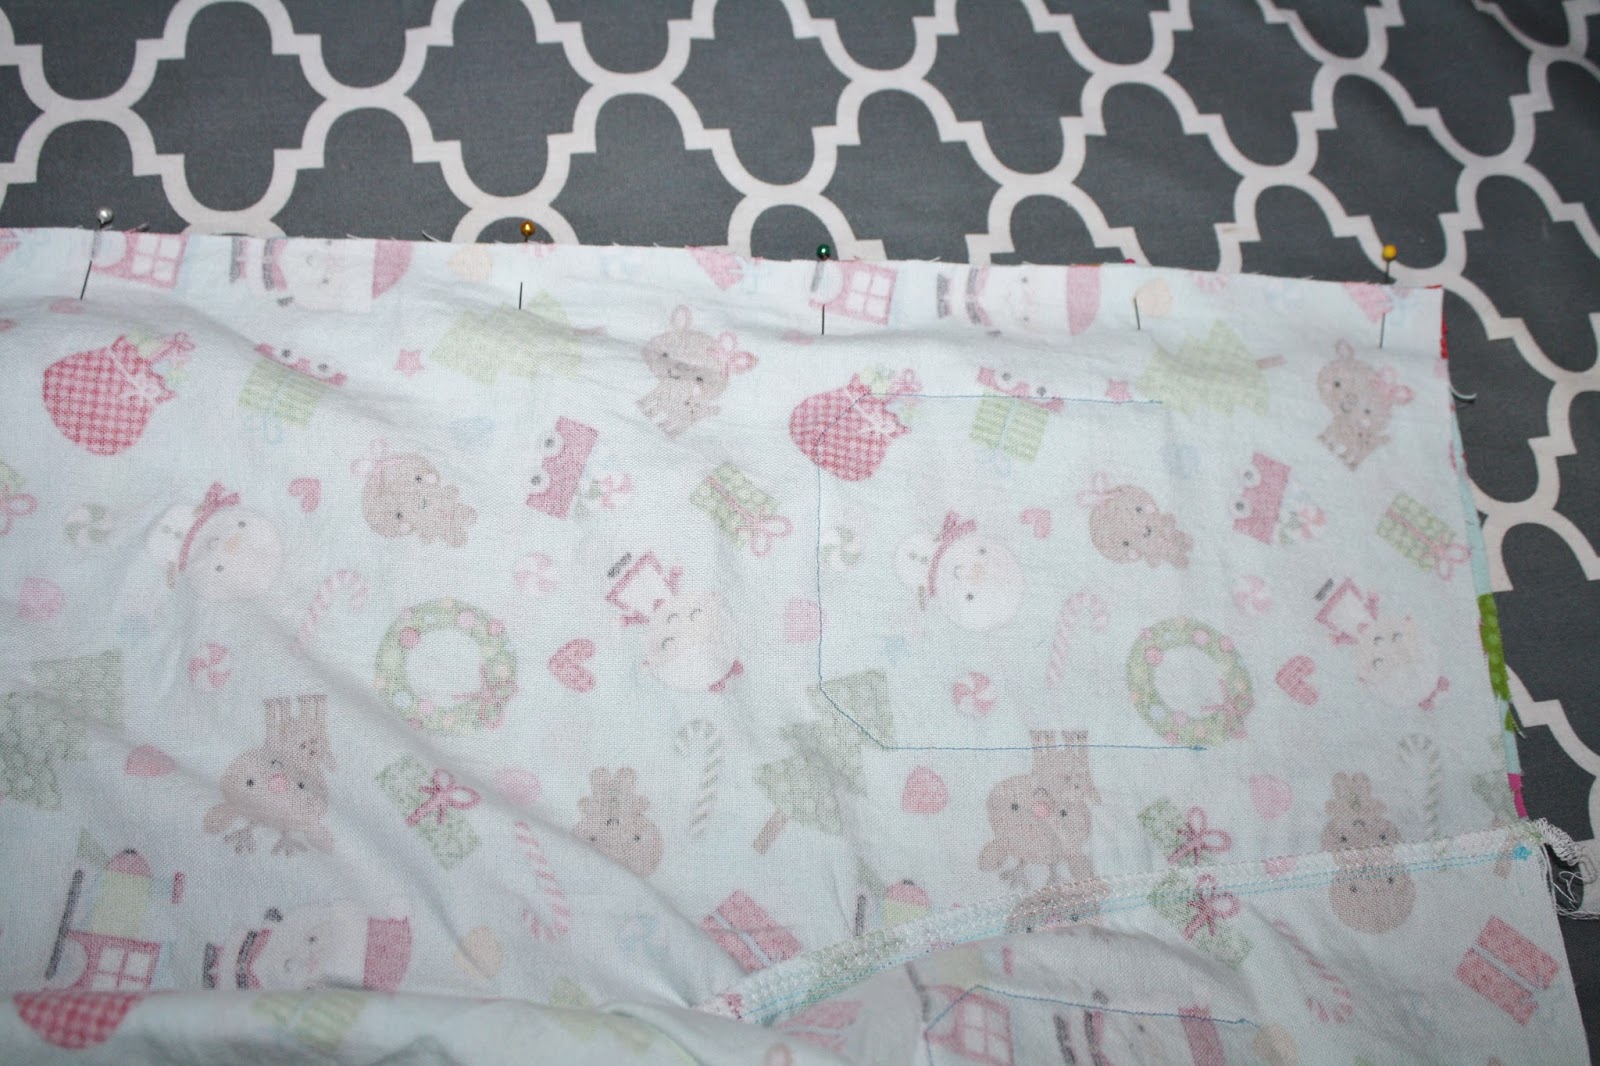
2. This is a tip that I like to use when I sew anything together in this
manner. Mark your two inch opening for turning. Then, mark your ¼" seam in a L
shape. (See picture below).

3. Pin the pockets together.

4. Stitch around the pockets starting at the very edge of your fabric. Stitch along the lines of the L you just drew, pivoting at each of the corners, and then back along the other L, ending right at the edge of your fabric. You can see better with the photo below
where the stitching should be at. It will make for a nicely turned
pocket. The seam allowance on the opening will fold to the inside of
your pocket very easy now.

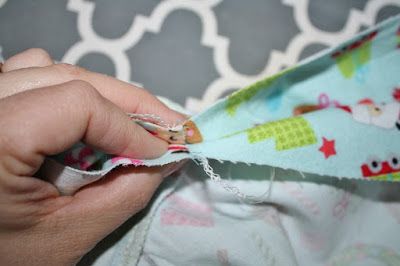
5. Trim your corners and turn your pockets right side out. Press. Repeat with second pocket.

See how nicely the open seam turns to the inside?

6. We will now place our pockets on the back of the pants. For this part
I just eyeball it to decide where it looks best. Consider the top waist band fold
lines for this part as well. When I like where I have the first pocket, I measure how far down from the top edge and how far in from the sides, so that I can place the second pocket in the
very same place on the other back pant leg. Pin both in place.

7. Sew around the pocket's two sides and bottom. I like using a 1/8" seam on this part.

8. Taking our back pant legs, place them right sides together and
pin at the rise (or curved part) only. Sew with a ¼" seam.

9. To help reinforce the bum area I like to sew a second stitch line
just inside my first seam line. Finish your seam, then press. Repeat
with the front pant pieces.

10. Taking your pants, with the bottom of the rise seam in your hands,
place the front and back pants together with the right sides facing,
match your seams. Pin in place. I like to place one seam to the left
and the other seam to the right to help "lock" my stitches as I sew.

11. Finish pinning the inside of the pants. Sew in place. Finish your seam.

12. Press your seam to the back of the pant legs.

13. We are going to take our pants and place them right sides together
again and pin the outside seams. Sew in place, then finish the seam.
Repeat with second side.
14. Press the seams well.

15. To make the waist band casing for the elastic press the top
raw edge to the wrong side a ¼", then again 1¼".

16. Stitch the waist band around but leave a 2" opening in the back of the pants to insert the elastic.

17. To cut the elastic measure your child's waist and then subtract 1"
from that. Cut your elastic to this measurement. I like to use an old
fashion safety pin to thread my elastic through.

18. I also like to pin the very end of my elastic so it does not come through the casing when I am threading the elastic through. Be careful not to twist your elastic.

19. Lap your elastic over each other about 1", pin in place.

20. Sew the elastic together in a rectangle shape.

21. For the back of the pj pants I like to place a piece of velvet ribbon so
that my kids and daddy can tell the back from the front. Cut the ribbon
about an 1" long and fold the ribbon in half. Then, place in the back
opening before you stitch it closed.

22. To make the hem, take the bottom of the one pant leg and press it up a ½", then another ½". Stitch in place. Repeat with second
pant leg.

Now we have a cute pair of pj pants!!

With some cute back pockets!

See you again tomorrow when we will sew the top!
Sharon
Sharon
*If you would
like to earn entries into the prize drawing, please make sure to submit
a photo of your completed Lesson Two to this Facebook Album by 12:00 noon CT, Thursday, December 17th. If you
have any questions the Facebook Group is a great place to ask.
Happy Sewing,
Danielle Storm
No comments:
Post a Comment