Welcome to the final day of the Sarah Swing Top and Tess Twirl Skirt sew along!! Today we will sew the swing top to finish up our outfits!
** If you would like to see an image on our blog in a larger format, just click on it to enlarge.
NOTE: Be sure to read the pattern instructions before you start on today's lesson. You will need it along with this lesson to sew the top. Also, the pattern is sewn in a 1/4" seam allowance unless otherwise noted.

Assembling The Top
Note: This step is not in the pattern, but I always use interfacing when making buttonholes to re-enforce the fabric. Open up one of the back bodice pieces with the wrong side of the fabric facing up. Cut a piece of interfacing 1½" wide by the height of the back bodice. Fuse to the outer side of the back bodice where the back center seam is located. Repeat with second back bodice piece.

Transfer the front and back bodice pattern markings onto the outer side of the main bodice fabric.
Fold the back bodice pieces in half with wrong sides together, creating a crease were the center back is located.
Place both of the back bodice pieces side by side with the lining side up. Fold the top lining shoulder down and pin it out of the way for sewing the next step.

Flip both of the back bodice pieces over so the main side is facing up.

Take your two main bodice front pieces and pin the shoulders to the main back bodice shoulders with right sides together. Stitch.

Now, flip over both bodice pieces and lay them out in front of you with the lining side up. (This will be the back bodice lining side.)
Next, remove the pin on the shoulder. Pin the lining front bodice to the lining back bodice with right sides together at shoulders. Then stitch.
Press both the main shoulder seams and the lining shoulder seam allowances open.


Clip into curves and trim seam allowances. Turn and press.

This is what one side will look like. Repeat steps with second bodice piece.

Lay the bodice pieces out with the main side facing out and the bodice pieces as if they were finished. (This will make pining the right spots easier.)
Take the left side seams and open them up with the bottom of the armhole seam matching on each piece and pin together with right sides facing together.

Stitch the side seam. Then press the seam open.

This is what the left side will look like when done. Repeat steps with right side.

Top stitch the right side of the bodice pieces around the armholes. I find it easier to stitch the armholes by flipping the main side of the bodice to the inside and stitching onto the main side.

Next, stitch around the neck opening on bodice pieces.

Adding Ruching
Take a ruching strip and fold over one edge 1/4". Then again another 1/4".

Take the wearer's left-side bodice piece (this will be the under bodice piece.) Pin the folded ruching strip edge to the shoulder seam.

Pin the ruching strip down. Continue to pin the ruching strip to about 1" past where the front bodice pieces overlap. Fold over the bottom edge of the ruching strip a 1/4" then again a 1/4".

Stitch this in place by stitching over the gather stitch in the center.

Repeat with left side, but bring the ruching strip all the way down to the bottom raw edge. (Do not fold over the bottom edge of the ruching strip, though.) Stitch ruching in place.

Place the wearer's right side over the wearer's left side, matching the center front markings you transferred from the pattern piece. Pin the two bodices together. Start pinning where the two bodice pieces overlap. (where I am pointing in the picture) This will be your starting point for stitching.

Stitch the two bodices together by sewing over the center of the wearer's right side ruching strip. Stitching right on top of the gathering stitches and stopping right after the two sides meet at the front-center neck line.

Adding The Skirt
Now, taking the top's skirt pattern piece, mark the top center of the skirt. Take the bottom edge and press under a 1/4" then again another 1/4". Stitch in place. (This will be the long edge not the short edge.) This will form the top's bottom hem.

Take the back center edge (the two short edges) and press under 5/8" then another 5/8" on both sides. Stitch in place.

Run a gathering stitch across the top of the skirt. Then, matching the center of the front bodice and the center of the skirt, pin right sides together with the raw edges of the top of the skirt matched up to the bodice bottom edge. Gather the skirt up to fit the bodice and pin well.

Stitch with a 1/2" seam allowance.

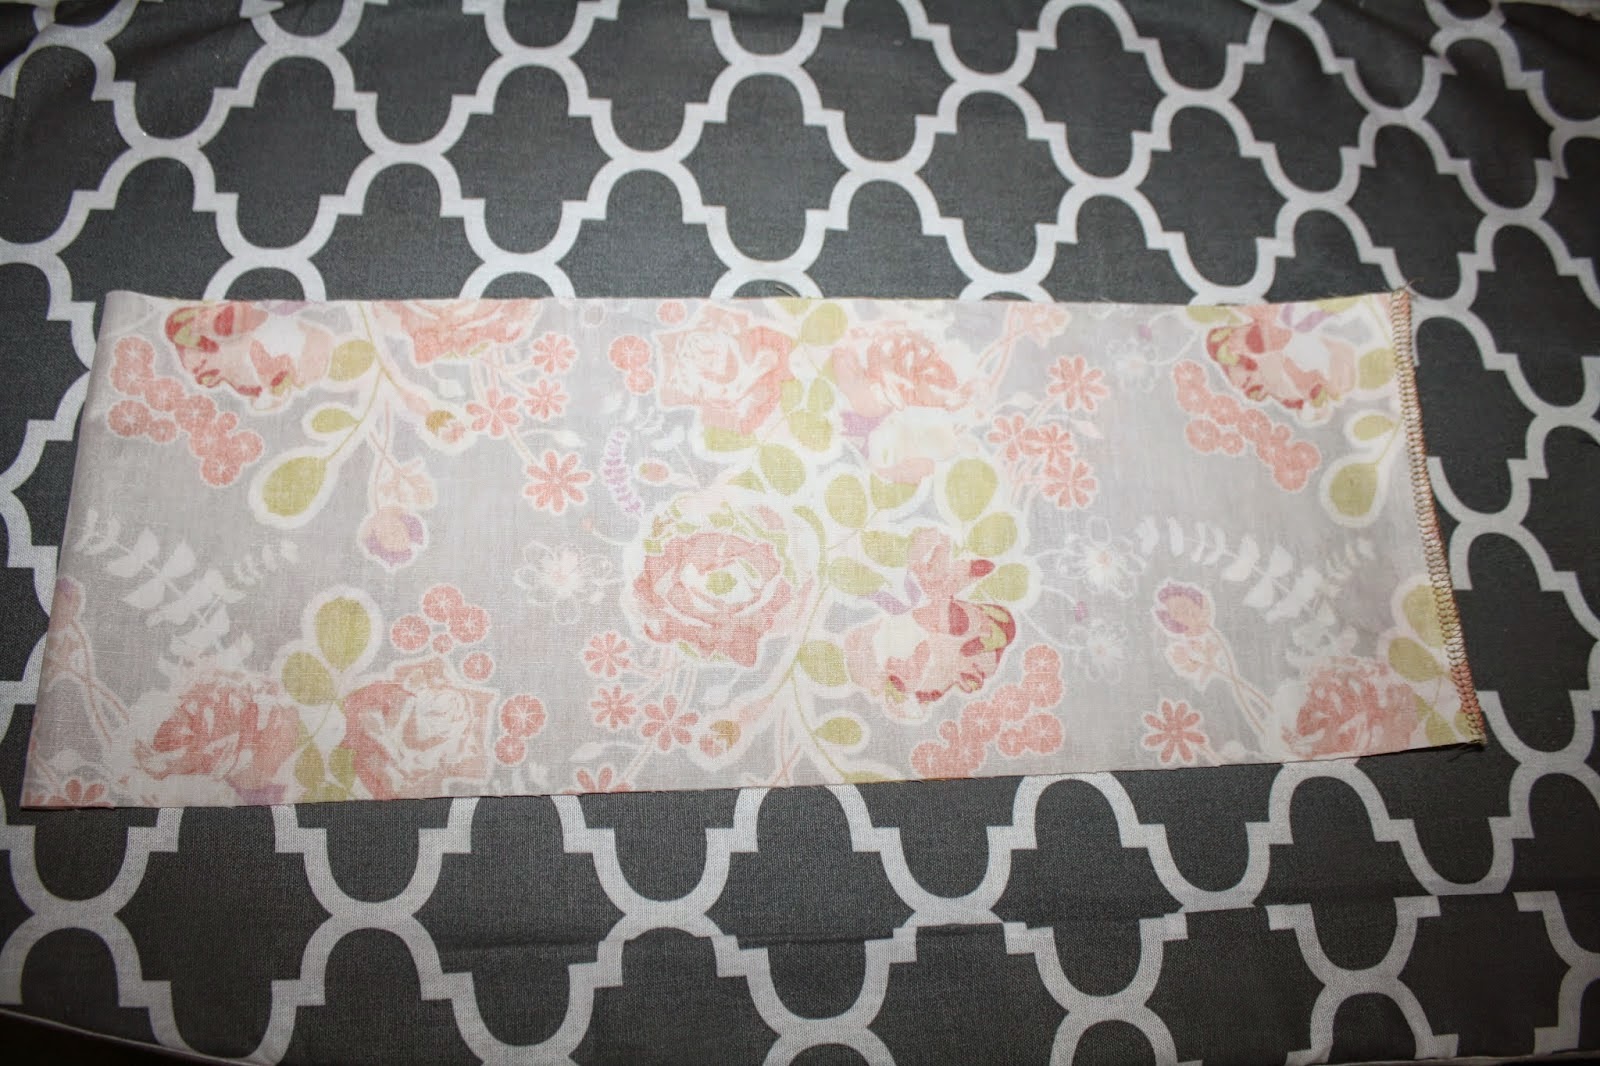
Finish the seam edges. (I used my serger.) Leave a tail of thread at both ends.

I then thread the serge thread tail ends through the stitching for a nice neat finish on the inside.

Press this seam allowance up towards the bodice.

Stitch the seam allowance in place by top stitching all the way around.

Buttons
Now, onto buttonholes! Measure up from the bottom 1/2" and mark.
Then, from the top a 3/8" and mark. (Now, on mine I used larger buttons, so I measured down a 1/2" from the top of the bodice .)

Measure the distance from the top button hole to the bottom buttonhole marking and the center of this for the center buttonhole. (If you are making the larger size you will need to place two buttons in between the top and the bottom markings.)
Stitch the buttonholes. Then cut them open. Tip: I place a straight pin at one end of the buttonhole just before the stitching, so when I cut the buttonhole open I am sure not to cut into my stitching.

To mark the placement for the buttons, place the back bodice pieces over each other, matching the center back markings. Then, mark the outer place of the buttonhole. Finally, sew your buttons on.


* If you would like to earn entries into the prize drawing, please make sure to submit a photo of your completed lesson four to this Facebook Album by 12:00 noon CST, Tuesday, June 2nd. If you have any questions the Facebook Group is a great place to ask.
Happy Sewing,
Danielle Storm
www.whimsicalfabric.com


