Welcome to our third day of the Sarah Swing Top and Tess Twirl Skirt sew along!

** If you would like to see any of the images larger on blog, just click on them to enlarge.
Today we will be sewing our skirts. Since we made all our ruffles yesterday this skirt will sew up fairly quickly today.
Note: Be sure to read the pattern first before starting today's lesson. All seam allowances are a 1/4" unless stated.
Assembling The Skirt
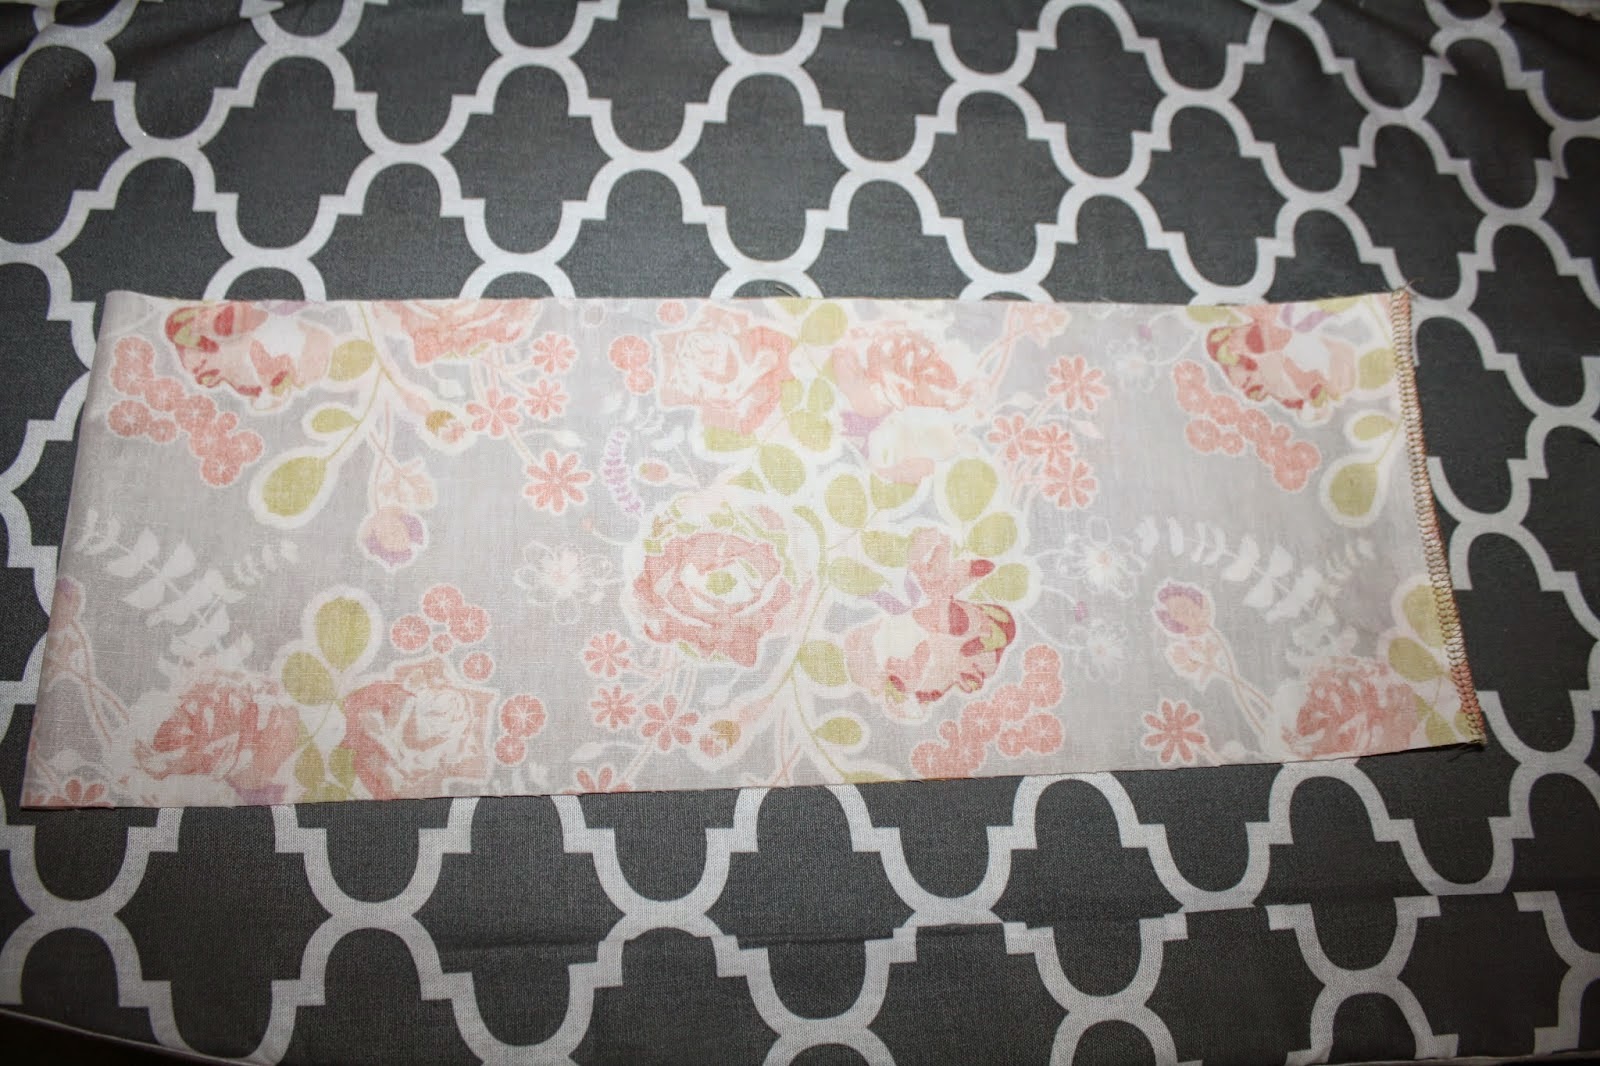
Take your top tier skirt piece and sew the two short edges together.
Press the top raw edge of this skirt tier under a 1/4" then again an 1". (make sure you have the top facing up if you have a directional print) Stitch around to form a casing for elastic but leave a 2" opening to insert the elastic. You can insert your elastic at this point but I prefer to wait because I think it is easier to sew the ruching strips on with the top not having the elastic in it yet.

In the pattern it calls to mark your tier before you sew the top elastic casing but marked mine afterwards. Mark the skirt at all four quarter places, with the seam being your first mark. I have pins in so you can see them better. This will help you to adjust all these skirt tier gathers evenly. I will refer to these as quarter marks in the rest of the steps.

Take your second tier and sew the two short sides together again. Then, on both the top and the bottom (make sure you have the top facing up if you have a directional print) and starting a the seam, mark all four quarter spots again. Run a gathering stitch across the top only for this tier.

Match up the quarter marks on the top of the second tier to the marks on the bottom of the top tier and adjust the gathering threads. Stitch in place. Then finish this seam allowance.

Press the seam allowances up towards the top of the skirt.

Take the (2) third tier skirt pieces and sew them together at the two short ends to make a continuous loop. Mark the quarter spots on both top and bottom of skirt tier using the side seams as the two of each of the quarter marks.
Run a gathering stitch across the top only for this tier.
Match up the quarter marks on the top of the third tier to the marks on the bottom of the second tier and adjust the gathering threads. Stitch in place. Then finish this seam allowance. Press the seam allowances up towards the top of the skirt.

Take all your bottom ruffle pieces and sew them together at short ends in one big continuous loop, be care that the strips do not get twisted as you are sewing them all together.

Take the bottom ruffle and press in half the length ways with wrong sides together. You will have a skinny long ruffle strip now. Mark all your quarter marks on the top raw edge of the ruffle. Then, run a gathering stitch across the top.

Match the ruffle quarter marks to the bottom tier of the skirt quarter marks and gather the threads evenly. Pin in place then stitch. Finish the seam allowances then press seam up toward the top of the skirt.

Adding The Ruching
First ruching strip: Starting at the side seam, leaving a bit extra of the strip, place the ruching strip center (gather threads mark the center of these strips) just slight over the seam. Work this around the skit and pin as you go. This is why I had sewn the strips together yesterday. So I only have the one unfinished edge of the ruching strip. if you left all your strips separate you will need to repeat the next step twice on both sides of the skirt.

Take the one end of the ruching strip and fold over by 1/4" then again by a 1/4". Pin this side down.


Repeat with the other end of the ruching strip and pin it directly over the first fold ruched strip. I have my under one sticking out to show you better but be sure to that the top end is placed nicely over your bottom one.

Sew the strip down by stitching directly over the gathering threads, down the center of the strip.

Repeat this step with each set of ruching strip for each tier.

Finishing
Lastly, measure your little girl's waist and cut the elastic 1" shorter. Then, thread it through the elastic casing on the skirt. Stitch the two ends of elastic together. Then, stitch the elastic casing closed.

And your skirt is done! Come back tomorrow as we create the top.
Sharon
* If you would like to earn entries into the prize drawing, please make sure to submit a photo of your completed lesson three to this Facebook Album by 12:00 noon CST, Monday, June 1st. If you have any questions the Facebook Group is a great place to ask.
Happy Sewing,
Danielle Storm
www.whimsicalfabric.com
No comments:
Post a Comment