Before we begin the sew-along on Monday, December 1st, you'll want to gather a few items and do a few things to prepare.
Items to Collect
- You
must have the the patterns to complete
the projects. If you have not yet purchased these, please do so here.


- If
you do not have fabric for the project you will want to purchase that also. At the time of this writing we do have a fabric kits
available. We
also have lots of fun fabric selections on our website.

- If you are making the Dapper bow tie and suspenders you will want the hardware kits for each. Our Dapper kits come with all of the hardware you need. We also sell the hardware separately on our site. You can purchase it here. You need both a bow tie kit and a suspenders kit.

- To make the Riley dress you will need a shank button. If you purchased a Riley kit you are set as they came with a cover button kit.
- You will also need some elastic cord. Thin hair ties work great for this. Again, if you purchased a kit you received one.

- The Riley dress also requires fusible lightweight interfacing for the collar. Our kits came with interfacing, but if you didn't purchase a kit you will need to make sure you have some.
- You will need coordinating thread to complete this project. The project kits did not come with thread, so please make sure you have some.
- And
finally, you will need pins, a sewing machine, a good iron (a steam
iron is preferable for sewing), a pair of
fabric shears or a rotary cutter and mat, a ruler, and a fabric pen or chalk, and a needle to hand sew with.
Optional Items to Collect -
The following items are totally optional.
- I will be tracing the pattern pieces onto freezer paper.
I highly recommend this method. In addition to keeping your original
pattern pieces intact, it also makes cutting out your fabric super
simple. You can find freezer paper at most grocery stores where
the wax
paper and aluminum foil.

- A sharpie or other permanent marker for tracing your pattern pieces onto the freezer paper is helpful. I recommend a black sharpie as the colored ones, though more fun, can tend to transfer onto your fabrics when you iron over them. Ack! Had that happen recently and I was so sad.
- I also use a bit of fabric glue while making my bow ties. My favorite to use is Aleene's Flexible glue.

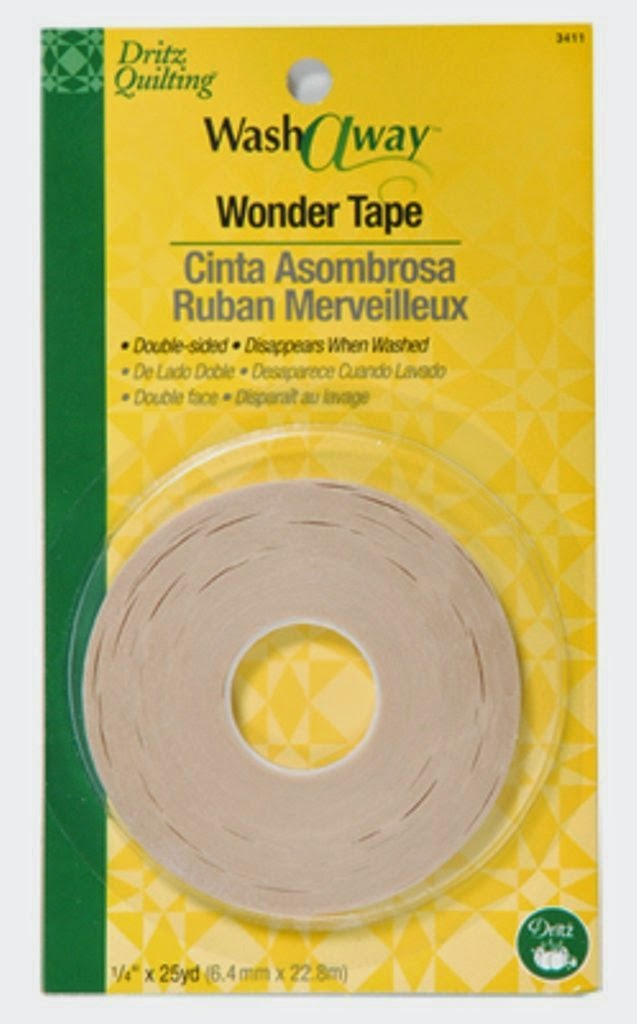
- I also like to use Washable Wonder Tape on my Dapper Suspenders and Riley dresses. I use this stuff on everything! It's so amazing.
- A tube turner will also come in handy during this sew-along.

- Make
sure to prewash and preshrink all of your fabrics. I wash my fabrics
on warm/hot and then I dry my fabrics in the dryer with no
softeners. I always preshrink this way when I am using fabric
for clothing construction. I would hate to work hard on something only
to have it shrink and not fit when I was done. If you are not concerned about bleed and don't plan on ever needing to wash your bow tie or suspenders, those fabrics don't need to be prewashed.
Note: If washing small cuts of fabric you might want to use a lingerie bag so your fabrics do not unravel as much.
- Prewash your fusible interfacing to preshrink it. This will prevent any wrinkles or waves that might arise when you iron or launder your garment. To prewash your interfacing simply soak it in a sink for about 5 minutes in very warm water. You don't want the water too hot to avoid removing the iron-on finish, but you do want it warm enough to shrink the interfacing. After soaking, just pat it with a clean towel and hang it to dry.
- Press all of your fabrics well. I try to do this straight out of the dryer so that the wrinkles come out easier.
- Don't forget to join our Facebook Sew-Along Group so you can post your progress pictures. Everyone who posts completed lesson pictures, on time, to the Facebook Group, will be entered into drawings to win some awesome prizes!
Danielle Storm
www.whimsicalfabric.com