Welcome to day one of the Sarah Swing Top and Tess Twirl Skirt sew along! My daughter and I are both crazy for these patterns. They are super comfy for her to wear and full of ruffles that my girly girl loves.

Before you start: Please
read through all directions of both patterns before cutting and sewing.
Both skirt and shirt have these gorgeous ruched strips but the skirt
also has the choice of added ruffles instead of the ruched strips.
This would be a great option if you do not have a serger. Most of the
seam allowances are 1/4" but a few are 1/2" on this pattern as well. I
will be sure to tell you when it is the 1/2" in the sew along.
** If you would like to see any of the
images larger on blog, just click on them to enlarge.
Lets
get started!! First read the chart and measure your child to see what
size they are. Print out the pattern pieces for the size needed. The top will
be the only pieces that will need to be printed out, love that don't you?! For
the smaller sizes you will have two pattern pieces to print, the front
bodice and the back. For the larger sizes you will have thee pattern
pieces to print, the two front pieces that will need to be glued together and
the back bodice piece. (Note: I did the size 5/6 so I only needed one
back piece but for the larger sizes you will have two back pattern
pieces just as the front that will need to be pieced together)


Next put glue onto the shaded area only. I use Elmer's glue myself to do this. That way I can iron a wrinkly pattern piece later on. Then, just simply trim away the top portion of the shaded paper and you have your front pattern piece. If you have the larger size you will need to repeat this for the back pattern piece as well.

Note: All kits came with fabric to make View A of the Tess Skirt.
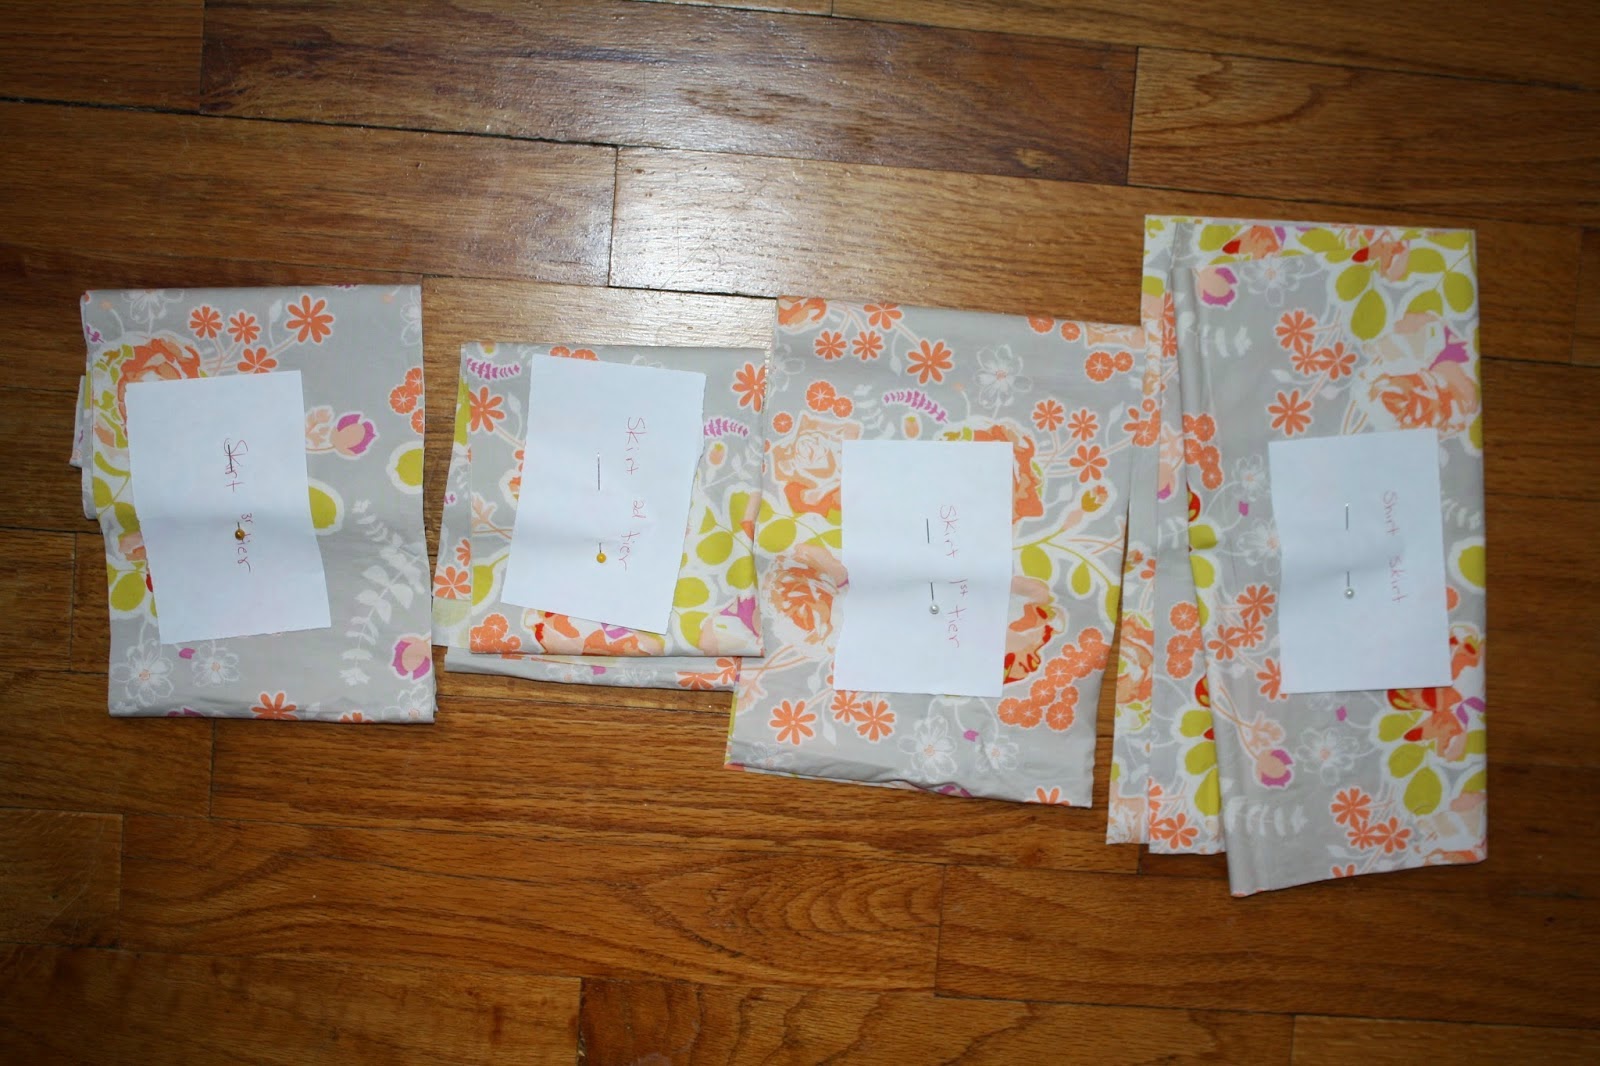
Now onto cutting the skirt for the swing top and the three skirt tiers. Before I cut any of mine out I take small pieces of paper and label them with "shirt skirt", "skirt tier 1", "skirt tier 2" and "skirt tier 3". As I cut each of these out I pinned the paper to each set of pieces so I would not mix them up as I was sewing them. Also note that each shirt pattern piece and skirt pieces 1 and 2 have only one piece that needs to be cut. But the bottom skirt tier has 2 pieces that need to be cut out.
For the back bodice pieces cut with the center back on the fold. Cut two out (note, we are using the same fabric to line the top as we are using for the outside of the top).

For the front pieces you will need two sets of mirrored imagines cut from the pattern piece (4 pieces total).
All that is left to cut out is your ruffle/ruching strips. If you do not own a serger you can still make the ruching strips with your sewing machine but for the skirt you can cut out ruffles to sew into the skirt tiers instead. The pattern includes both measurements in the pattern. After you decide which you will be using cut out all ruching/ruffle strips for the top and skirt according to the pattern. (note: the skirt has a ruffle along the bottom hem for both versions)

All our pattern pieces are cut out! Tomorrow we will be making a ton of
beautiful ruffles!! If you have not sewn a rolled hem yet on your
serger I will be showing you how.
Sharon
* If you would like to earn entries into the prize drawing, please make sure to submit a photo of your completed lesson one to this Facebook Album by 12:00 noon CST, Thursday, May 28th. If you have any questions the Facebook Group is a great place to ask.
Happy Sewing,
Danielle Storm
www.whimsicalfabric.com
No comments:
Post a Comment