Please read through the Sweet Polly pattern directions before beginning this sew-along. You will need to keep these directions handy. If you have any questions, suggestions, or tips to share during the sew-along; please make sure to post them on our Facebook group. Also, if you would like to see any of the images larger that are posted in this blog, just click on them to enlarge.
Hello and welcome to Day 2! Today we are going start our sewing with the tank top. It is a really quick sew and is just adorable sewn up. So let's get started!
The Tank
The directions for the pattern calls for the binding to be done a different way then how I will explain it. Feel free to follow their instructions if that is your preferred way. I am going to show two additional ways you can apply binding to a knit shirt. The first method I'll show you is probably faster, but the second method is the way I do all of my knit bindings. You might want to read through first and decide how you want to do your bindings before you being.
Method #1
For the first method, you will want to match your front and back pieces, right sides together, at the shoulder seam.

With all knits, you will want to use a stretch or ball point needle in your sewing machine. This will keep the needle from tearing at your fabric as you stitch. I use my serger for every seam I can when I am sewing knits. But you can also use a stretch stitch on a regular sewing machine and, because knit does not ravel, you do not need to finish the seams if you do not wish to.
 |
| Serger Setting |
 |
| Sewing Machine Setting |
You will sew one shoulder together, using either a serger or a stretch stitch on a sewing machine.

Grab your binding piece and fold it in half, wrong sides together, then iron it.

Starting at one open shoulder, sew the binding piece, open edges matched to the right side of the neck hole opening of the tank. You will want to stretch the binding gently (not the shirt, just the binding) as you sew. This makes the binding slightly shorter than the neckline and allows it to lay properly against the body.

Once the
binding piece is sewn in place along the neckline, trim the excess off
even with the shoulder and then stitch the second shoulder seam (right
sides together).
I
like to topstitch or coverstitch my bindings down. They lay flatter
and look more professional that way. You can use the same stretch
stitch or a zigzag for topstitching. I tend to do all of my binding
topstitching at once, but you could do so at this point as well.
Method 2
The
other method (my preferred method) of applying binding is to create the
opening you are going to bind first, and then measure the correct
length of binding to apply in the round. To do that for the arm opening
(you could do exactly the same for the neck binding) you would sew the
side seams and the shoulders of the tank (if they are not already done.)
Then, laying the opening out flat, measure the length of the opening
(do not stretch the fabric, just laying relaxed). You will double that
measurement, since it is two layers, and then take the total opening
measurement and multiply that by .75. So if your opening is 14 inches
as it is here, your resulting length would be 14 x .75 = 10.5 inches.

Measure your binding pieces to your determined length (10.5 for mine)
and cut them to that length. I typically fold my binding in half (wrong
sides together) at this point and iron it.

Then, matching the short edges right sides together, sew a 1/4 seam to make a round binding.
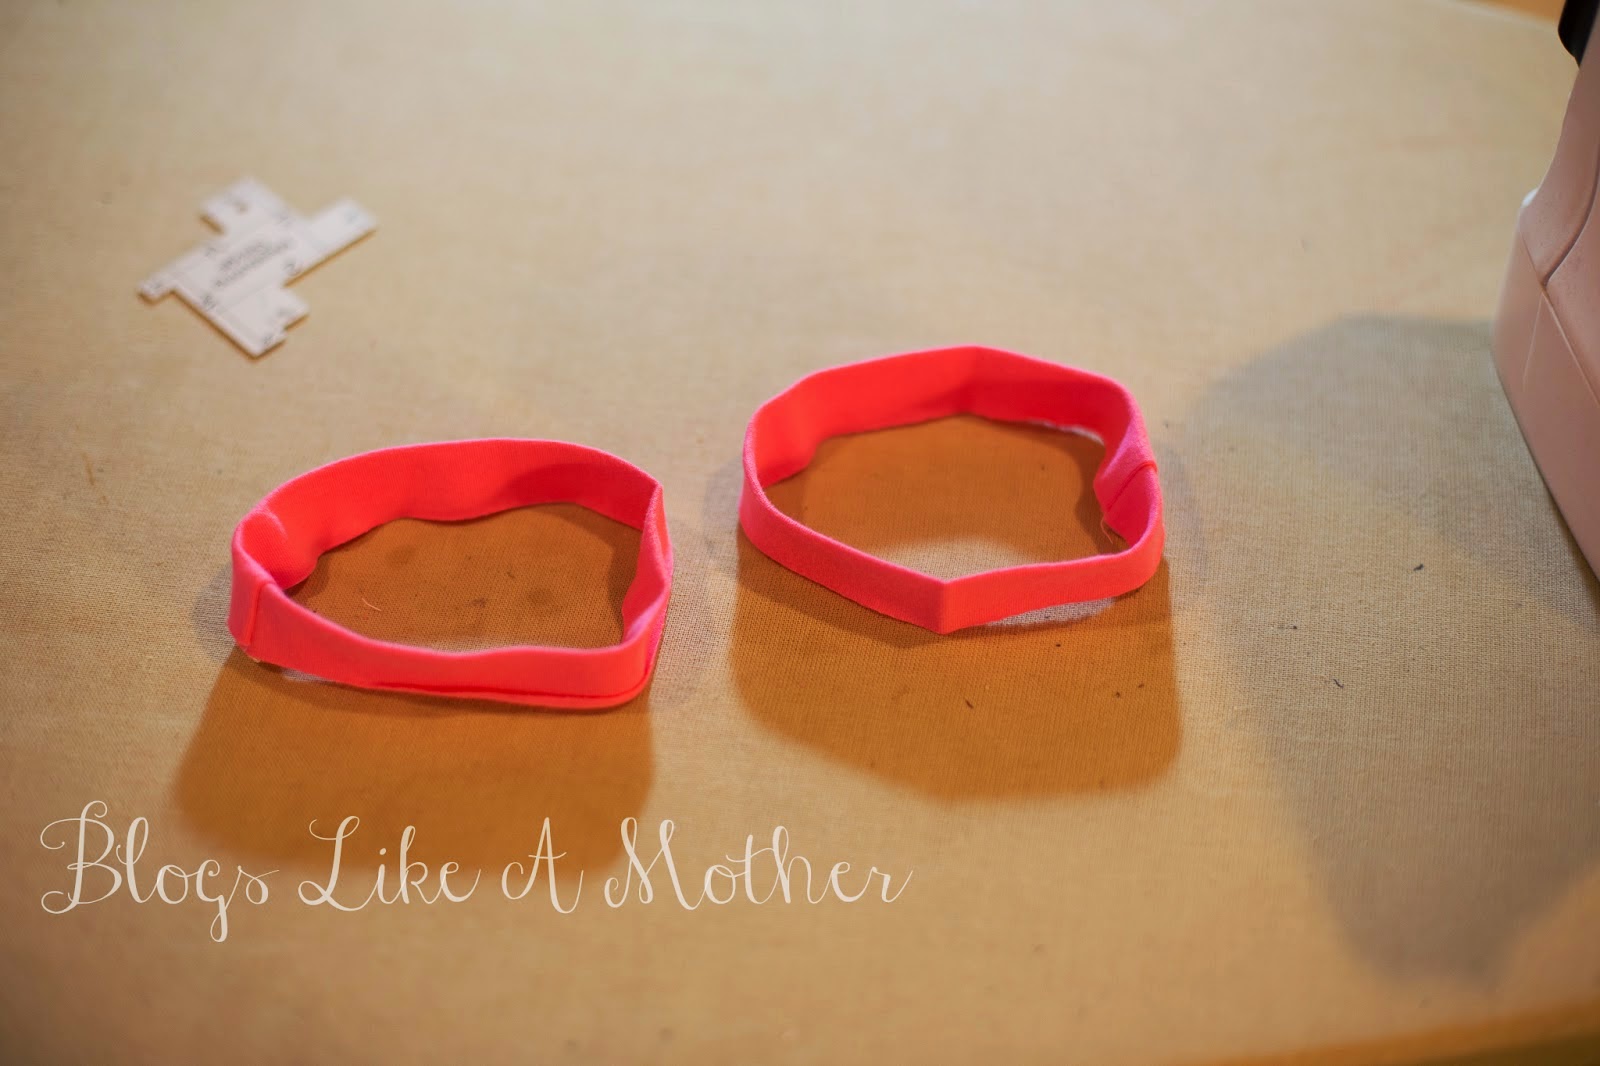
Refold the binding in half and match the seam of the binding to the side
seam of the tank (or center back of the neckline), with the raw edged
matched to the right side of the arm opening. I usually do not mark
and pin the arm bindings in fourths because they are so small. I just
match the raw edges to the right side of the fabric, then stretch it
slightly as I sew the binding around the arm opening. I didn't take
great pictures of this process, but I explain it in a lot of detail in a
previous sew along post here. The main thing to keep in mind is to stretch the binding to fit the armhole, but not the arm hole itself.

Once the arm bindings are sewn into place, iron the seam towards the shirt and then topstitch or cover stitch along the seam.
Hemming
The
final step is to hem the tank. Fold the bottom edge of the tank under
1" and press. Then using a stretch stitch or coverstitch, stitch 3/4"
away from the bottom edge of the tank. I usually give it one more press
and then you are done!

On Day 3 we will construct the t-shirt. You won't want to miss it!
Sarah
* If you would like to earn entries into the prize drawing, please make sure to submit a photo(s) of your completed lesson two item(s) to the Facebook Album by 12:00 noon CT, Friday, May 8th. Note: If you are making more than one item during the sew-along, please submit a separate photo for each item. Also, if you have any questions the Facebook Group is a great place to ask.
No comments:
Post a Comment