Please read through the Sweet Polly pattern directions before beginning this sew-along. You will need to keep these directions handy. If you have any questions, suggestions, or tips to share during the sew-along; please make sure to post them on our Facebook group. Also, if you would like to see any of the images larger that are posted in this blog, just click on them
to enlarge.
Hello and welcome to the final day of the Sweet Polly's Play Clothes Sew Along. If you have done all of the days, today you will have the final pieces in your 6 item wardrobe just perfect for mixing and matching! So let's get those last 2 pieces done!
The Flare Pants/Skinny Leggings
Today we are working on the Flare Pants and the Skinny Leggings. The construction on both of these is identical, you just end up with a different leg shape in the end.

When I am
making basic leggings or pants, I always construct them in the same
order; front seam to front seam, back seam to back seam, outside side
seams, inside crotch seam. There are other ways to do it (constructing
each leg first and then sewing the crotch seam at the end, for example)
but this is the way that makes most sense to me, so I stick with it.
Putting Them Together
You will want to grab your 2 front pieces and place them, right sides together, matching the curved front seam.

Now do the same with your 2 back pieces.

Sew along the curved edge of each group using a serger or a sewing machine with a stretch stitch and a ballpoint needle.
Now open up your back pieces and lay it right side up. Open up your front pieces and lay that on top, right sides together.

Match the front to the back along the long outer side seams and sew along the side seam. Repeat for the other side seam.

At this point, they should look like pants. Match the seam together at
the crotch and sew from the bottom of one leg, up around the crotch seam
and back down the other leg.

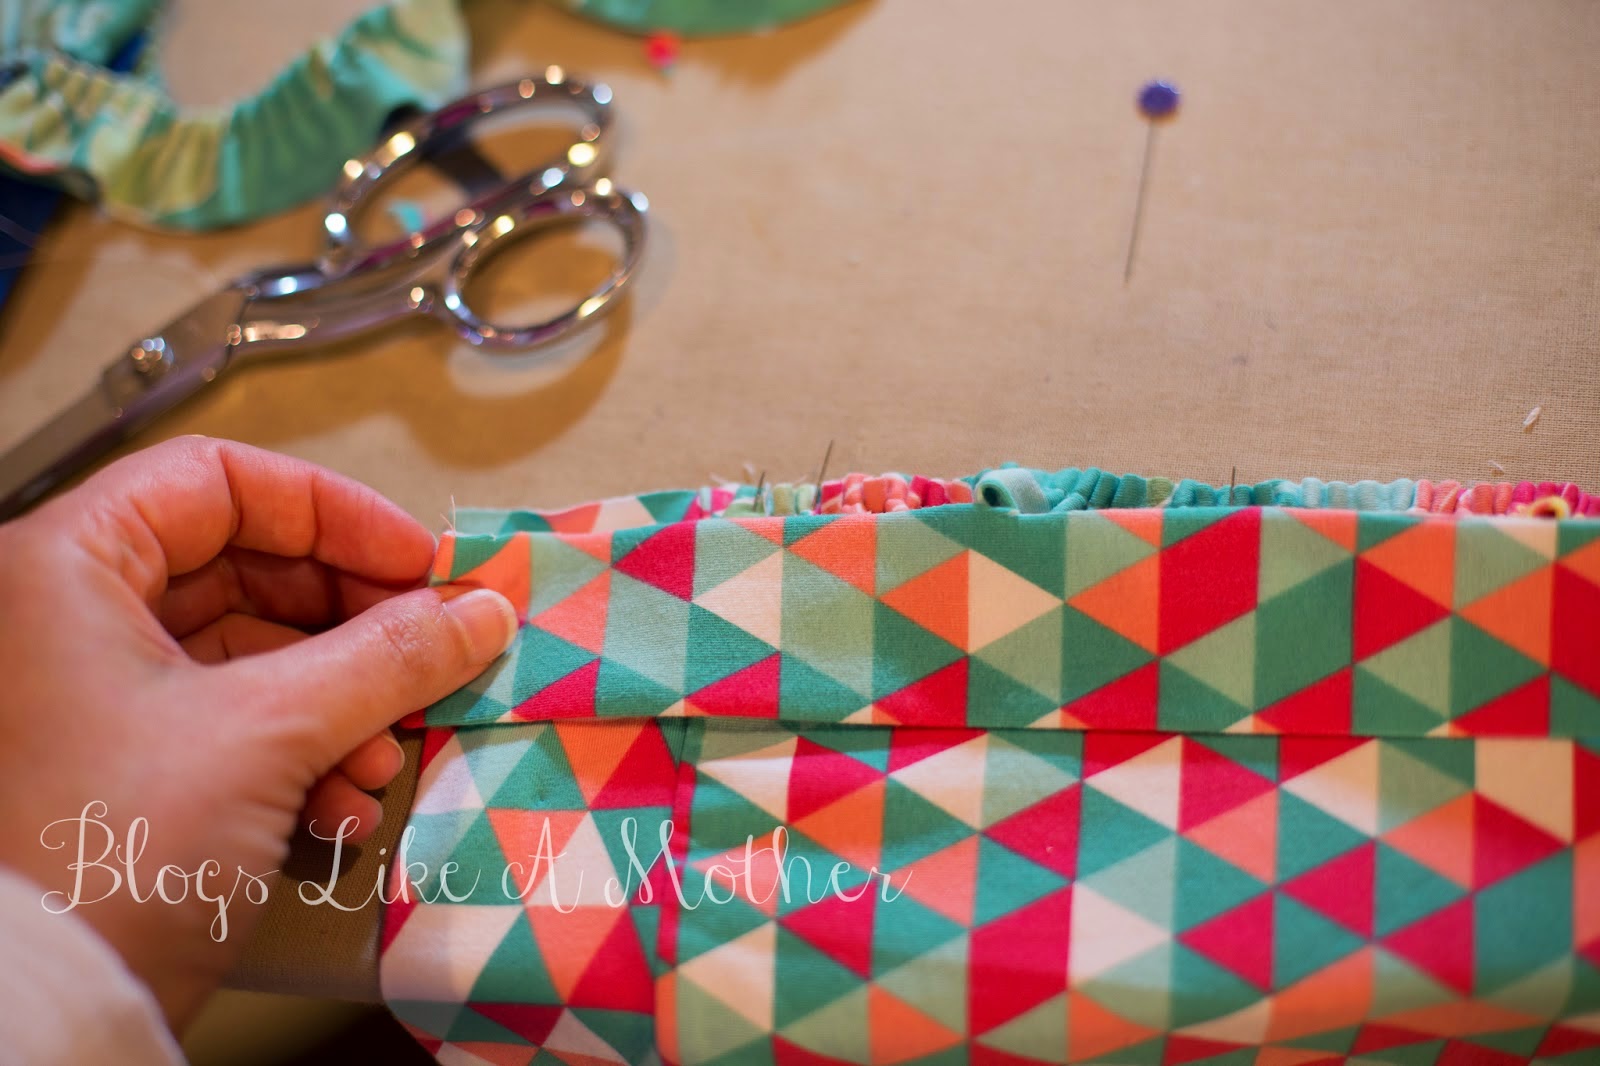
Waistband
At the waist band edge of the pants, fold over the top edge to 1 and 1/4" (wrong sides together) and press.

Sew along the folded edge at 1" to create the elastic casing. You will
want to leave an opening approx 3" wide along the folded edge in order
to insert the elastic.


Note from Danielle: I like to add a row of stitching around the very top edge of the waistband. It just adds a little more professional look to your waistbands. Be careful though that you sew very close to the edge though so you do not make your waistband too narrow for the elastic.

Now take the elastic that you cut (measurements on page 10) and insert
one end into the opening you left in the waistband. I like to use a
bodkin, but elastic threaders or a large safety pin also work well.


Pull the elastic through the casing, making sure you leave the other end of the elastic sticking out of the casing.


Hem
For the final step, turn under a 1" hem on the bottom of each pant leg and press. Then sew at 3/4" around the edge of each leg to form a hem.
And voila! You are done!

I hope you
have enjoyed the sew along and hope to see you back soon for one of the
other fun sew alongs planned for this year! Thanks for joining me!
Sarah
*
If you would like to earn entries into the prize drawing, please make
sure to submit a photo(s) of your completed lesson six item(s) to the Facebook Album by 12:00 noon CT, Friday,
May 15th. Note: If you are making more than one item during the
sew-along, please submit a separate photo for each item. Also, if you
have any questions the Facebook Group is a great place to ask.