Please read through the Sweet Polly pattern directions before beginning this sew-along. You will need to keep these directions handy. If you have any questions, suggestions, or tips to share during the sew-along; please make sure to post them on our Facebook group. Also, if you would like to see any of the images larger that are posted in this blog, just click on them to enlarge.
Welcome to
Day 4 of the Sweet Polly's Play Clothes Sew Along.
The Cardigan
Today we are
wrapping up the final top piece of the sew along with the cardigan.
I
made 2 of these, one for each kid. For the first one, I made it as
directed by the pattern. But for the second one, I added a little
ruffle along the placket. I will show you how to do that in case you
want to give it a try.
Shoulders, Sleeves, and Side Seams
For
the cardigan, you will start out the same way as with the T-shirt;
match the shoulder seams, right sides together and sew the two shoulder
seams. You will want to use a stretch stitch and a ballpoint needle if
you are using a sewing machine, or use a serger (as discussed in Day 2
of the sew along).

Once the shoulder seams are sewn, lay the cardigan down, right side up and open it out flat.
Then,
place the sleeve, right sides together, along the edge of the arm
opening of the cardigan. You can match along the raw edges and pin them
in place if you want.

Sew along the raw edges of arm opening and sleeve remembering that if
you have pinned, you need to remove the pins before you get to the knife
on your serger or before you sew over them if you are using a sewing
machine.

Now repeat this process to sew the second sleeve into place.
Note: At this point, I like to fold my hem into the sleeve and press it (1" fold) just to mark it and make it easier to stitch into place later. Once it is pressed, unfold the hem and proceed to the next step below, sewing up the side seams.
Once
both sleeves have been sewn into the arm, match the side seam (right
sides together) from the bottom edge of the cardigan, under the arm of
the cardigan and down the length of the sleeve. Now sew this seam in
one pass.

You now have the basic shell of your cardigan and we are ready to add the bindings and placket.

Bindings
Measure your neckline opening (without stretching the fabric) and take
that measurement, multiply it by .75, and cut your neck binding piece to
that length. Alternatively, you can cut a piece longer than your neck
opening and then trim the edge when you are done sewing it in place (I
prefer the first method).

Once your binding is cut, fold the piece in half lengthwise and press it.


Now, align the binding raw edge with the neck opening raw edge, right sides together, and stitch the binding piece to the neck opening. You will need to stretch the binding piece as you go so that it stretches to the length needed to extend along the whole neck opening. (If you are trimming at the end, just stretch the binding slightly along the whole edge of the neckline.)

Once you have the neck binding in place, trim away the excess of the binding (if you did not pre measure and use 75% of the opening) so that it is even with the front edge of the cardigan.
 |
| I did my first cardigan using the sew and stretch method without pre-measuring but didn't like how it turned out. So I did the other method with my second cardigan and it came out much better! |

Now follow the same process for the bottom binding, applying it along the entire bottom edge of the cardigan.
Once both the neck binding and bottom binding are in place, you will add the plackets.
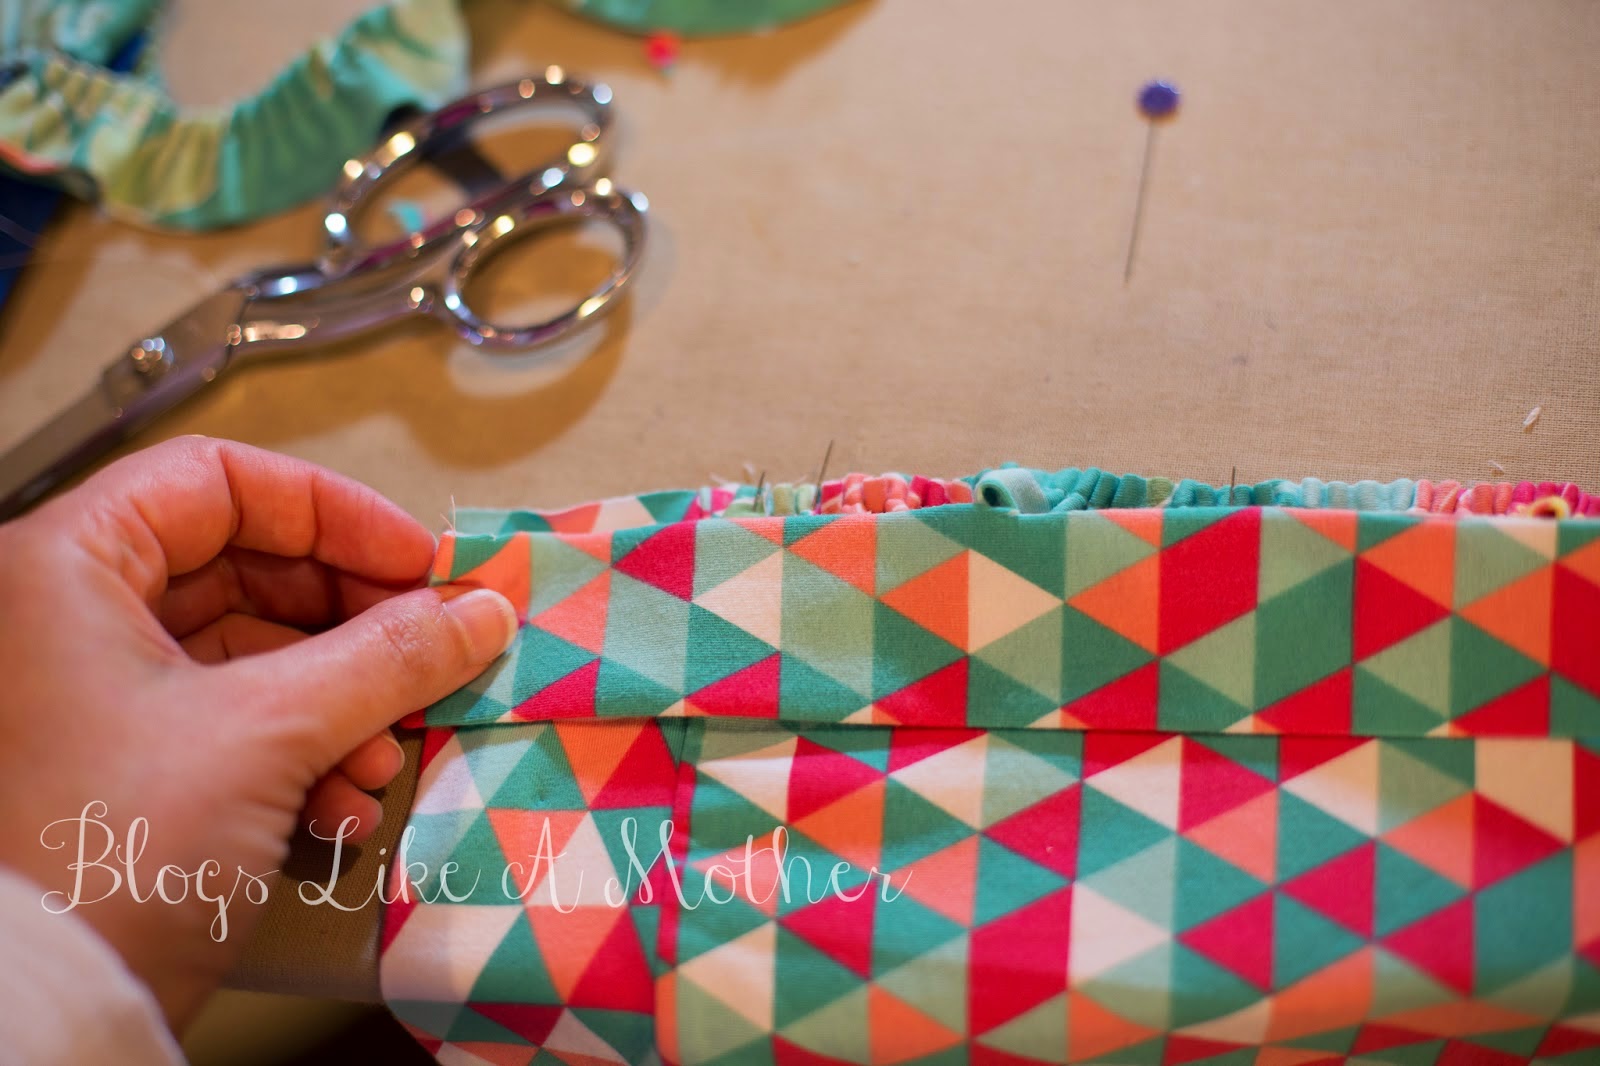
Ruffle Trim
For
my ruffle trimmed cardigan, I cut 2 additional strips about 3" wide,
and folded them in half lengthwise. Then I gathered the strips and
pinned them along the raw edge of my cardigan front (not overlapping the
bottom or neck binding). I did this for both sides before I added the
placket. Once the ruffle was in place, I proceeded through adding the
packet as normal.

Placket
To stabilize the placket, you will want to iron interfacing to the wrong side of both placket pieces.
 |
| Sorry, I switched fabrics here because I realized I didn't take great pictures of this part the first go around. There are only a few with the different fabric, so hopefully it isn't too confusing. |
Once the interfacing is applied, fold the place in half lengthwise, right sides together, and sew both short edges.

Once
the edge is sewn, turn the placket piece right sides out, using a point
turner or chopstick to push out the point. Then press the placket.

Now
match the placket piece, raw edge to the right side of the front edge
of the cardigan (over the ruffles if you added them) and stitch along
the edge.
Repeat for the
second placket. Once the plackets are sewn into place, press the seam
allowance toward the cardigan along the plackets and the neckline. Now,
topstitch from the bottom edge of the placket, around the neckline, and
back down the other side of the placket.
Hemming
Finally, turn your pre-ironed hems back up on the sleeves and stitch 3/4" from the bottom edge.
Finally, turn your pre-ironed hems back up on the sleeves and stitch 3/4" from the bottom edge.
If
you want to add buttons or snaps to your cardigan, you can also do so.
I left mine without because that is how we like to wear them. Plus,
that way you can see the cute cascade ruffles we added to the t-shirt!


And with that, you are done! See you soon with Day 5 of the sew along when we will start on the pants!
Sarah
*
If you would like to earn entries into the prize drawing, please make
sure to submit a photo(s) of your completed lesson four item(s) to the Facebook Album by 12:00 noon CT, Tuesday,
May 12th. Note: If you are making more than one item during the
sew-along, please submit a separate photo for each item. Also, if you
have any questions the Facebook Group is a great place to ask.
No comments:
Post a Comment