Welcome to the Sleepover Pajama sew-along. If you have any questions, suggestions, or tips to share; please make sure to post them on our Facebook group. Also, if you would like to see any of the images larger that are posted in this blog, just click on them. It might be helpful in some steps.
NOTE: Please make sure you read over the Oliver+S instructions prior to starting this lesson. We will be working on page 6-7 today. You will need to keep these O+S instructions open and where you can read them as you go through the lesson. The O+S instructions give a more thorough and detailed description of each step and will be necessary to complete these pajamas.Today we will:
- Prepare Neck Ruffle (View B)
- Attach Facing
- Buttons and Buttonholes
A. Prepare Neck Ruffle (Skip this section if you are not adding the ruffle.)
1. Attach the two short sides of the ruffle together. Press seam open.
2. Fold in and press the short edge of the ruffle.
3. Fold the ruffle wrong sides together and press. Run two gathering stitches along the curved edge side.
4. Gather the ruffle to measure the same size as the facing from the bottom of the right side to the curved neckline of the left side. Pin and attach the ruffle to the facing matching the raw edges.
Note: Basting the ruffle to the facing will help to keep everything together and from slipping while attaching to the pajama top.
B. Attaching the Facing
1. Pin the right side of the facing to the wrong side of the pajama top all the way around. The raw edges of the facing and top should be lined up. Be sure the facing hangs off the pajama top front at the hemline. Stitch the facing onto the pj top.
2. Clip the curved edge of the facing, right up to the stitch line. Be sure not to clip through the stitching. I like to use pinking shears on all curved hems first and then clip.
3. Press the facing flat and prepare for topstitching. Press the bottom edge of the facing up toward the top and even with the hem.
4. Topstitch all the way around the facing.
 |
| Topstitched |
C. Buttons and Buttonholes
1. Transfer markings onto the facing pieces. I use the button as a guide to be sure that my button holes are big enough. I mark on either side of the button and am sure to stitch all the way from marking to marking. Buttonholes for girls go on the right and for boys on the left. Sew buttonholes.
2. Cutting the buttonholes can be scary. I have a little trick to help me not cut all the way through the other side of the buttonhole. Insert the seam ripper into one end of the buttonhole but make it come out right in the center of the buttonhole.
3. I started on the right side, so I now insert the seam ripper into the left side and come out through the hole. This helps me not cut through the buttonhole. Another trick is to put a safety pin at the bottom of the buttonhole to prevent ripping all the way through.
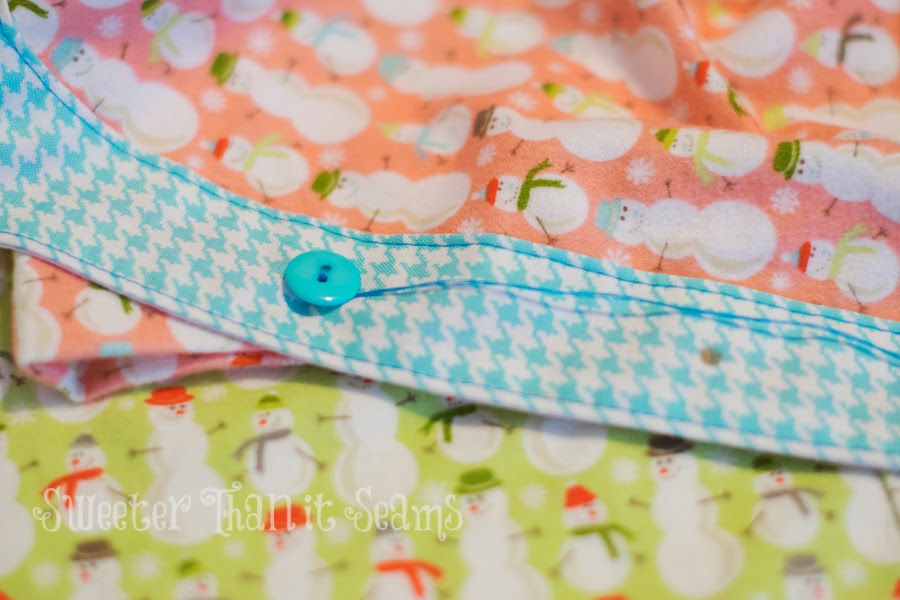
4. Sew on the buttons. I like to use a large needle as a spacer between my button and fabric. If you sew the button on with the needle in place, it gives a little more space for the button to go through the buttonhole.
5. When you are ready to tie off, wrap the thread around the button several times.
6. Insert the needle under the thread.
7. Pull tight.
8. Repeat the tying process at least one more time.
We did some serious sewing today! I hope to see you back here on Monday to work on the pants.
* If you would like to enter the prize drawing, please make sure you submit a picture of your completed lesson one to the Facebook Album by 12:00 noon CT, Tuesday, December 16th. Also, if you have any questions the Facebook Group is a great place to ask.


No comments:
Post a Comment