The Naomi Dress by Modkid
Welcome to Day Three of the Sew Along!

Congratulations to Kay Fisher Witt!
Okay, we are half way there! Excited yet? Once I got the front together and saw how cute it was turning out, I got really eager to finish it up. So let’s get started!
The first step for today is to create the back elastic casing. There are two casing pieces and one loop piece that we will use to construct the casing. Let’s do the loop first, shall we?

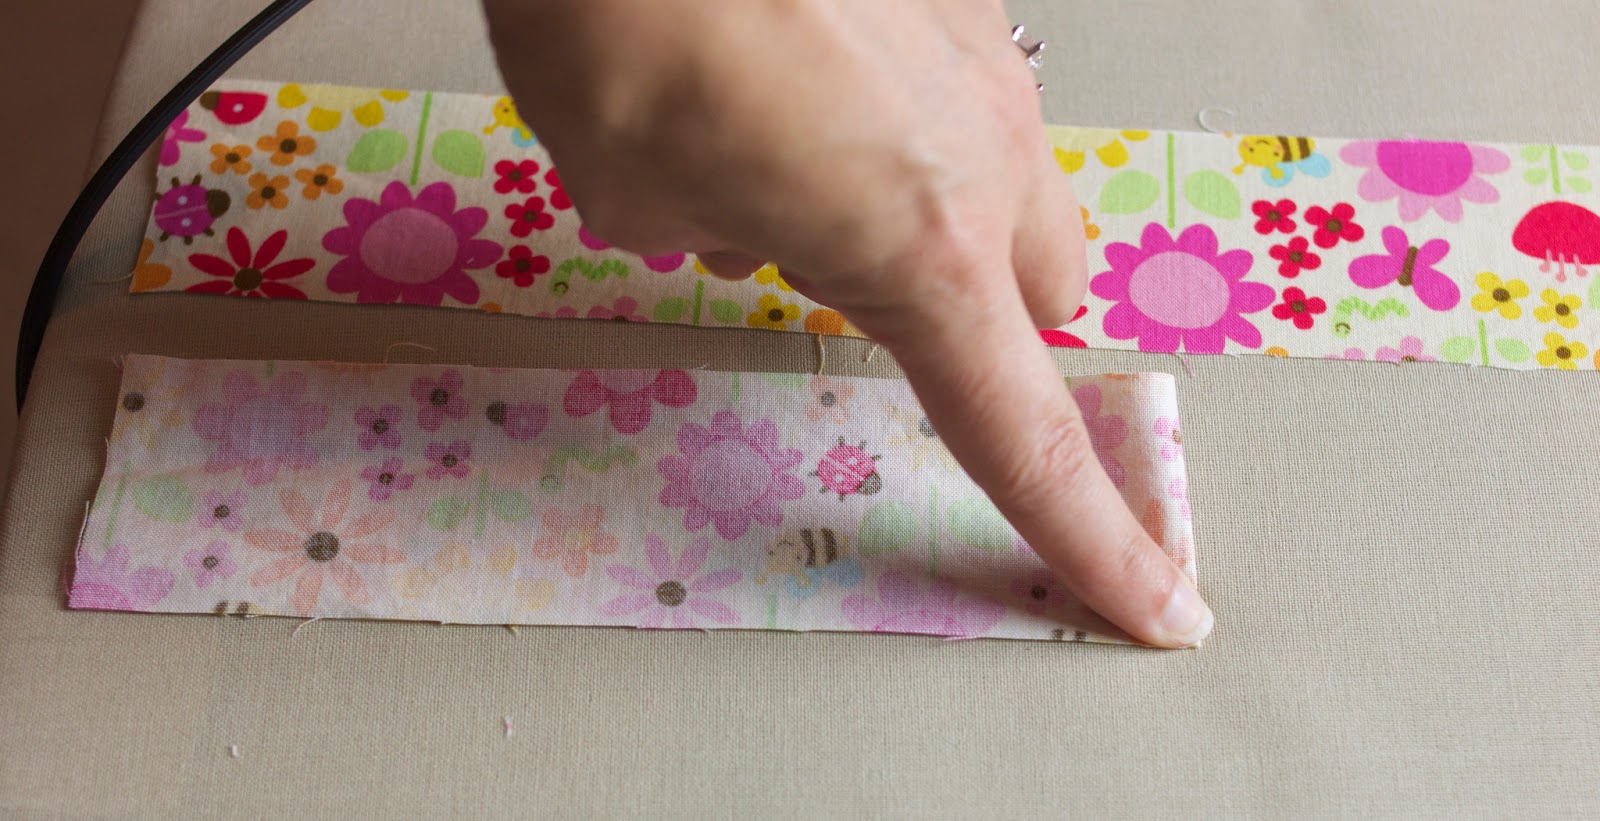
Folding the loop piece in half lengthwise and with right sides together, stitch along the open edge with a 1/2” seam allowance.

Now, trim off the excess seam allowance to allow for easier turning.

Then, using a turning tool, turn the loop piece right side out. I used my serger tweezers to grab one end and push it through. I’ve also used a safety pin and pen bottom before. Be creative!

Once your loop is turned, press it flat.

Then, determine the center back of one elastic casing piece. I folded it in half and finger pressed so I could see where it was. You could also mark it with a pin.
Once you've determined
the center point, make a loop with the pressed tube of fabric and place
it on the center. The fabric direction should be right side up with the
loop facing downward. Pin the loop in place.


Take a quick look and make sure the direction of the fabric is correct on both sides!
Now, fold the casing, wrong sides together and matching the raw edges. Iron flat again. I find that ironing the piece flat before folding helps get the seams nice and crisp along the top. Once it is ironed in half, topstitch along the finished edge and baste the unfinished edge closed.


See? Nice and neat and nothing to clean off later!
And now we shirr!
The first step in shirring is to wind a bobbin with elastic thread. Most people recommend that you hand wind the bobbin using a steady pressure. I have both hand wound mine and just used my machine’s bobbin winder to wind mine. It doesn’t seem to make a difference for my machine. BUT IT MIGHT FOR YOURS! So, wind a bobbin up, chuck it in your machine and give it a try on some scraps.

I
set my machine stitch length to the longest setting and raise my thread
tension. This pretty much gets me a perfect shirr. But each machine is
different, so I would encourage you to try out your settings on scrap
fabric until you get them right for your machine. If you are having
trouble, try looking at youtube, there are tutorials for many different
machines on there.
Once your bobbin is wound, replace your regular bobbin with the elastic thread bobbin.

You will want your regular coordinating thread in your needle still. Place your back dress panel on the machine with the fabric right side up (you want the elastic thread to sew on the wrong side of the fabric.) Sew a straight stitch, backstitching at the beginning, just below the elastic casing seam. I used the edge of my presser foot as a guide along the seam. Sew all the way across the width of the back panel, backstitching at the end as well.


Sarah
No comments:
Post a Comment