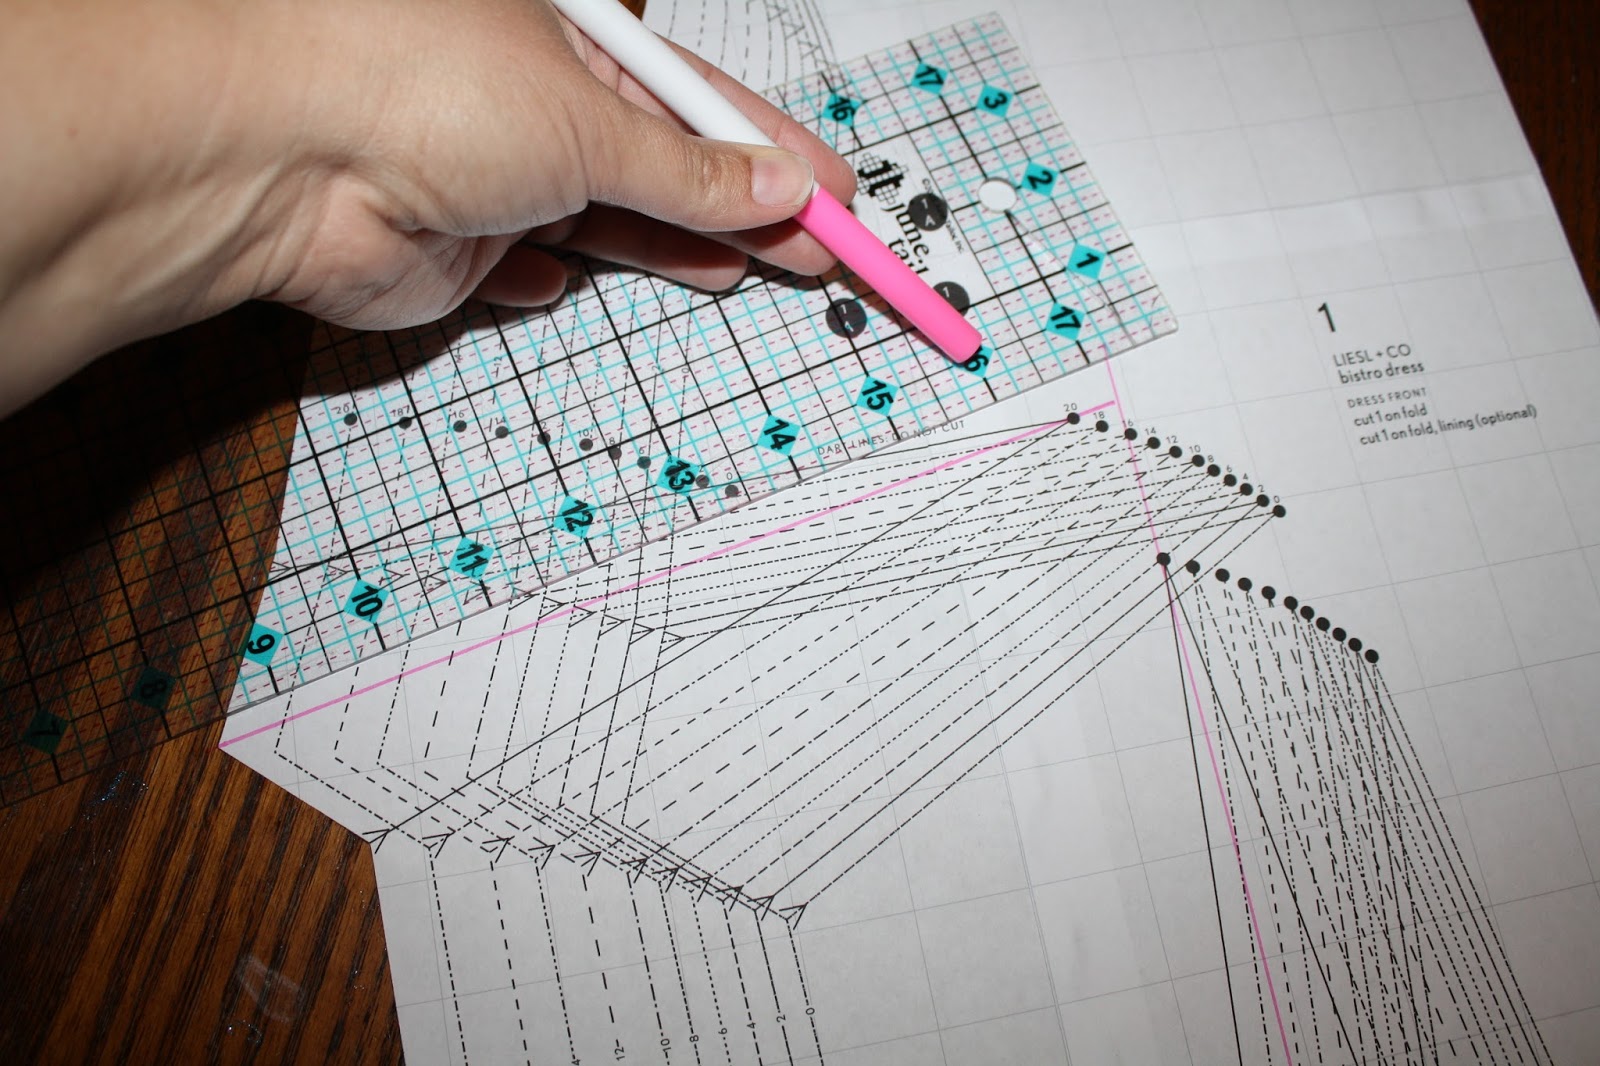
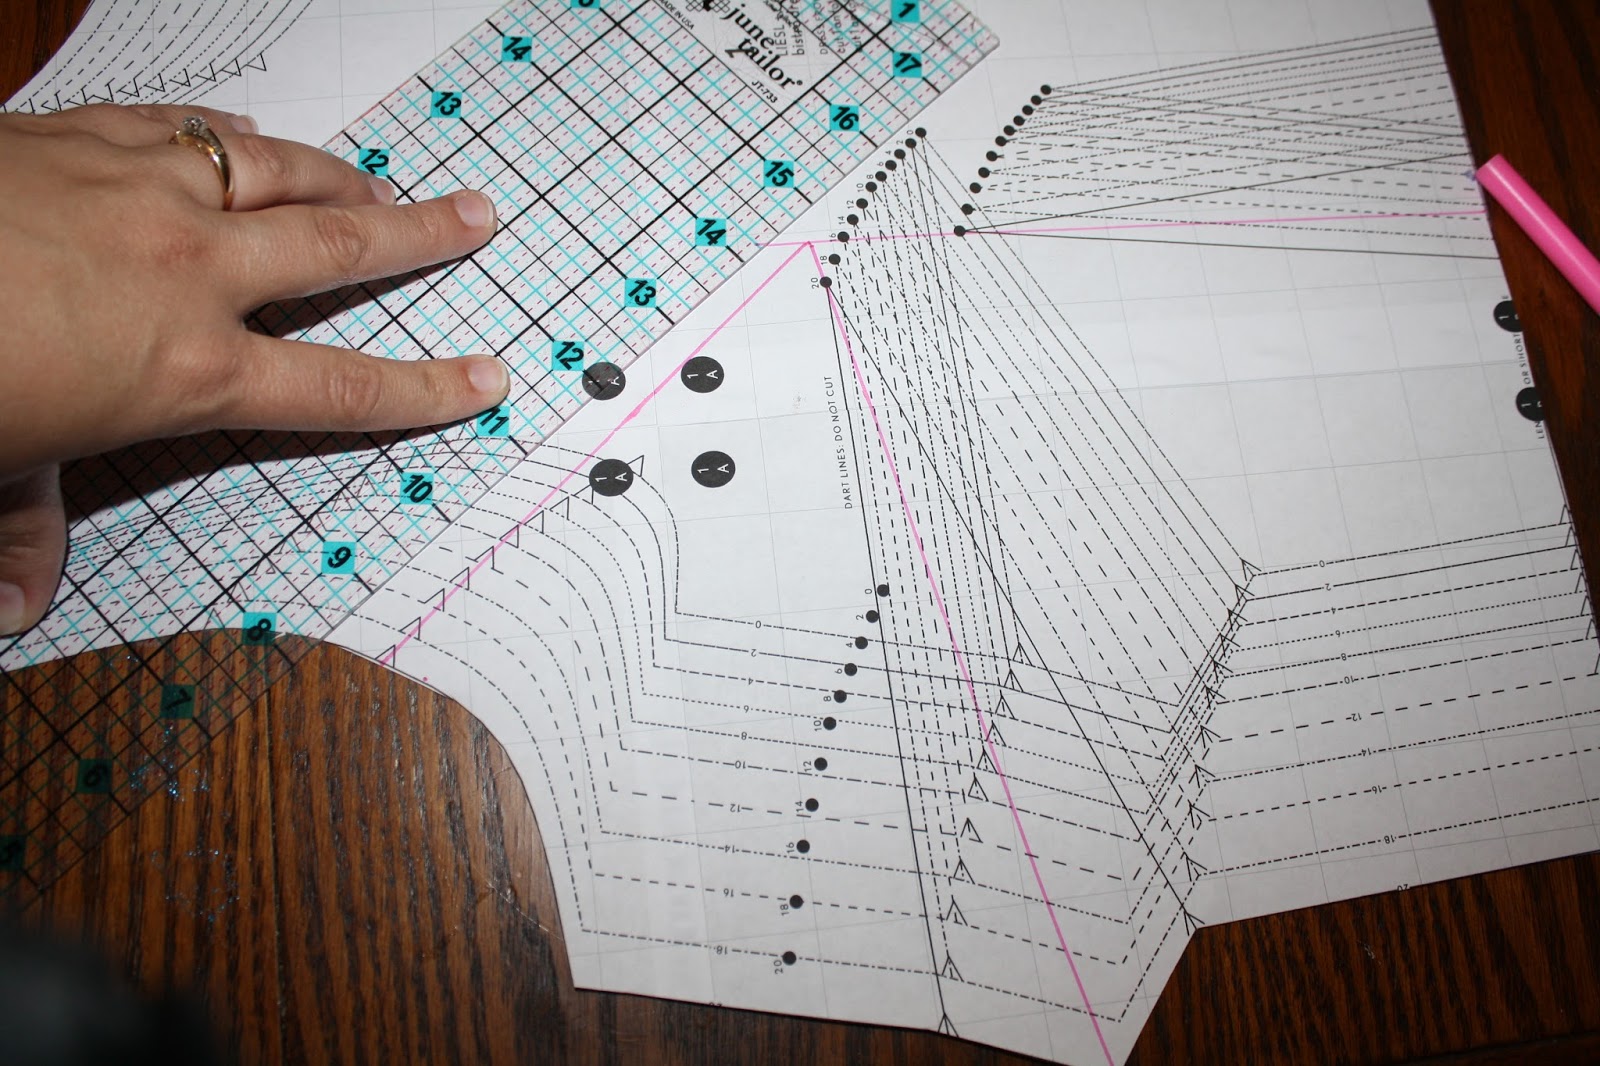
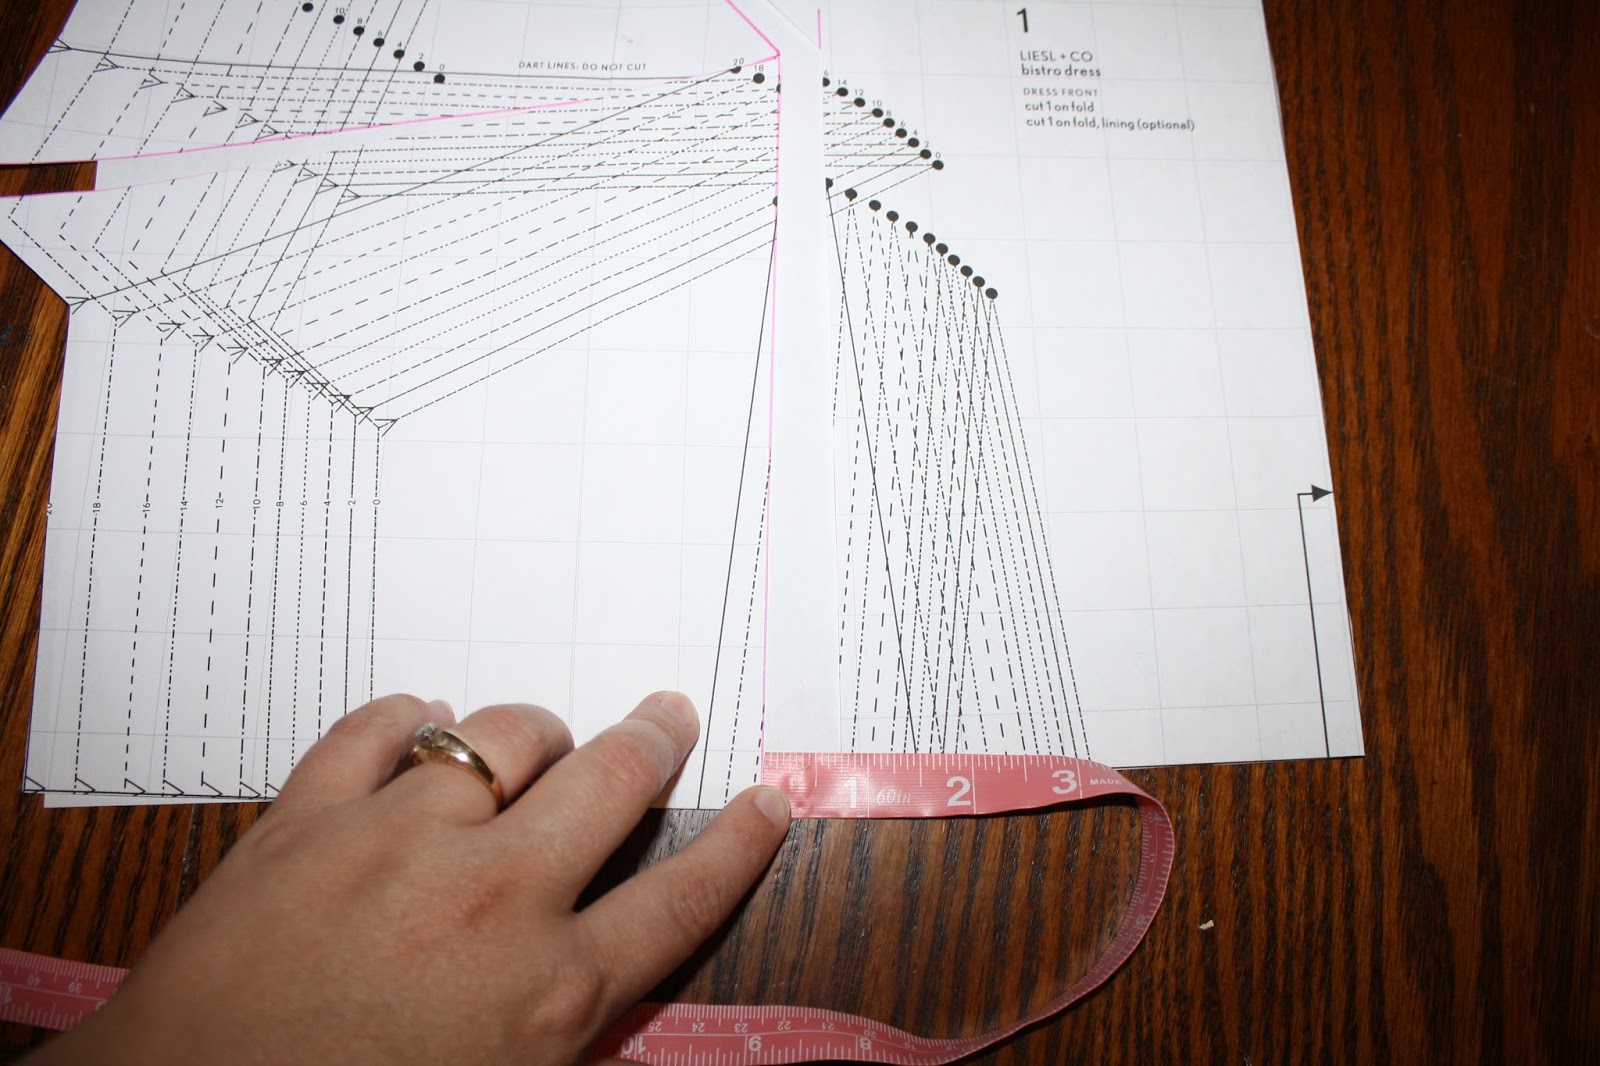
Tuesday, November 10, 2015

Sew-Along #28 - Bistro Dress - Lesson #2

The Bistro Dress by Liesl+Co

 ** If you would like to see an image on our blog in a larger format, just click on it to enlarge.

Note: Links to products within this post are either links to our website or affiliate links.

Welcome back to Day 2 of Bistro Dress Sew-Along. Before we begin please read all the directions first. You will need the pattern directions to follow also.

Today is my favorite day of the sew along. I love sewing darts. The darts are what gives this dress it's wonderful fit and shape. I hope you will enjoy sewing them as much as I do. Let's get started!

1. Sew a row of stay stitching onto the neck line of all the main dress pieces and lining pieces. This will keep the neck line from stretching out while we sew.

2. Fuse the interfacing onto the wrong sides of the neck facings. For View A transfer the V notch stitching lines onto the front neck facing.

3. To sew the darts we will start with the neckline and side darts.

This is how I make my darts so they are nice and even. 

Fold the dart in half, matching up the notches on the edge, with right sides of fabric facing each other.

Pin the top and bottom of the dart.
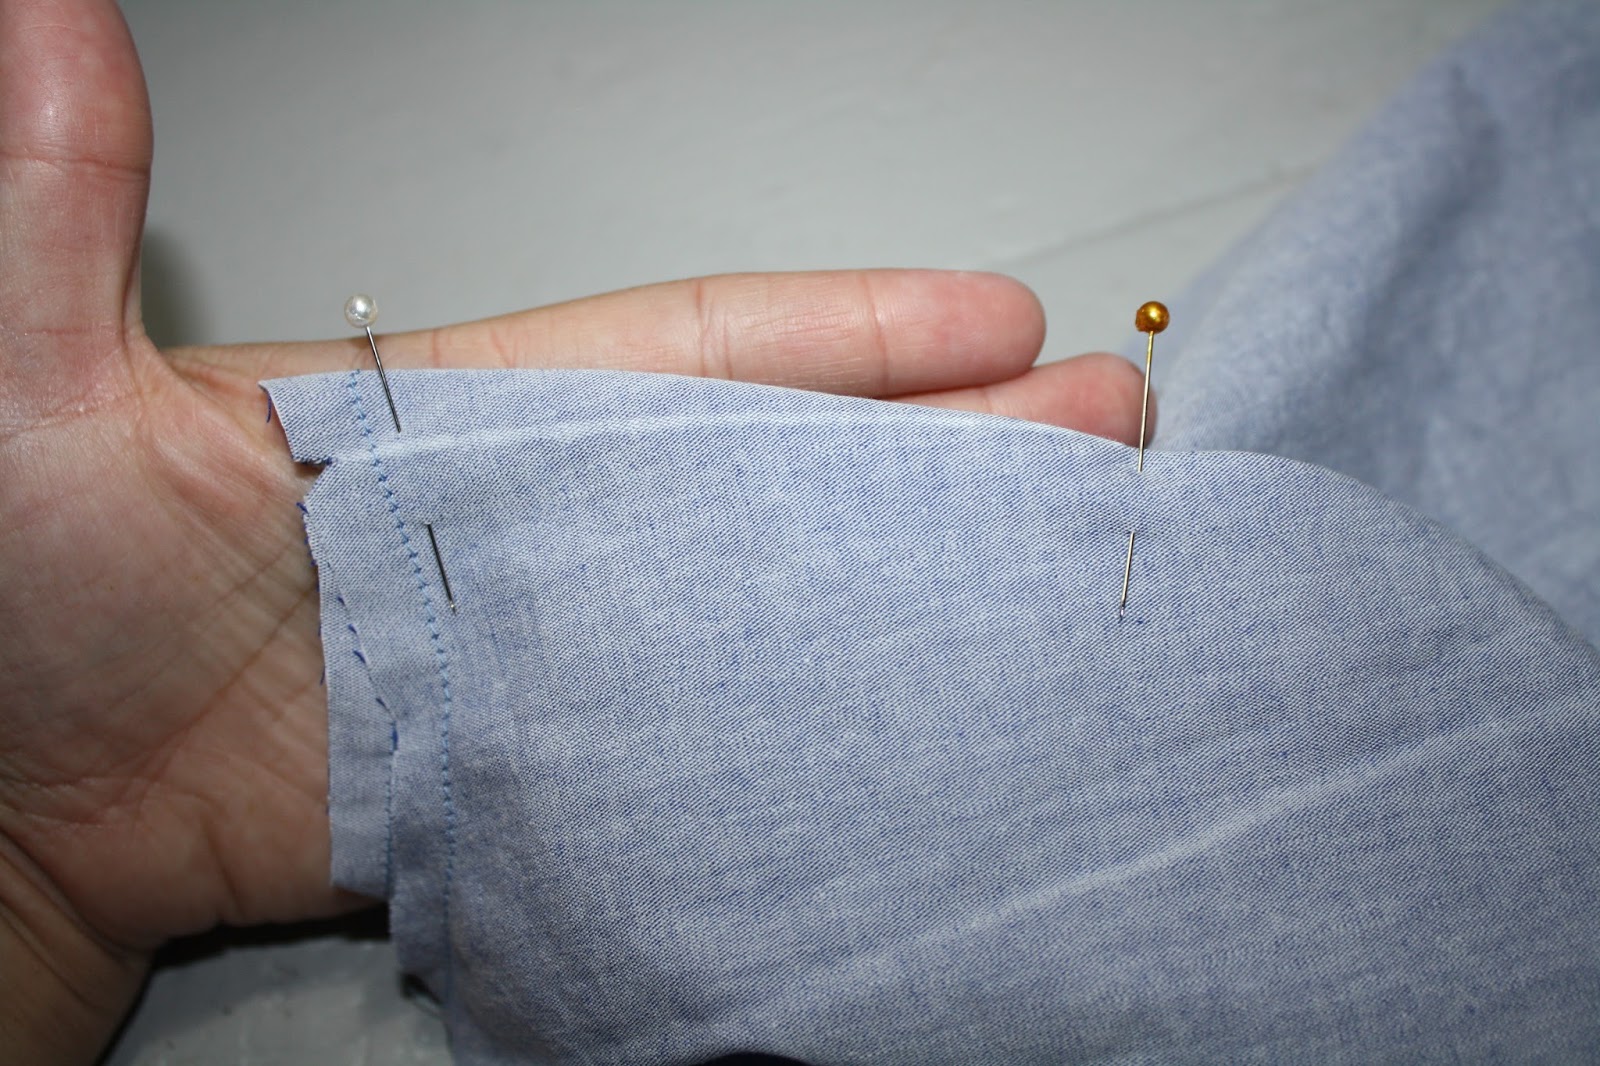
Now, to make sure my dart is even, I take a straight pin and place it through the dart line on the top side and then through to the bottom side making sure that the straight pin passes through the dart line on each side.  Pin this in place. (See the next three photos to see more details on this.)

4. Start sewing the dart at the raw edge of the dress, locking your stitches only when you start sewing the dart.

Stitch right on the line you transferred from the pattern for the dart. When you reach the bottom end of the dart, where it tapers off the fabric do not lock your stitches here. Instead sew right to the very end of your dart on the fabric's edge and then leave a long tail of thread. 

Now, take you long tail of thread and tie a few nice knots right next to the fabric's edge. This will leave a nice flat dart on the front side.

5. Press your dart once to "set" your stitches.

Then, press your dart on the back neck line towards the back center. For the front dress side darts, repeat in same manner but press the darts down.  Repeat with lining darts as well.

6. Onto the center waist darts!  We will sew these in the same manner as the top darts. I will show you a few pinning tricks to help you sew these nice and even.

Take a straight pin and put it through the very center of the dart on both sides.

Place your fabric together at this point with the right sides facing and pin in place.

Next pin the bottom of the dart with the dart folded in half.

Take another pin and place it through the line of the dart on each sides about an 1" up from the bottom of the dart. Pin this part of the dart in-place. Repeat this until you have the dart all pinned in place.

7. We will start sewing the dart at the top end. Do not lock your stitches on this dart at all!!!  Start by sewing right on the edge of the fabric where the dart starts.  Follow down until you reach the center of the dart.

At the center of the dart, pivot your needle, then follow sewing the dart line until you reach the bottom of the dart and sew right to the fabric edge. Once again, do not lock your stitches. Leave a long tail of thread at both the top and bottom of this dart.

Take the long thread tails and tie a few knots on both ends.

8. Press the dart to "set" the stitches.

9. Press the dart going towards the center of the dress. Repeat with all the center darts on both main dress and lining dress pieces.

10. Fuse the interfacing to the main dress on the wrong side for the zipper. Be sure to transfer the dot for the zipper onto the interfacing as well.

11. On the front side of the dress draw a 1/2" seam allowance line between the top and bottom dots you transferred from the pattern.

12.  Finish all the sides raw edges of the dress. Be sure not to trim any of the dress pieces while finishing these edges. Finish the sides and center back, and shoulder pieces if you would like to on this step. (I did not finish my shoulders' edges, I wanted to trim them down after sewn to reduce bulk in this area.)

13. Take you main dress back pieces and pin them together with right sides facing. Sew with a 1/2" sew allowance.

Press your seam open, repeat with back dress lining.
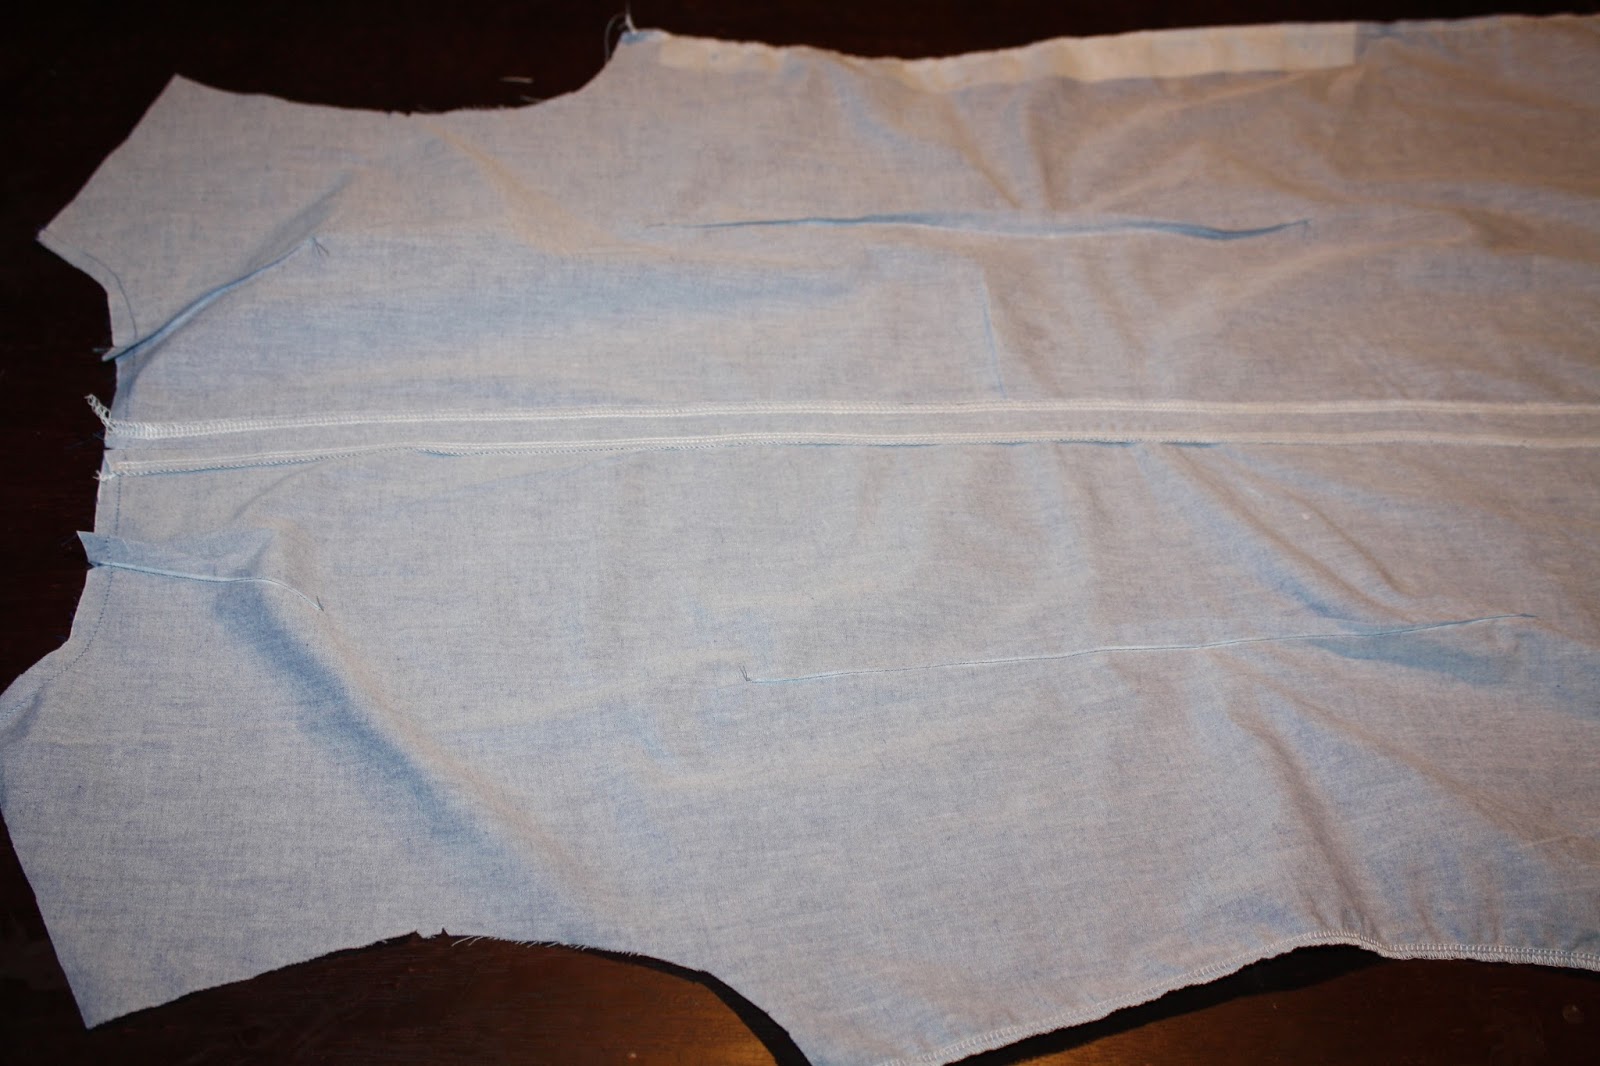
14. Take your two belt loop pieces and sew them together with a 1/2" seam allowance. Then, trim down the seam to a 1/4" and press seam open in the center.

Turn and press belt loops with seam in center back.

15. First cut four belt loops 3 1/2" long from the two pieces you have sewn. Finish the raw edges of each belt loop top and bottom. I used a narrow zig zag stitch on mine but you can use your serger.

16. Press the bottom and top of each belt loop to the back side a 1/4".

17. Now, turn your front dress panel over to the wrong side and push a pin through the center of the center dart.

18. Turn dress over to the right side and place the belt loop center right over the center of the dart, using the pin as a guild. Pin belt loop in place. Then remove the pin from the center backside of the dart.

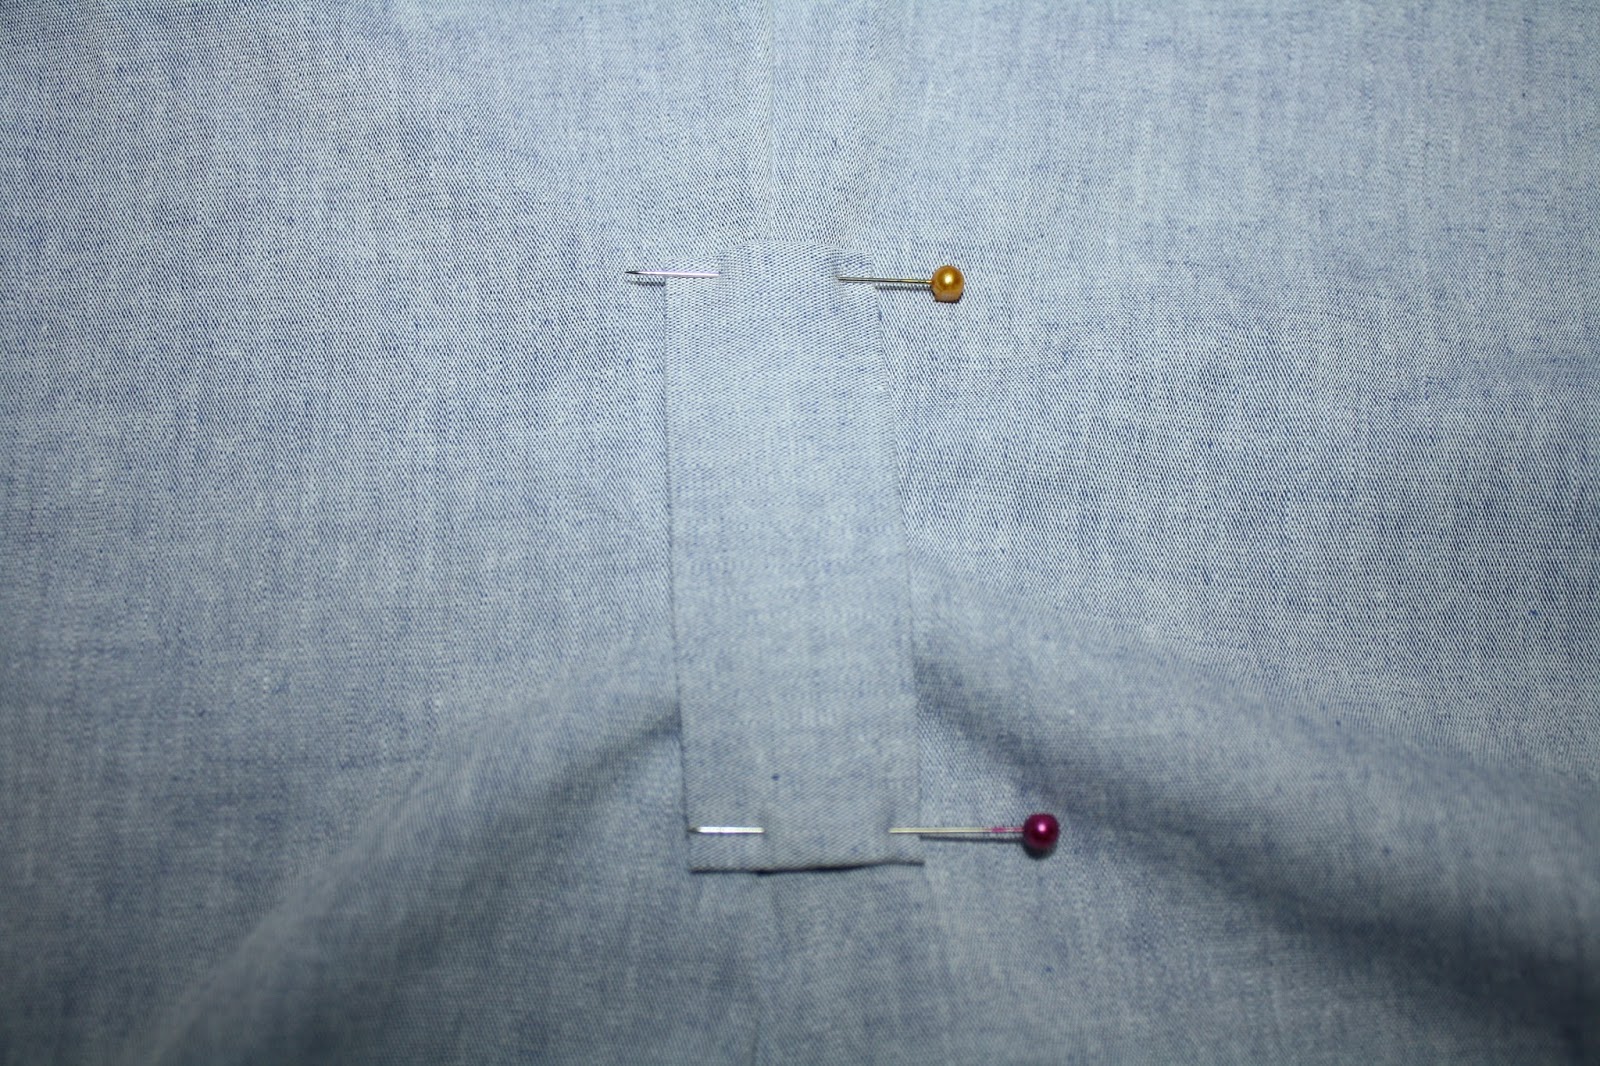
19. Sew the top and bottom of the belt loop in place. Repeat with remaining 3 belt loops. . 

That's it for today.  See you back here tomorrow for lesson 3.
Sharon

* If you would like to earn entries into the prize drawing, please make sure to submit a photo of your completed Lesson Two to this Facebook Album by 12:00 noon CST, Thursday, November 12th. If you have any questions the Facebook Group is a great place to ask.

Happy Sewing,
Danielle Storm
www.whimsicalfabric.com

Monday, November 9, 2015

Sew-Along #28 - Bistro Dress - Lesson #1

The Bistro Dress by Liesl+Co

 ** If you would like to see an image on our blog in a larger format, just click on it to enlarge.

Note: Links to products within this post are either links to our website or affiliate links.  

Welcome to Day 1 of the Bistro Dress Sew-Along. Before we begin, please read all the pattern directions first, even before cutting the pattern pieces out. You will need the pattern directions at hand for each lesson everyday. The directions for this pattern are wonderful and will help you make one of the best garments you have ever sewn yourself!  

To start, you will need to measure yourself. You will need to get bust measurements, hips and waist. The pattern is made to fit a B cup bra size. Now if your measurements are in one size for hip and waist and a different size for bust (like myself, I'm a size 18, but my bust does not fit into the 18 size, I'm a D cup bra size) it would be a good idea to make a  Full Bust Adjustment, or FBA for short. Maybe your bust size is smaller so you might need to make a Small Bust Adjustment, or SBA for short. The best way to find your correct bust size for a Liesl+Co pattern is to take a high bust measurement. Liesl wrote an excellent blog post on it. Click on the picture below to read more on how to measure correctly for this. 
http://oliverands.com/community/blog/2013/11/finding-your-correct-pattern-size.html

After you find your correct bust size go ahead and glue (or tape) your pattern pieces together. I, myself, prefer gluing mine so I can press my pattern later when I use again. I will walk you through the steps on how to make the FBA and SBA. It really is not hard if you take it slow. The fit of your dress will be amazing when done. It's so worth the time to make one!

I am also going to show you how to make a modification to the view A dress (the V neckline version) to make it fully lined. Below is the back of the dress pattern piece. I have traced the back dress dart with red marker so you can see it better. (The pattern does not have the dart lines fully there, just the starting point and ending point but you will need to trace the whole dart onto the fabric) The next red line you see (the long horizontal line) is the cutting line for the lining of the dress. If you are making view B, or the collar version, cut your dress lining out on this line. If you are making view A of the dress please DO NOT cut out the dress lining on this line, but rather cut the lining of the dress just as the main back dress. This way we can fully line our dresses.

Now onto the FBA or the SBA. Cut your front dress pattern piece along the waist line to create two pattern pieces and trace the top of the waist dart onto a separate piece of paper. Add your 1/2" seam allowance to the top portion of the front bodice as well.

Now draw a first line (Line #1) right up the center of the waist dart on your size. I drew mine about 2" taller than the top of the dart.

Draw a second line (Line #2) in the center of the side bust dart, meeting the previous line you just made.

Onto the third line (Line #3), this one will be drawn 1/3 of the way up from the bottom of the arm opening. (I measured mine to get the right spot) Draw a line to meet the first two lines where they meet together.

Now for the cutting part!! Cut on lines #1 and #3 in one continuous line right up to the seam line, pivoting at the center, stopping before you cut into the seam allowance mark you made. 

For the second ling, cut along line #2 you made stopping about a 1/4" before you reach the edge of the first cutting line.

This part is now where it will become either a FBA or SAB. First place a piece of paper behind your bodice piece. (I had to use two piece total for mine to cover all the areas I needed) 

For a C cup FBA move the bottom cut open 1/2", the upper cut portion will open up as needed to fit the bottom opening you made. Tape the pattern pieces into place along the openings so they stay in place. 

If you need a D cup FBA move the bottom opening over 3/4" and just as with the C cup the top opening will move as needed on it's own, tape the pattern in place so the openings do not move.

If you are making a SBA, move your opening to overlap a 1/2" to make the bust area smaller. Once again the pattern opening you made at the top will move on it's own as needed. Tape into place.

Note that the bottom of the pattern in now not even with the rest of the top bodice so now we are going to fix this and the size dart as well. Take a piece of paper and place it so that the bottom edge of the pattern piece is even along the bottom edge.

For the side dart add another piece of paper to retrace the dart on the side. Just follow the dart lines that are on the pattern for your size then go onto the new part of the pattern piece your making with both dart lines meeting.

Here is a closer look at the side dart.

Now just trim away the extra paper to give you new top bodice piece.

To make the full pattern piece, take you top and bottom front dress pattern pieces and tape them back together at the waist line. Remember the top center dart we traced? Take this and place it right over the bottom dart on the pattern piece to give you to correct placement of the center dart.

Lastly we need to fix the side of the front dress. The side right now does not match so to fix it add another strip of paper and draw a side line to blend the top bodice piece into the bottom one.

This is what the final front dress pattern piece will look like. 

Now cut all you pattern pieces out. If making view A be sure to cut out both neck facings as well as linings. ***Be sure to cut the back lining of view A  with the same cut lines as the main back dress pattern piece.***

Trace all your darts onto the wrong side of both your lining and main fabric pieces. Now transfer your dots onto the dress pieces according to the pattern. This part is very important so that the zipper placements dots are on the dress wears left on both the lining and main dress fabric. Also cut out two pieces of interfacing  1" by 16".

This is where we will leave off for today. We will start tomorrow by sewing all our darts. This is my favorite part of sewing this dress, it gives it the lovely fit that I love! 

Until then,
Sharon

* If you would like to earn entries into the prize drawing, please make sure to submit a photo of your completed Lesson One to this Facebook Album by 12:00 noon CST, Wednesday, November 11th. If you have any questions the Facebook Group is a great place to ask.

Happy Sewing,
Danielle Storm
www.whimsicalfabric.com

Thursday, November 5, 2015

Sew-Along #28 - Bistro Dress - Preparations

The Bistro Dress by Liesl+Co


Items to Collect 
*Note: Links to products within this post are either links to our website or affiliate links. 
  1. You must have the Bistro Dress pattern to be able to take part in this sew-along.  If you have not yet purchased this, please do so here. This pattern is an instant download and you will have access to download it as soon as your purchase is completed.
  2. If you do not have fabric for the project you will want to purchase some.  At the time of this writing we have have lots of fabric kits available.  We also have lots of nice fabric selections on our website.

    Note: We greatly appreciate your purchase of patterns and kits from us.  These purchases help pay for the sew-alongs and allow us to continue to offer them along with the great prizes we give away. Thank you for your support!


  3. In addition to the main fabric for the dress, you will want a lightweight fabric for the lining.  Lining the garment will make the dress look more professional and will give it a more luxurious feel when worn. We highly recommend voile for this as it feels amazing against your skin. Our value priced Spechler-Vogel Imperial Broadcloth also works well for lining and feels great against the skin. 
  4. Along with your fabrics you will need some fusible interfacing.  A ½ yard should be enough. If you have or are purchasing a kit from us it does include fusible interfacing.  If you are not purchasing a kit you will need to make sure you have some on hand. 
  5. The Bistro dress pattern requires a 16" invisible zipper.  If you can not find a 16" just buy a zipper that is longer.  Sharon will show you how to cut it down in the lessons.  Again, our fabric kits all come with zippers.  We like to make those kits easy for you.  If you are not purchasing a kit from us though, please make sure you have a zipper on hand.
  6.  And finally, you will need pins, a sewing machine, a good iron (a steam iron is preferable for sewing), a pair of fabric shears or a rotary cutter and mat (a rotary cutter and mat is a lifesaver!), a ruler, and a fabric marker/pen or chalk. 

Optional Items to Collect - The following items are totally optional. 
  1. A quilting ruler will be very beneficial for making the darts.  It's not mandatory, but if you don't have one and are able to purchase one, we recommend it.
  2. All Oliver+S and Liesl+Co patterns come with a really neat feature.  Did you know that the very last page(s) of the PDF is the complete pattern pieces on a wide format page?  You can take your file to most any printer and they can print this out for you. This will save you a lot of time, frustration, and tape.
  3. If you do decide to have a printer print out the large format, you most likely won't want to cut into your pattern. I like to trace out all my pattern pieces on freezer paper.  We will not be teaching this step, but you can read more about it here.  Feezer paper can be bought at most grocery stores (by the wax paper and aluminum foil) or on Amazon.
    http://www.amazon.com/gp/product/B000BZYCNK/ref=as_li_qf_sp_asin_il_tl?ie=UTF8&camp=1789&creative=9325&creativeASIN=B000BZYCNK&linkCode=as2&tag=whimsfabri-20&linkId=GPKUUVQ2GI2QBHCI
     

Things to Do
  1. Make sure to prewash and preshrink all of your fabrics.  I wash my fabrics on warm or hot and then I dry my fabrics in the dryer with no softeners.  I always preshrink in this way when I am using fabric for clothing construction. I would hate to work hard on something only to have it shrink and not fit when I was done. 
  2. I also prewash my fusible interfacing to preshrink it.  This will prevent any wrinkles or waves that might arise when you iron or launder your garment.  To prewash your interfacing simply soak it in a sink for about 5 minutes in very warm water.  You don't want the water too hot to avoid removing the iron-on finish, but you do want it warm enough to shrink the interfacing.  After soaking, just pat it with a clean towel and hang it to dry. 
  3. Press all of your fabrics (but not your fusible interfacing) well.  I try to do this straight out of the dryer so that the wrinkles come out easier.  
  4. Make sure to download the pattern PDF onto your computer, tablet, or smart phone. Your pattern will be located in your order history on our site.  Log into your account, then click on the My Account at the very top right hand side of our site.  You will then see a list of your orders.  Click on the correct order and a download link will be available.  
  5. If you are having a printer print your last page, don't wait to the last minute to have that done.  Some printers have a couple of days wait for such things.  
    or
    If you are printing the pattern yourself, please make sure to have printed it and taped it together before lesson 1.  We have not included this part in the lesson.  For help in printing and taping, please see this previous lesson - Class Picnic Lesson 1.
  6. Don't forget to join our Whimsical Fabric & Me Group so you can post your progress pictures. Everyone who posts completed lesson pictures, on time, to the Facebook Group, will be entered into drawings to win some awesome prizes!  Please note that this is a different group then what we have hosted the sew-alongs in the past.  Please make sure to join this group so you don't miss out if you haven't already.

The Prizes
At the close of the Sew-Along we will be giving away 5 Liesl+Co PDF patterns as prizes.  It's the perfect chance to snag some of these amazing patterns to sew for yourself this holiday season.  Make sure to join the Facebook Group so you have a chance to win! Each prize pattern has up to a $14.95 value.

We will give out entries for the prize pool drawing during the sew-along. There are three different ways to earn entries into the prize drawing.
  1. Each day that you turn in an assignment on time you will receive 1 entry per item you create. Thus, the more items you make, the more entries you will receive.
  2. We will also award 1 entry for purchasing the Bistro pattern from us using the coupon code SewAlongSavings.
  3. In addition, if you purchased a kit from the Sew-Along #28 Category we will award you another 2 entries for each kit purchased.  *Note: Patterns purchased within the kit count as pattern purchases outlined in step #2 above.
Happy Sewing,
Danielle Storm
www.whimsicalfabric.com  
#navbar-iframe{ display:none !important;}