** If you would like to see an image on our blog in a larger format, just click on it to enlarge.
Note: Links to products within this post are either links to our website or affiliate links.
Welcome to Day 1 of the Bistro Dress Sew-Along. Before we begin, please read all the pattern directions first, even before cutting the pattern pieces out. You will need the pattern directions at hand for each lesson everyday. The directions for this pattern are wonderful and will help you make one of the best garments you have ever sewn yourself!

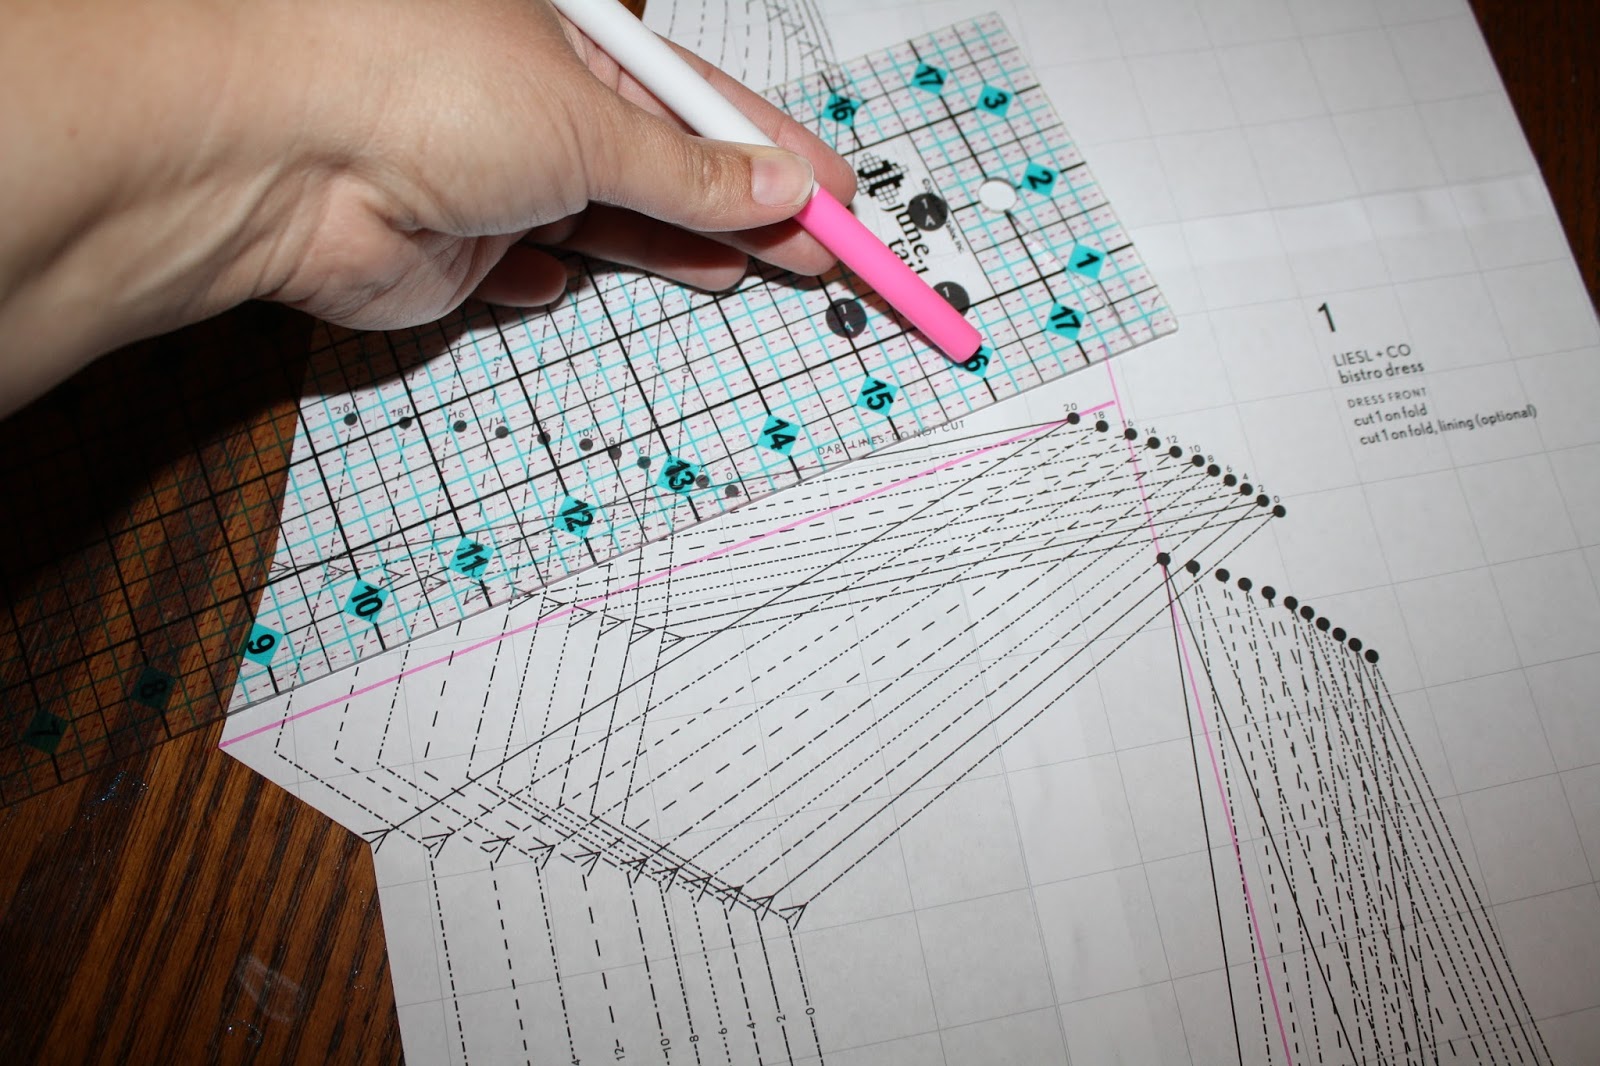
To start, you will need to measure yourself. You will need to get bust measurements, hips and waist. The pattern is made to fit a B cup bra size. Now if your measurements are in one size for hip and waist and a different size for bust (like myself, I'm a size 18, but my bust does not fit into the 18 size, I'm a D cup bra size) it would be a good idea to make a Full Bust Adjustment, or FBA for short. Maybe your bust size is smaller so you might need to make a Small Bust Adjustment, or SBA for short. The best way to find your correct bust size for a Liesl+Co pattern is to take a high bust measurement. Liesl wrote an excellent blog post on it. Click on the picture below to read more on how to measure correctly for this.

After you find your correct bust size go ahead and glue (or tape) your pattern pieces together. I, myself, prefer gluing mine so I can press my pattern later when I use again. I will walk you through the steps on how to make the FBA and SBA. It really is not hard if you take it slow. The fit of your dress will be amazing when done. It's so worth the time to make one!
I am also going to show you how to make a modification to the view A dress (the V neckline version) to make it fully lined. Below is the back of the dress pattern piece. I have traced the back dress dart with red marker so you can see it better. (The pattern does not have the dart lines fully there, just the starting point and ending point but you will need to trace the whole dart onto the fabric) The next red line you see (the long horizontal line) is the cutting line for the lining of the dress. If you are making view B, or the collar version, cut your dress lining out on this line. If you are making view A of the dress please DO NOT cut out the dress lining on this line, but rather cut the lining of the dress just as the main back dress. This way we can fully line our dresses.

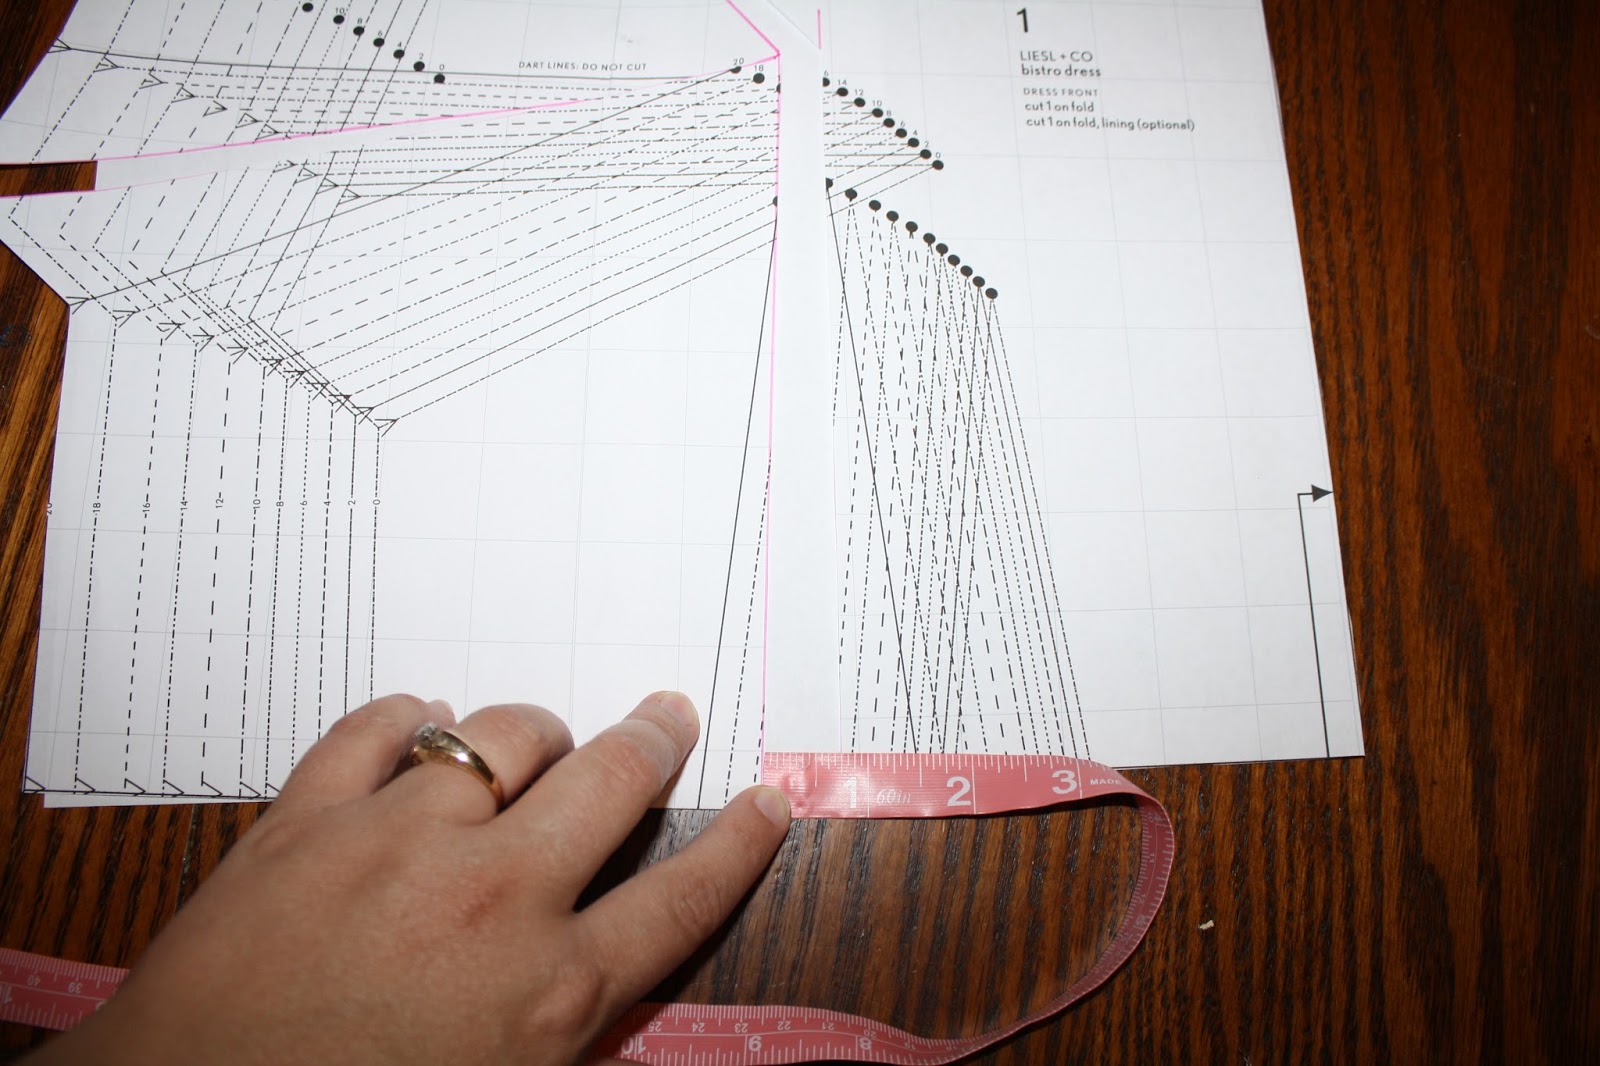
Now onto the FBA or the SBA. Cut your front dress pattern piece along the waist line to create two pattern pieces and trace the top of the waist dart onto a separate piece of paper. Add your 1/2" seam allowance to the top portion of the front bodice as well.

Now draw a first line (Line #1) right up the center of the waist dart on your size. I drew mine about 2" taller than the top of the dart.

Draw a second line (Line #2) in the center of the side bust dart, meeting the previous line you just made.
Onto the third line (Line #3), this one will be drawn 1/3 of the way up from the bottom of the arm opening. (I measured mine to get the right spot) Draw a line to meet the first two lines where they meet together.

Now for the cutting part!! Cut on lines #1 and #3 in one continuous line right up to the seam line, pivoting at the center, stopping before you cut into the seam allowance mark you made.

For the second ling, cut along line #2 you made stopping about a 1/4" before you reach the edge of the first cutting line.

This part is now where it will become either a FBA or SAB. First place a piece of paper behind your bodice piece. (I had to use two piece total for mine to cover all the areas I needed)
For a C cup FBA move the bottom cut open 1/2", the upper cut portion will open up as needed to fit the bottom opening you made. Tape the pattern pieces into place along the openings so they stay in place.
If you need a D cup FBA move the bottom opening over 3/4" and just as with the C cup the top opening will move as needed on it's own, tape the pattern in place so the openings do not move.
If you are making a SBA, move your opening to overlap a 1/2" to make the bust area smaller. Once again the pattern opening you made at the top will move on it's own as needed. Tape into place.
Note that the bottom of the pattern in now not even with the rest of the top bodice so now we are going to fix this and the size dart as well. Take a piece of paper and place it so that the bottom edge of the pattern piece is even along the bottom edge.

For the side dart add another piece of paper to retrace the dart on the side. Just follow the dart lines that are on the pattern for your size then go onto the new part of the pattern piece your making with both dart lines meeting.

Here is a closer look at the side dart.

Now just trim away the extra paper to give you new top bodice piece.

To make the full pattern piece, take you top and bottom front dress pattern pieces and tape them back together at the waist line. Remember the top center dart we traced? Take this and place it right over the bottom dart on the pattern piece to give you to correct placement of the center dart.

Lastly we need to fix the side of the front dress. The side right now does not match so to fix it add another strip of paper and draw a side line to blend the top bodice piece into the bottom one.

This is what the final front dress pattern piece will look like.


Now cut all you pattern pieces out. If making view A be sure to cut out both neck facings as well as linings. ***Be sure to cut the back lining of view A with the same cut lines as the main back dress pattern piece.***

Trace all your darts onto the wrong side of both your lining and main fabric pieces. Now transfer your dots onto the dress pieces according to the pattern. This part is very important so that the zipper placements dots are on the dress wears left on both the lining and main dress fabric. Also cut out two pieces of interfacing 1" by 16".

This is where we will leave off for today. We will start tomorrow by sewing all our darts. This is my favorite part of sewing this dress, it gives it the lovely fit that I love!
Until then,
Sharon
* If you would like to earn entries into the prize drawing, please make sure to submit a photo of your completed Lesson One to this Facebook Album by 12:00 noon CST, Wednesday, November 11th. If you have any questions the Facebook Group is a great place to ask.
Danielle Storm
www.whimsicalfabric.com
This FBA is making me super nervous! I'm going to do it though. I've been staring at the pattern and the directions since I woke up this morning. Well, in between homeschooling the first grader, doing dishes, and chasing the toddler. ;-) The pattern is all taped so I guess it's time to do it . . .
ReplyDeleteI DID IT! :-) The photos in this post were super helpful.
DeleteYay! This is awesome to hear. Congrats on conquering the FBA!
DeleteShould both the facing and the lining be cut out of the lining fabric?
ReplyDelete