** If you would like to see an image on our blog in a larger format, just click on it to enlarge.
Note: Links to products within this post are either links to our website or affiliate links.
Welcome back to Day 2 of Bistro Dress Sew-Along. Before we begin please read all the directions first. You will need the pattern directions to follow also.
Today is my favorite day of the sew along. I love sewing darts. The darts are what gives this dress it's wonderful fit and shape. I hope you will enjoy sewing them as much as I do. Let's get started!
1. Sew a row of stay stitching onto the neck line of all the main dress pieces and lining pieces. This will keep the neck line from stretching out while we sew.

2. Fuse the interfacing onto the wrong sides of the neck facings. For View A transfer the V notch stitching lines onto the front neck facing.

3. To sew the darts we will start with the neckline and side darts.

This is how I make my darts so they are nice and even.
Fold the dart in half, matching up the notches on the edge, with right sides of fabric facing each other.

Pin the top and bottom of the dart.
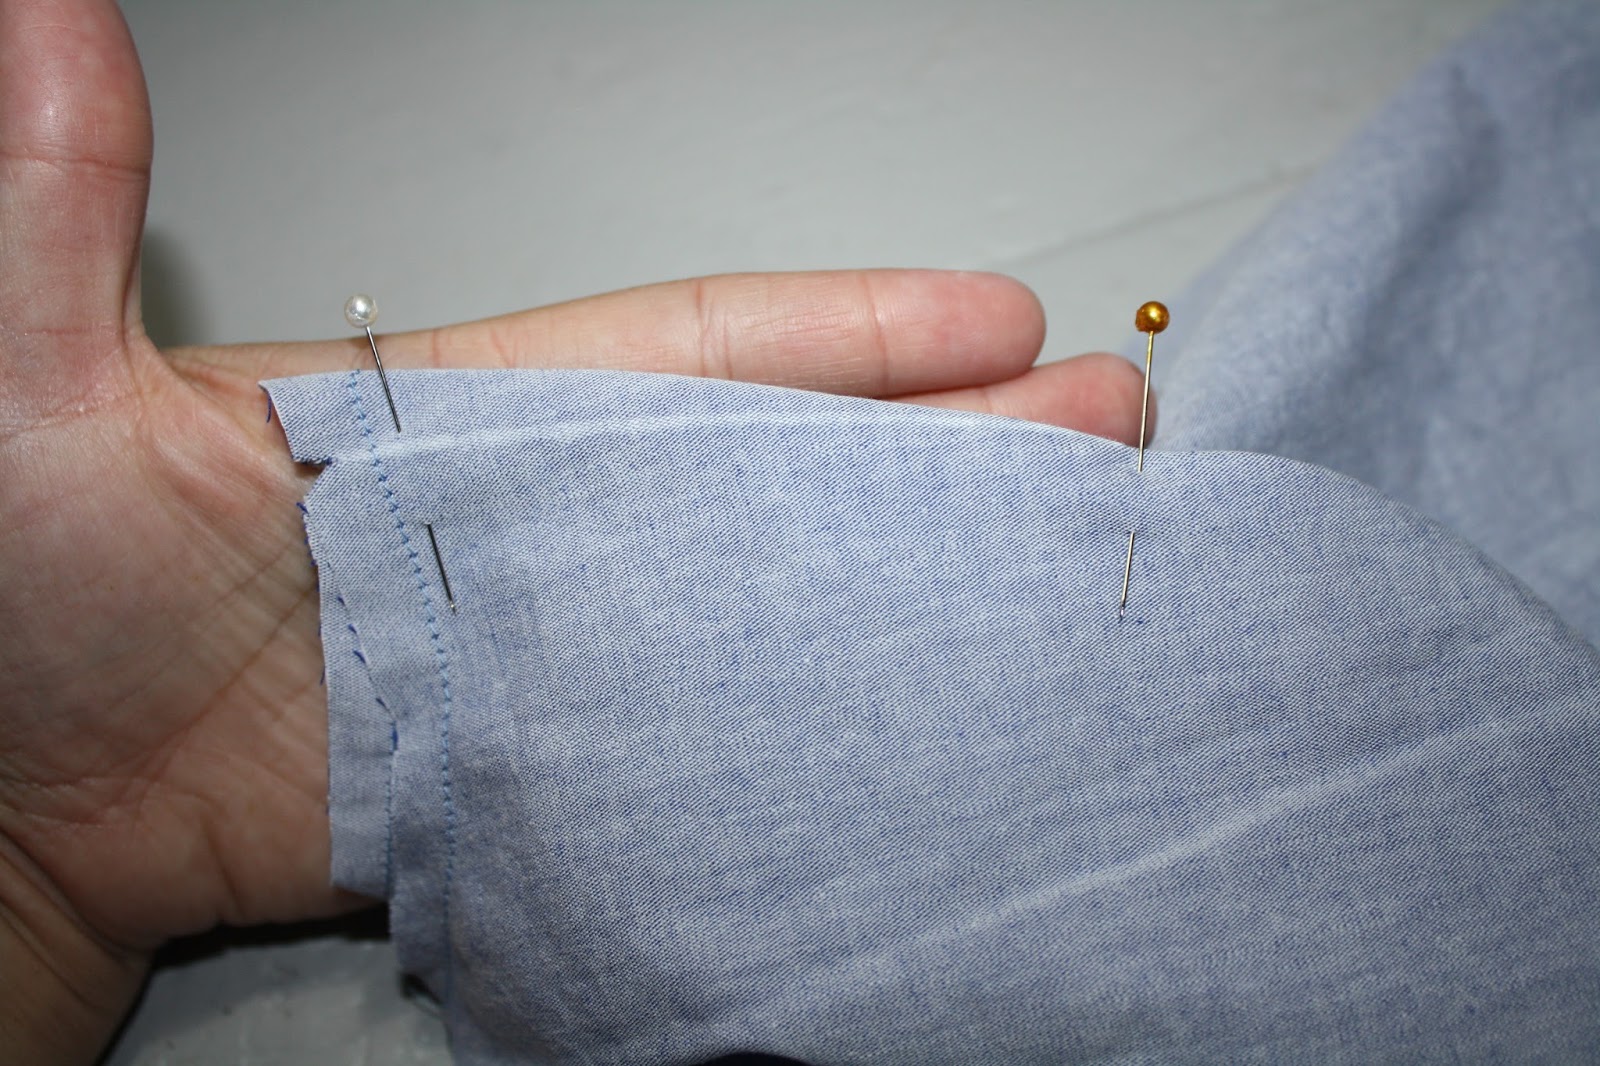
Now, to make sure my dart is even, I take a straight pin and place it through the dart line on the top side and then through to the bottom side making sure that the straight pin passes through the dart line on each side. Pin this in place. (See the next three photos to see more details on this.)


4. Start sewing the dart at the raw edge of the dress, locking your stitches only when you start sewing the dart.

Stitch right on the line you transferred from the pattern for the dart. When you reach the bottom end of the dart, where it tapers off the fabric do not lock your stitches here. Instead sew right to the very end of your dart on the fabric's edge and then leave a long tail of thread.

Now, take you long tail of thread and tie a few nice knots right next to the fabric's edge. This will leave a nice flat dart on the front side.

5. Press your dart once to "set" your stitches.

Then, press your dart on the back neck line towards the back center. For the front dress side darts, repeat in same manner but press the darts down. Repeat with lining darts as well.

6. Onto the center waist darts! We will sew these in the same manner as the top darts. I will show you a few pinning tricks to help you sew these nice and even.

Take a straight pin and put it through the very center of the dart on both sides.

Place your fabric together at this point with the right sides facing and pin in place.

Next pin the bottom of the dart with the dart folded in half.

Take another pin and place it through the line of the dart on each sides about an 1" up from the bottom of the dart. Pin this part of the dart in-place. Repeat this until you have the dart all pinned in place.


7. We will start sewing the dart at the top end. Do not lock your stitches on this dart at all!!! Start by sewing right on the edge of the fabric where the dart starts. Follow down until you reach the center of the dart.

At the center of the dart, pivot your needle, then follow sewing the dart line until you reach the bottom of the dart and sew right to the fabric edge. Once again, do not lock your stitches. Leave a long tail of thread at both the top and bottom of this dart.

Take the long thread tails and tie a few knots on both ends.

8. Press the dart to "set" the stitches.

9. Press the dart going towards the center of the dress. Repeat with all the center darts on both main dress and lining dress pieces.

10. Fuse the interfacing to the main dress on the wrong side for the zipper. Be sure to transfer the dot for the zipper onto the interfacing as well.

11. On the front side of the dress draw a 1/2" seam allowance line between the top and bottom dots you transferred from the pattern.

12. Finish all the sides raw edges of the dress. Be sure not to trim any of the dress pieces while finishing these edges. Finish the sides and center back, and shoulder pieces if you would like to on this step. (I did not finish my shoulders' edges, I wanted to trim them down after sewn to reduce bulk in this area.)

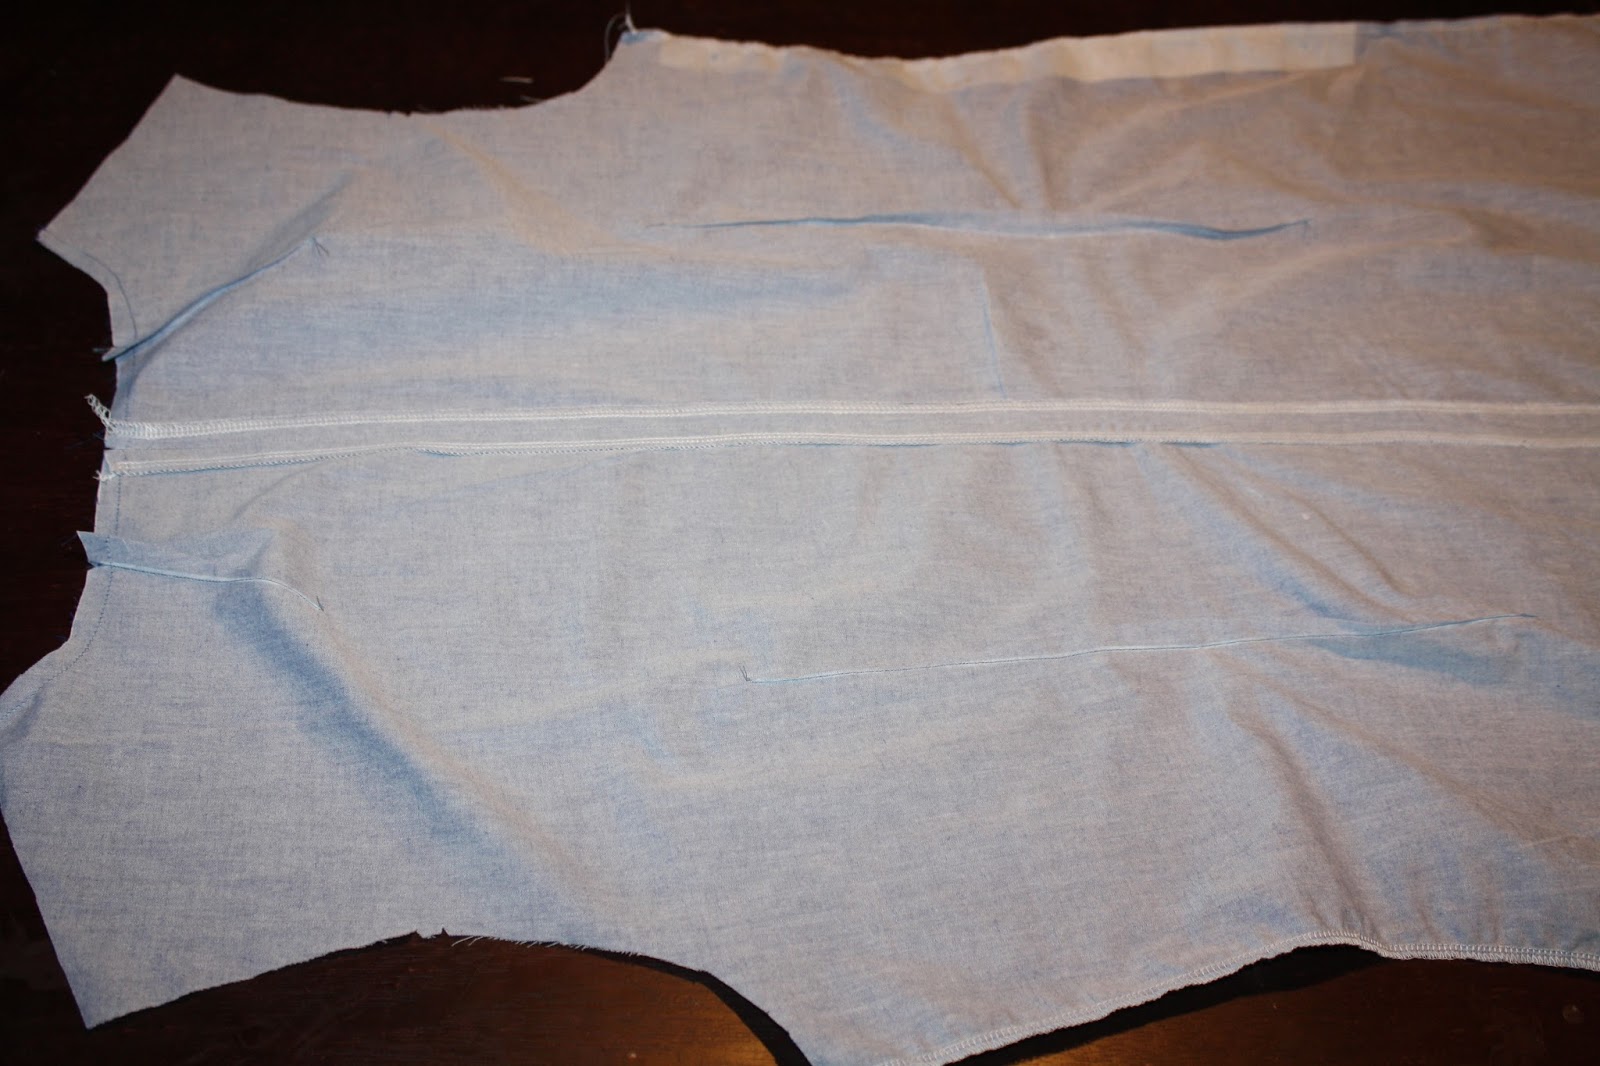
13. Take you main dress back pieces and pin them together with right sides facing. Sew with a 1/2" sew allowance.

Press your seam open, repeat with back dress lining.
14. Take your two belt loop pieces and sew them together with a 1/2" seam allowance. Then, trim down the seam to a 1/4" and press seam open in the center.

Turn and press belt loops with seam in center back.

15. First cut four belt loops 3 1/2" long from the two pieces you have sewn. Finish the raw edges of each belt loop top and bottom. I used a narrow zig zag stitch on mine but you can use your serger.

16. Press the bottom and top of each belt loop to the back side a 1/4".

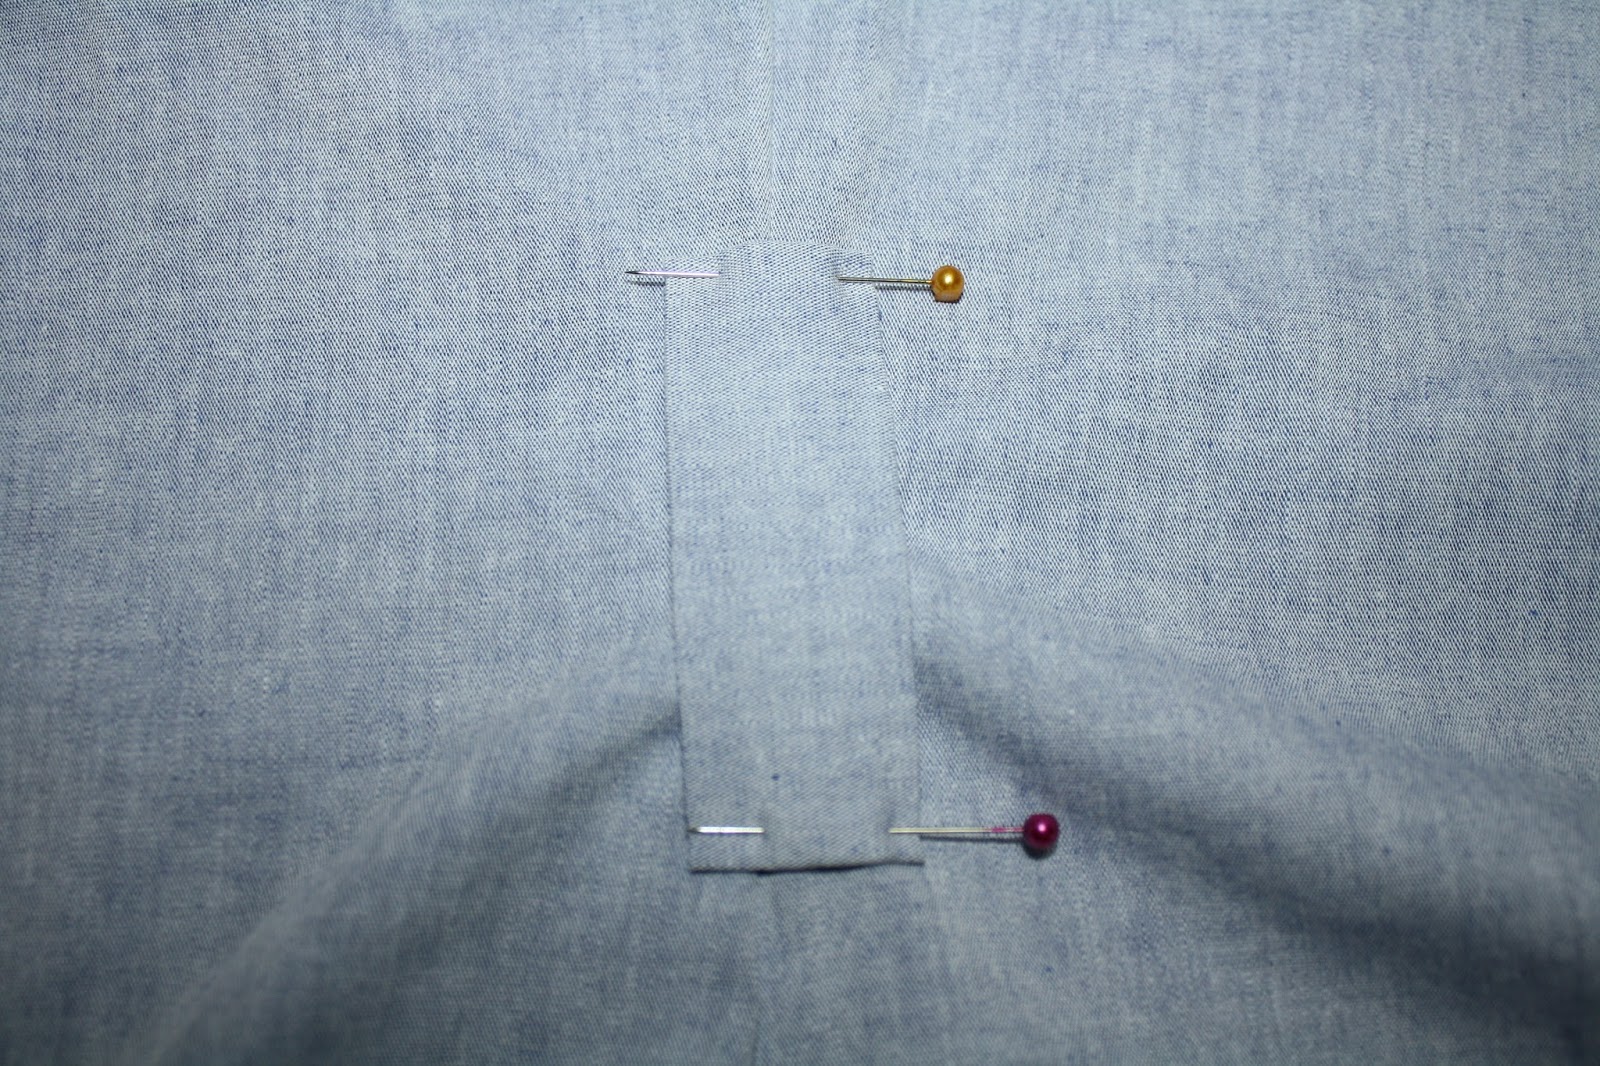
17. Now, turn your front dress panel over to the wrong side and push a pin through the center of the center dart.

18. Turn dress over to the right side and place the belt loop center right over the center of the dart, using the pin as a guild. Pin belt loop in place. Then remove the pin from the center backside of the dart.


That's it for today. See you back here tomorrow for lesson 3.
Sharon
* If you would like to earn entries into the prize drawing, please make sure to submit a photo of your completed Lesson Two to this Facebook Album by 12:00 noon CST, Thursday, November 12th. If you have any questions the Facebook Group is a great place to ask.
Danielle Storm
www.whimsicalfabric.com
No comments:
Post a Comment