** If you would like to see an image on our blog in a larger format, just click on it to enlarge.
Note: Links to products within this post are either links to our website or affiliate links.
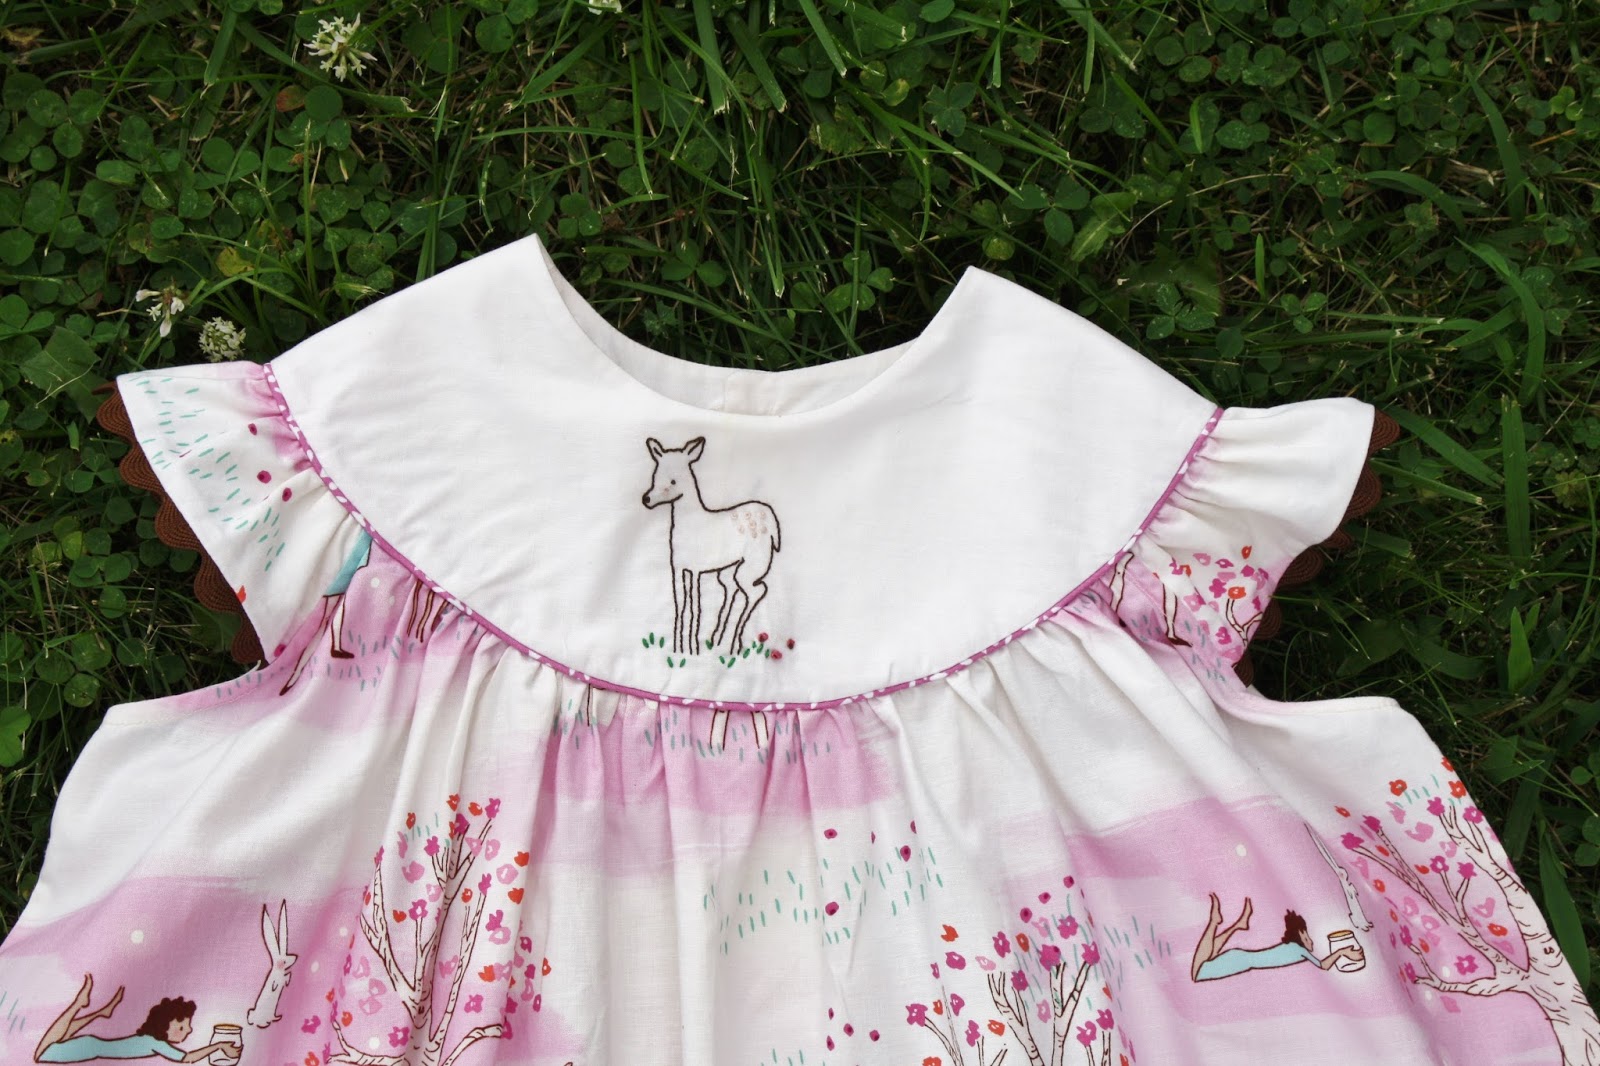
Welcome to Day 4 of the Mamie Dress Sew-Along!! I hope you have been enjoying the sew along as much as I have. Today is the most exciting day as we finish up our dresses! So let us get started.

Hemming the Dress
1. First we will press the bottom hem up a 1/4" all the way around the bottom of the skirt.

2. The next hem fold is up 3". So, to help the fabric leave a lovely finish on the front side, we are going to sew two rows of gathering stitches. The first one, 2" from the bottom of the dress.

3. The next line of gathering stitches is sewn 5/8" from the bottom of the dress.

4. Now, press the bottom fold of the hem first, being sure to keep the curve of the hem line.

5. Next, line up and pin the back button placket in place. Then, gently pull the gathering threads in so the hem of the dress fits the bottom shape of the dress. You will creating small tucks as you go around the dress.

6. Press well and pin in place.

7. This is what the front will look like, a nice, smooth finish for stitching. Continue working around the dress until you have all the hem pressed and pinned. Stitch the hem in place with either hand stitching or machine stitching.

Adding Buttons and Buttonholes
We are almost done!
Stitch the button holes onto the back of the dress on the wearers right side and sew the buttons onto the wears left side.

Note from Danielle: Once all of your buttonholes have been stitched go ahead and rip them open. One trick to keep from ripping too far is to place a pin in the end of the buttonhole. Wouldn't you be crushed if you ripped right through the bar tacks and ruined your placket. Use that pin!


Another Note from Danielle: I really don't like hand stitching buttons. If you have a button foot and like to use it, great. I dislike my button foot with a passion. I don't know why, we just don't get along. I'm going to show you my little trick. You might already be doing this, if not, I think you're going to be excited about how much time it will save you. Please promise me though that you will be VERY CAREFUL and not sew your fingers or catch a piece of needle in your eye!
1. The first thing you will need to do is snap off your current foot and set it aside.

2. Next you need to set up your machine so it does a zigzag stitch with a stitch length of zero. The width of your zigzag will vary depending on your machine and on the buttons you will be using, though most have a standard hole spacing. These are my settings.

3. Place the button exactly where you want it.

4. Now, center the button under the needle and slowly lower the presser foot. The shank will rest on your button like so.

5. Slowly lower the needle by turning the hand wheel, making sure it is centered on the hole.

6. Keep turning the hand wheel until the needle is lowered into the second hole. If your spacing is off, adjust the width of your zigzag.

7. Keep hand turning the wheel slowly until you make sure you have it set just right.

8. When it's right and you have a few stitches in, go ahead and sew that button on.

9. Continue with the rest of your buttons. Don't you just love how quick that was!! Now your dress is done.

The final step? Enjoy all your hard work!!

Please share you finished garments on the Whimsical Fabric & Me Facebook Group!!
Sharon
* If you would like to earn entries into the prize drawing, please make sure to submit a photo of your completed lesson four to this Facebook Album by 12:00 noon CST, Monday, August 24th. If you have any questions the Facebook Group is a great place to ask.
Danielle Storm
www.whimsicalfabric.com
No comments:
Post a Comment