** If you would like to see an image on our blog in a larger format, just click on it to enlarge.
Note: Links to products within this post are either links to our website or affiliate links.
Welcome to Day 3 of the Mamie Dress Sew-Along! Today we will sew the yoke of the dress. It will really start looking like a dress
today. Be sure to read today's lesson on your pattern first before
starting sewing.

1. Sew a gathering stitch across the top neck line of the front dress, back dress and sleeve ruffles starting and stopping at the X's on the back side of the dress skirts. (Do not lock your gathering stitches.) I do this in two sections on either side starting and stopping at the center front. I find this easier for me to gather my dress.

2. Take your main yoke and pin it at the shoulders on both sides and stitch . Press the seam allowance open. Repeat with yoke lining.

3. If you are using store bought piping, trim the seam allowance to a 1/4". If you are making yours lets get started! Take you fabric and fold the bottom edge up to the side edge. The "angle edge" is where we are going to be cutting to make our bias.

4. Place your quilting ruler over the folded angled edge 3/8" and cut the full length. This will give us a 1/4" seam piping when sewn.

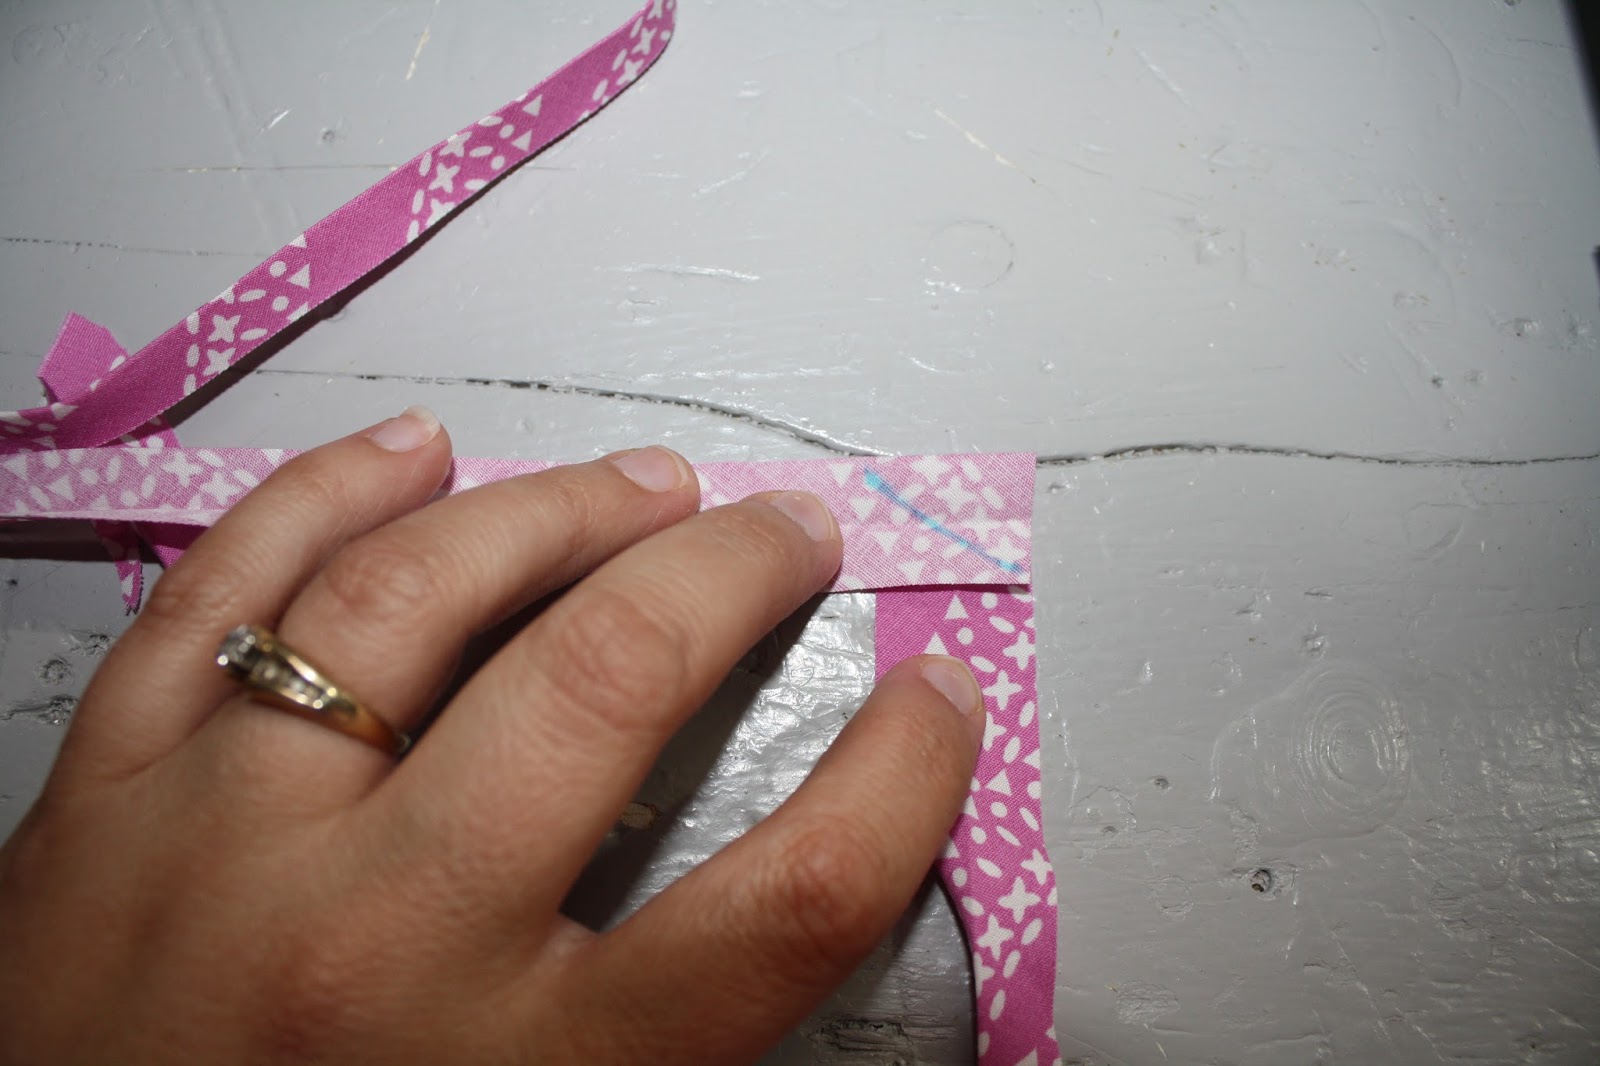
5. Cut a straight edge on the ends of the both bias strips. Take your bias strips and lay them with right sides together in a 90 degree angle as shown. Mark the top bias strip on it's wrong side from the under bias strips top left corner edge to the top bias strips bottom right corner edge.
6. Stitch right on this marking you made.

7. Trim the seam down to a 1/4" then press open.

8. Press the bias strip in half with wrong sides together.

9. Place your cording presser foot or zipper presser foot onto your sewing machine. Place the cording into the center inside fold of your bias strip.

10. Sew a row of basting stitching alongside the cording. (I used my regular zipper presser foot.)


11. Take your piping and steam press it into a circle, this will make it easier to apply the piping onto your yoke.

12. Pin your piping along the bottom of the main yoke with the raw edges of the piping and yoke even with each other, leaving a bit of the piping over hanging on the back yoke edges. Stitch in place as close as you can to piping.


13. Take the yoke and the skirts and place them right sides together. Match up the dots from the dress to the dots on the yoke and the center front of the yoke to the center front of the dress. Leave a 1/2" area un-gathered at the seam of the sleeve ruffle to reduce bulk in this area. (There is a dot marking this area on the pattern.)

14. Next, pin the back of the skirt to the yoke with the back yoke extending the skirt button placket edge by a 1/4".

15. Working around the entire yoke, gather the skirts evenly and pin as you go. (Yes I do use a lot of pins in this step!)

16. Sew on the yoke's wrong side, right over the stitching from where the piping was sewn on.

17. Trim the seam allowance to a 1/8" all the way around the yoke.

18. Now, press seam up towards the yoke.

19. Take your lining yoke and sew a
row of basting stitches a 1/4" from the edge. Press up from the
basting stitches to the wrong side.

20. Place the lining yoke over the main yoke with right sides together. Pin the yokes together at the back yoke edge and around the neck line. Stitch with a 1/4" seam allowance. Trim edges and corners, turn and press well.

21. Carefully pin the yoke lining to the inside of the dress all the way around with the raw edges tucked in between the main yoke and yoke lining.

22. Hand stitch the yoke in place.

We will leave off here today. Come back tomorrow for the final lesson so we can finish up our dresses!! I am excited and hope you are too!!
Sharon
* If you would like to earn entries into the prize drawing, please make sure to submit a photo of your completed lesson three to this Facebook Album by 12:00 noon CST, Friday, August 21st. If you have any questions the Facebook Group is a great place to ask.
Danielle Storm
www.whimsicalfabric.com
No comments:
Post a Comment