NOTE: Please make sure you read over the Art Museum pattern directions prior to starting this sew-along. You should keep these directions open and where you can read them as you go through these lessons. You might want to carefully read through this lesson also before beginning.If you have any questions, suggestions, or tips to share; please make sure to post them on our Facebook group. Also, if you would like to see any of the images larger that are posted in this blog, just click on them to enlarge.
Who is ready to finish this vest!?!?!??!?! Can I get a Woot Woot! If you are anything like me, you are already getting excited by the cuteness, so let's finish it up so we can say we accomplish something this week - cause heaven knows the house is a wreak and the kids have forgotten all other foods but PB&J... wait, that is just me, ok - moving on.
Today you will need your buttons, your button hole foot, and thread that you want to be visible on your button holes. As always, get that iron hot and let's get stitchin'.
Side Seams and Hem:
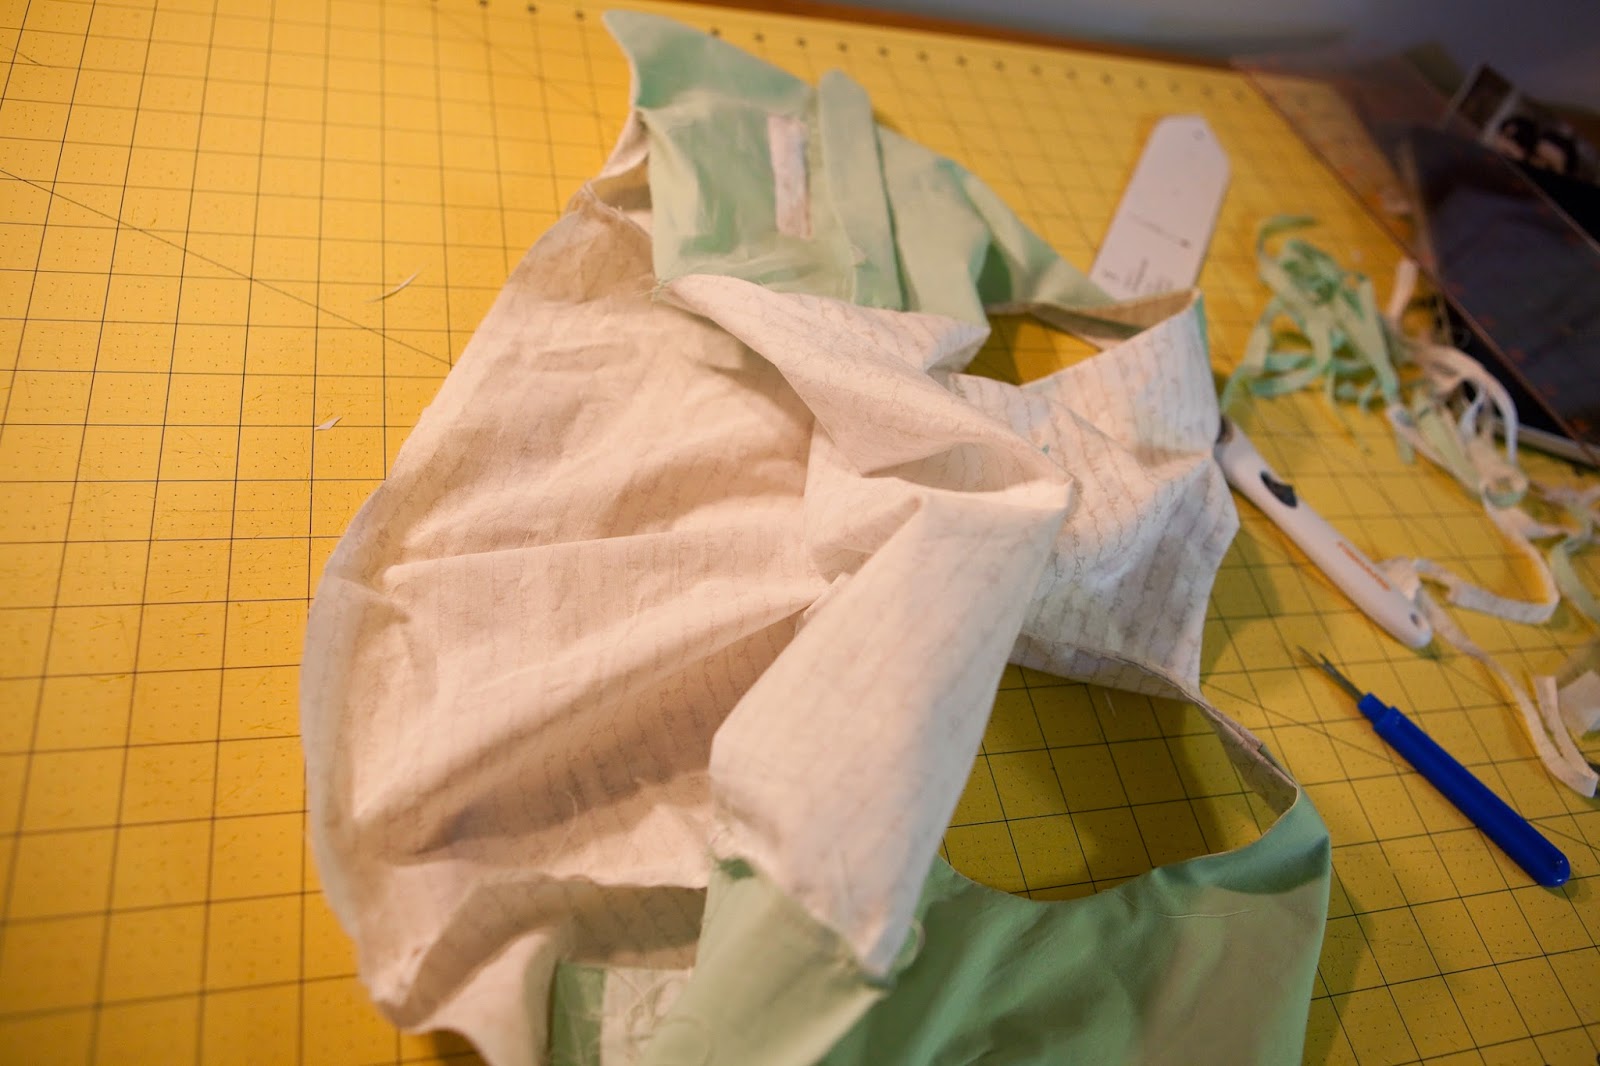
- To sew the side seam, you are going to separate the main fabric from the lining both front and back.

- Pin the front to the back right sides together, matching the seam point at the armscye - make sure your belt is tucked inside and laying flat.
- Sew from the raw edge to the armscye seam, plant your needle, rotate slightly and sew to the opposite raw edge.
- Repeat for the other side.
- Turn right side out and press the side seams.

- Looky looky, you have something that looks like a vest!
- For the hem, you are going to flip the bottom edge of the vest up over the rest of the vest, right sides together.

- Sew the hem. Make sure to leave a 2 inch opening to turn the vest back right side out.

- Turn the garment right side out and press the hem well.

- Sew the opening closed by hand.

Buttons:
- Make sure your button and button hole markings are transferred to the front of your vest.

- The button holes should go on the right hand side of the vest when looking at it head on.
- Make sure your button hole is the correct size for your buttons.


- Sew the button holes and the corresponding buttons - make sure to
use a top thread that coordinated with your vest - I used thread to
match my pants for a pop.

- You are also going to add 2 buttons to the back belt. Cross the belt pieces over each other until they lay flat across the back. Sew the two buttons on through both layers of the belt to secure them.


And now you have a vest!!!!!!!!!!!


Come back for the next lesson where we will start working on the pants!
Suzanne
I just wanted to say thanks so much for this sew-along! I love O&S patterns and have sewn quite a few, but this particular step (turning the vest back inside out to finish sewing seams) was giving me such a fit to understand from the pattern! :-P Your photos and description helped ENORMOUSLY. Thanks for taking the time to demonstrate!
ReplyDelete