Ok -yesterday had quite a bit of detail, today we'll keep it a bit simpler, work on some construction, and actually see some progress towards a VEST!
NOTE: Please make sure you read over the Art Museum pattern directions prior to starting this sew-along. You should keep these directions open and where you can read them as you go through these lessons. You might want to carefully read through this lesson also before beginning.If you have any questions, suggestions, or tips to share; please make sure to post them on our Facebook group. Also, if you would like to see any of the images larger that are posted in this blog, just click on them to enlarge.
Get that iron hot and the sewing machine on......
Belt Assembly:
- Start with one belt and one belt lining piece in front of you, make sure you have transferred the end point marking.
- Lay them right sides together.
- The pattern suggests drawing your stitching line onto your fabric to get a nice even curve, and I think this is an awesome idea!
- Start sewing at the rectangular edge, down along the long edge and to the point.
- Plant your needle, and rotate your fabric to sew your second edge.
- Trim the edges to 1/4 inch, clip the point, and turn right side out
- Press well.
- Top stitch 1/8 from the edge to give a clean professional finish.
- Repeat for the other belt pieces
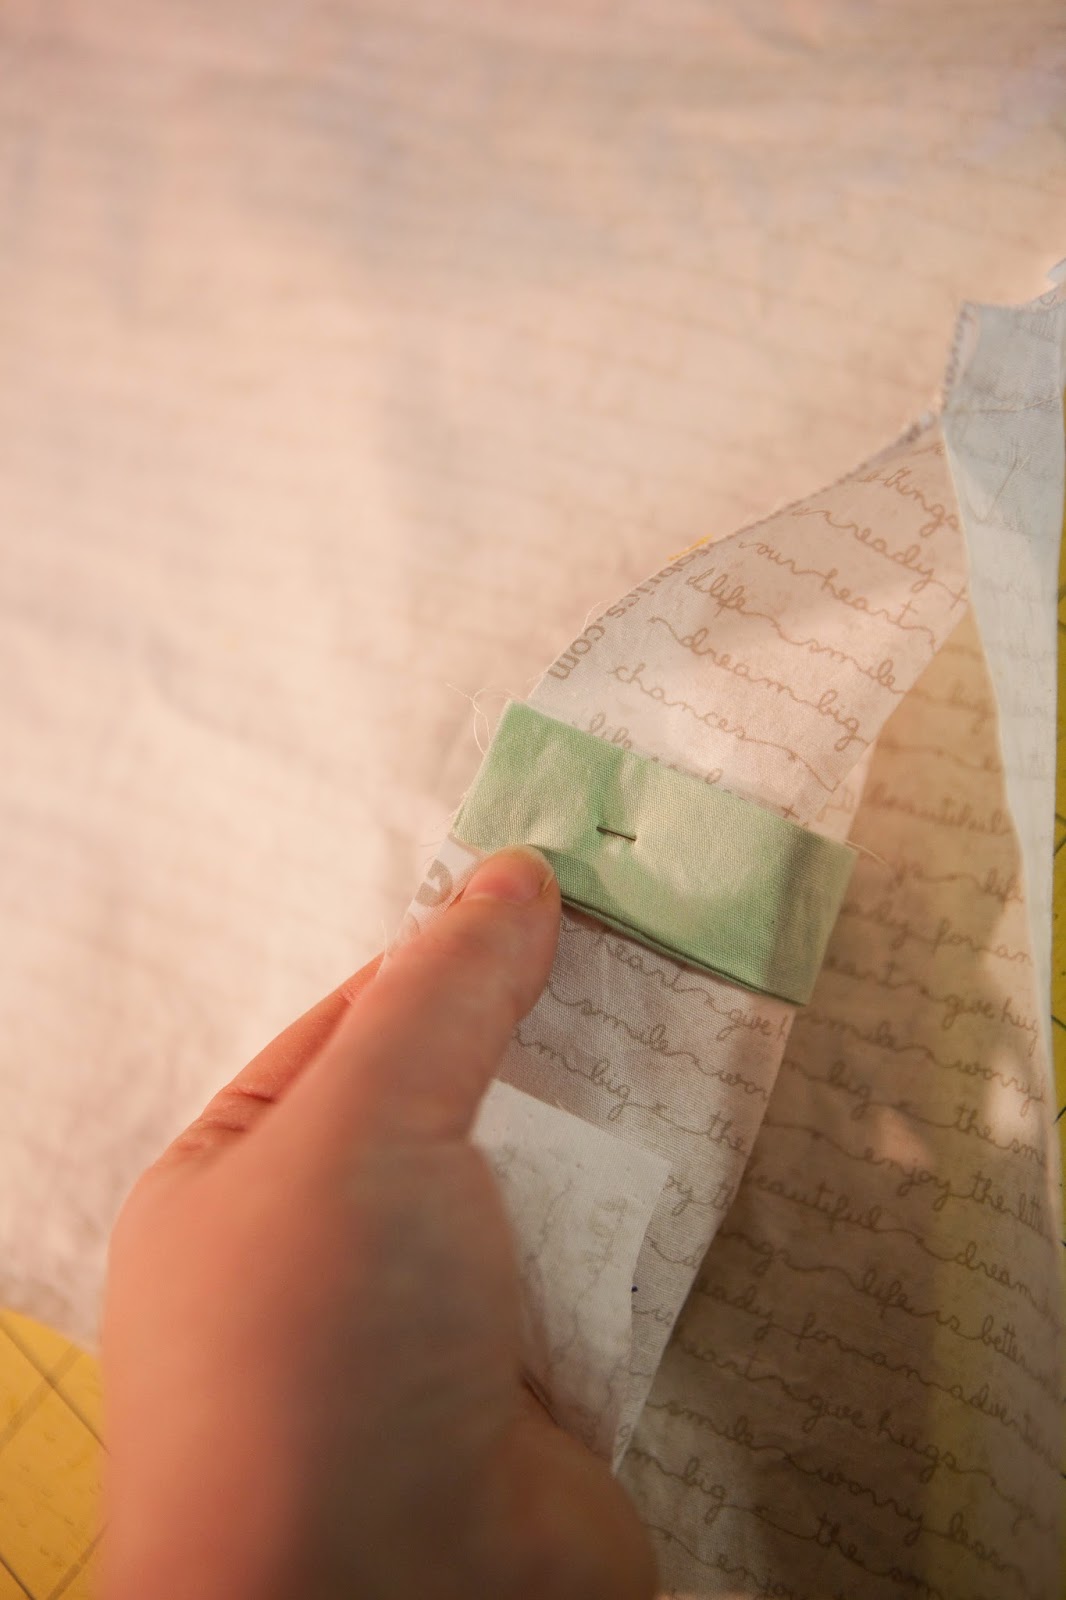
- Lay the belt along the front vest piece matching the belt to the markings. The belt should be laying across the right side of the front of your vest.
- Baste the Belt in place.
- Repeat for the other side.
Vest Construction:
- Lay out your fronts right side up.
- Place the Back right side down on top, lining up the shoulder seams.
- Pin the shoulder seams together.
- Sew in place.
- Press the seam allowance open.
- Repeat for the other shoulder.
- Repeat for your lining.
- Lay the lining out in front of you right side up.
- Lay the main vest on top right side down.
- Sew along the armscyes.
- Sew along the neck line, down the front and over to the marking. (I sewed to the dart to make it easy.)
- You now want to trim that seam allowance back to a 1/4 inch and clip the curves.
- Turn the garment right side out by pushing the fronts through the shoulder and out the back. I reached through and grabbed the belt to pull it through more easily.
- Use a chopstick or turning tool to push out your curves and corners and press well.
That is it for today! Tomorrow we will finish the side seams and do all of our buttons and button holes - WOHOOOOOOO!!!!!!
* If you would like to enter the prize drawing, please make sure you submit a picture of your completed lesson three to the Facebook Album by 12:00 noon CT, Friday, March 13th. Also, if you have any questions the Facebook Group is a great place to ask.
* If you would like to enter the prize drawing, please make sure you submit a picture of your completed lesson three to the Facebook Album by 12:00 noon CT, Friday, March 13th. Also, if you have any questions the Facebook Group is a great place to ask.
Suzanne


No comments:
Post a Comment