*If you need to see more detail in any of the pictures please click on them to enlarge.
Day 5 - Cargo Pockets and Pant Assembly
Welcome back... Today we are going to learn how to do awesome cargo pockets - I want to add these to everything now! - well kinda, but it is going to be a fun day, so plug in that iron and get ready.
Making Darts
- Take your Knee Section and transfer the dart markings to the WRONG side of the fabric.


*I use a pin method to mark these, just push your pin through the dot on the pattern then draw a line with your marking tool to connect the outer dot to the main point.


- Fold your fabric RIGHT sides together matching the side dots.
- Push a pin in from one side and make sure it matches the line on the other side (use 2-3 pins).


- Sew your dart from the outside to the point (tie your thread tails in a knot)
- Press your dart so it is a nice crisp triangle, and then press it down towards the double notch/bottom of the piece.


- Repeat for the second dart on your first knee and then the two darts on the other knee.


Making the Front Leg
- Take your Knee Section (the one with darts) and line the top of the
pattern (one notch) up with the Bottom of your Front Top Section (the
one with the pocket). Make sure your fabric is Right Sides together.

- Pin together.
- Stitch using a 1/2" seam allowance.

- Finish your raw edge.

- Press the Seam allowance down toward the bottom of the pants.

- Top stitch along the edge.

- Add a second line of stitching 1/4" away from the seam.

- Take your Bottom Front Section (marked with two notches at the top). Line the Top of the Bottom Section with the Bottom of the Knee
Section, RIGHT sides together.


- Pin together.
- Stitch using a 1/2" seam allowance.
- Finish your raw edge.
- Press the seam allowance down toward the bottom of the pants.
- Top stitch along the edge.

- Add a second line of stitching 1/4 inch away from the seam.
- Repeat for the second leg front.


You now have a complete leg front and a complete leg back.
Sewing the Outseam
- Lay out one front and one back Right Sides Together and match the
side seam (the side seam/outseam is the straight edge of the pattern).

- Pin together.
- Stitch using a 1/2" seam allowance.
- Finish your raw edge.
- Press the seam allowance towards the back of the pants (the backs have the applied pockets).

- Top stitch along the edge.

- Add a second line of stitching 1/4" away from the seam.
- Repeat for the second front and back pieces.


Making the Cargo Pockets
- Take your Cargo Pocket Piece and lay it out - make sure that you have transferred your markings from the pattern onto the fabric.
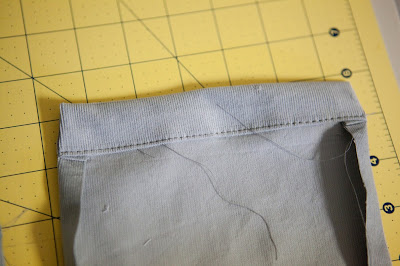
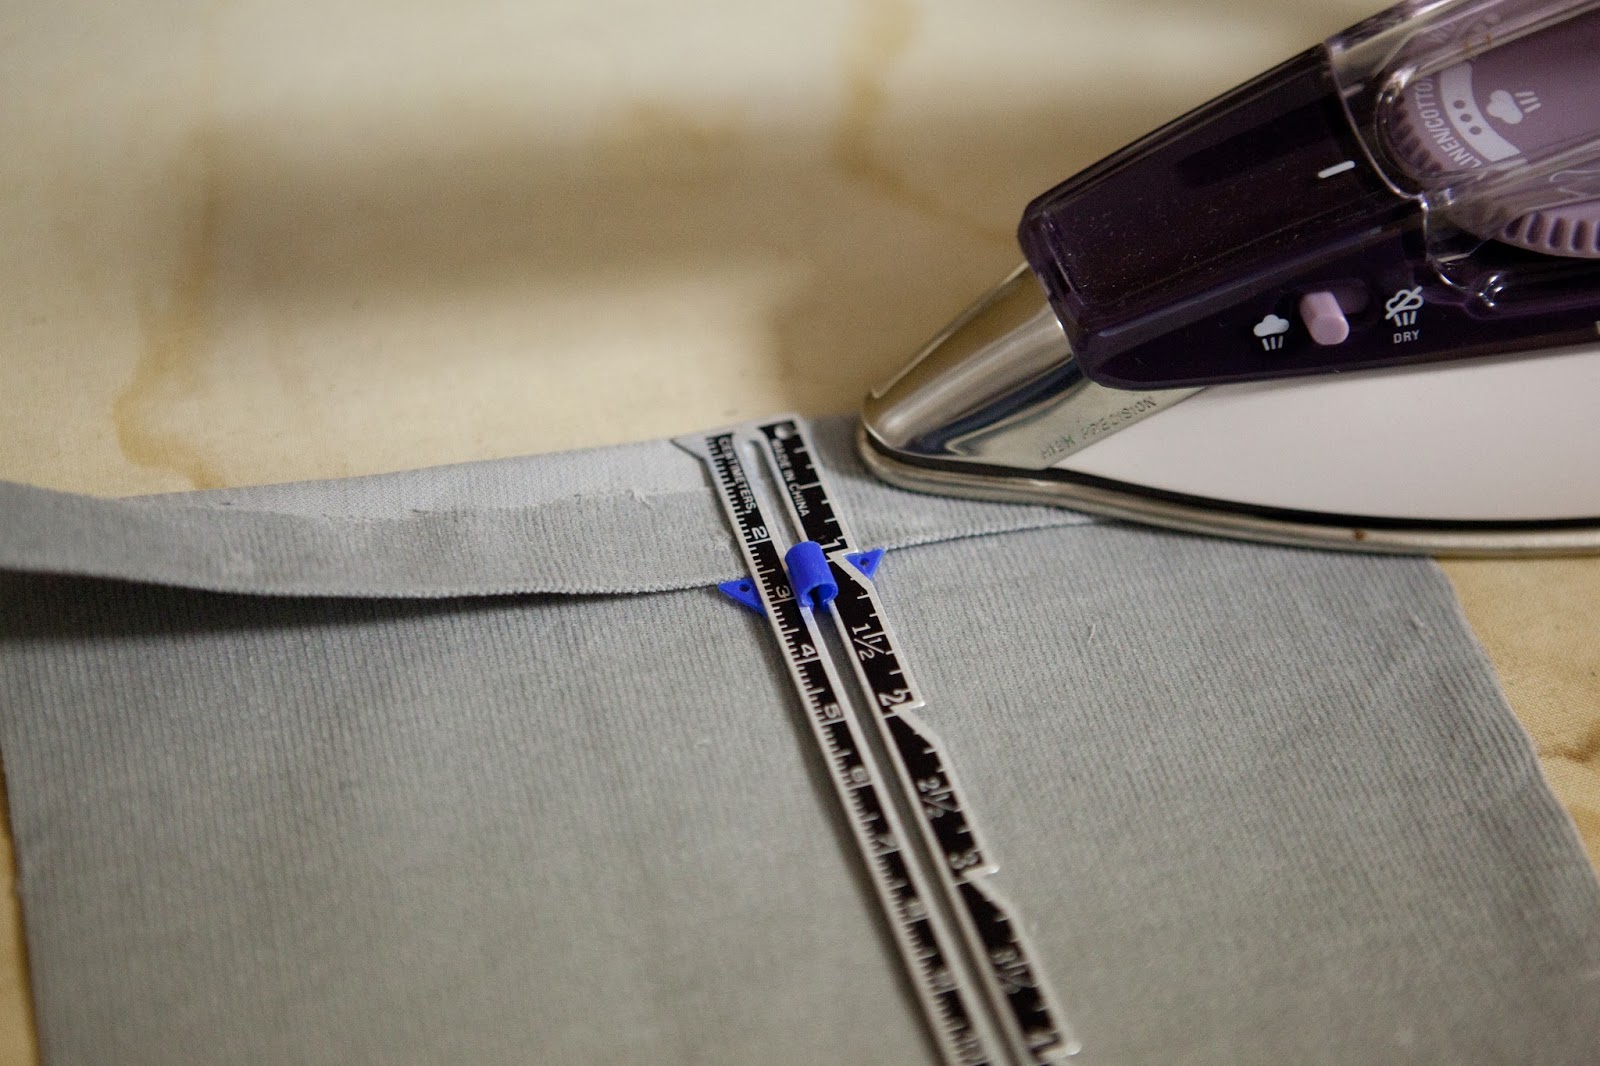
- Turn the top edge to the WRONG side 1/2" and press.

- Turn that edge to the RIGHT side 1" and press.

- Stitch along the sides from the top of the pocket to the folded edge
using a 1/2" seam allowance, make sure to back stitch at each end.

- Turn the fold out to the right side and push out the corners using a chopstick or turning tool.

- Press the top edge, the sides are being pulled in a 1/2" - press these as well, and fold the bottom up a 1/2" and press.


- Top stitch the top fold along the inner folded edge.
- Fold the sides and bottom in ANOTHER 3/4" and press.

- Open these folds and flip your pocket Right Side Up.
- Take the Upper Right Corner and fold it down to the bottom with Right Sides Together, creating a triangle with the bottom edges aligned.

- Sew from the bottom edge up to the fold crease (this should match where your markings are). *If you have any questions, try re-read your pattern directions for a little more detailed explanation.

- Repeat on the other side.

- Clip off your corners so there is a 1/4" seam allowance remaining.
- Push out your corners and you now have a 3D pocket.

- Fold along the inside fold and top stitch - start at the top edge
and sew down to where the folded corners meet, plant your needle, lift
your presser foot, turn your fabric (make sure you adjust your fabric),
put your foot back down and sew along the bottom fold. Plant and turn
again at the corner to sew back up to the top.


- REPEAT for your second pocket


Attaching the Pocket
- Make sure that you have transferred your markings for the cargo pocket to the pants leg.
- Align the outer edges of your pocket with the markings and pin in place.

- Stitch along the outer edges to secure your pocket to the leg - make
sure you plant your needle and pivot at the corners! *You want to make
sure that you are keeping the 3D-ness of the pocket, double over the
excess fabric and fold it to the side while you sew.


Making your Flap
*OK - I am
deviating form the pattern and teaching you something different here - I
think it results in a more professional finish and flaps that don't
flap up and instead lay nice and flat. You can follow the pattern
instructions or follow it my way - totally up to you, I can answer your
questions either way!
- Take 2 of your 4 pocket flap pieces (or one outer and one lining if you cut them from two different fabrics like I did).

- Place your pieces RIGHT sides together and stitch around the edges
with a 1/2" seam allowance. You will START slightly off center on your top edge. Plant your needle and pivot at the corners. Sew around and back to the
top edge and STOP 1.5 inches from where you stated. Back stitch at both
ends.

- Clip your corners so that you can get crisp corners when you turn it.

- Turn your pocket flap right sides out through the opening you left. Push out the corners with a chopstick or turning tool.


- Press well.
- Top Stitch along the edges, and then Again 1/4" from the edge - this
will give the same double stitch look you have on your other seams (I
love continuity).

- Repeat for the 2nd flap.


Attaching your Flap
*We are still deviating!!!
- Match The Top edge of your flap just below the markings for the
flap, make sure the Main fabric is UP and the Lining fabric is DOWN.

- Pin in place.
- Top stitch the flap to your Pants leg following the top line of the top stitching on your flap.


I love this little detail of the contrasting fabric under the flap! - Repeat for the 2nd flap.


OK - I know that this was a lot for one day, and that there
are a ton of details in these pants - but it is so worth it in the
end!!! My son wore his to the nursery the other day and my friend told
me afterwards that she was searching his pants for a tag when she
changed his diaper - then it hit her that I made them. ;o)
* You have the whole weekend to work through this lesson. Whew! :) If you would like to enter the prize drawing, please make sure you submit a picture of your completed lesson to the Facebook Album by 8:00 AM CT, Monday, November 25nd.
Suzanne
* You have the whole weekend to work through this lesson. Whew! :) If you would like to enter the prize drawing, please make sure you submit a picture of your completed lesson to the Facebook Album by 8:00 AM CT, Monday, November 25nd.
Suzanne
No comments:
Post a Comment