*If you need to see more detail in any of the pictures please click on them to enlarge.
Day 4 - Getting Started on the Cargo Pants
Are you loving your shirt!?!?! Well now we are about to start some awesome pants! We are doing the back pockets today - if you want to add any kind of decorative embellishment or embroidery for girls pants, do it before you get started.
Heat up that Iron!!! If you are working with cord - test the iron on a scrap, in general you should only press Corduroy from the back side. If you need to press the front, us a damp towel to protect the pile. Different cords are more or less sensitive, I found the grey from Whimsical Fabric was fairly easy to work with overall.
*Unlike the shirt, the pants use a 1/2inch seam allowance unless otherwise marked.
Back Pockets
Back pockets are so much fun and they add great visual interest to pants (which is great when you constantly are watching your children run away from you).
They are also completely OPTIONAL... if you don't want to do the back pockets, no problem - skip to the next section.
- Turn the top edge, the diagonal edges and the bottom edge in to the wrong side 1/2 inch and press


- Turn the top edge 3/4 to the RIGHT side and press again. (Make sure to only press on the wrong side of the fabric.)

- Stitch from the top edge to the folded edge along the sides using a 1/2 seam allowance. Back tack the beginning and end.

- Turn the top fold right side out - use a chopstick or turning tool to push out your corners.
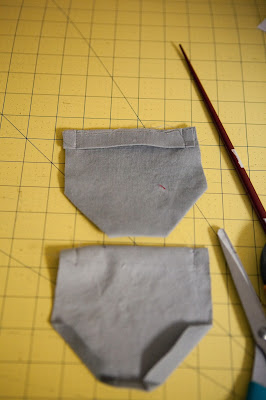

- Press and Top Stitch along the bottom of your top fold.


- Place the pocket according to the marking for your size. Pin it in
place (you can either pin around the edge, or you can place two pins in a
T formation - one vertical, one horizontal).


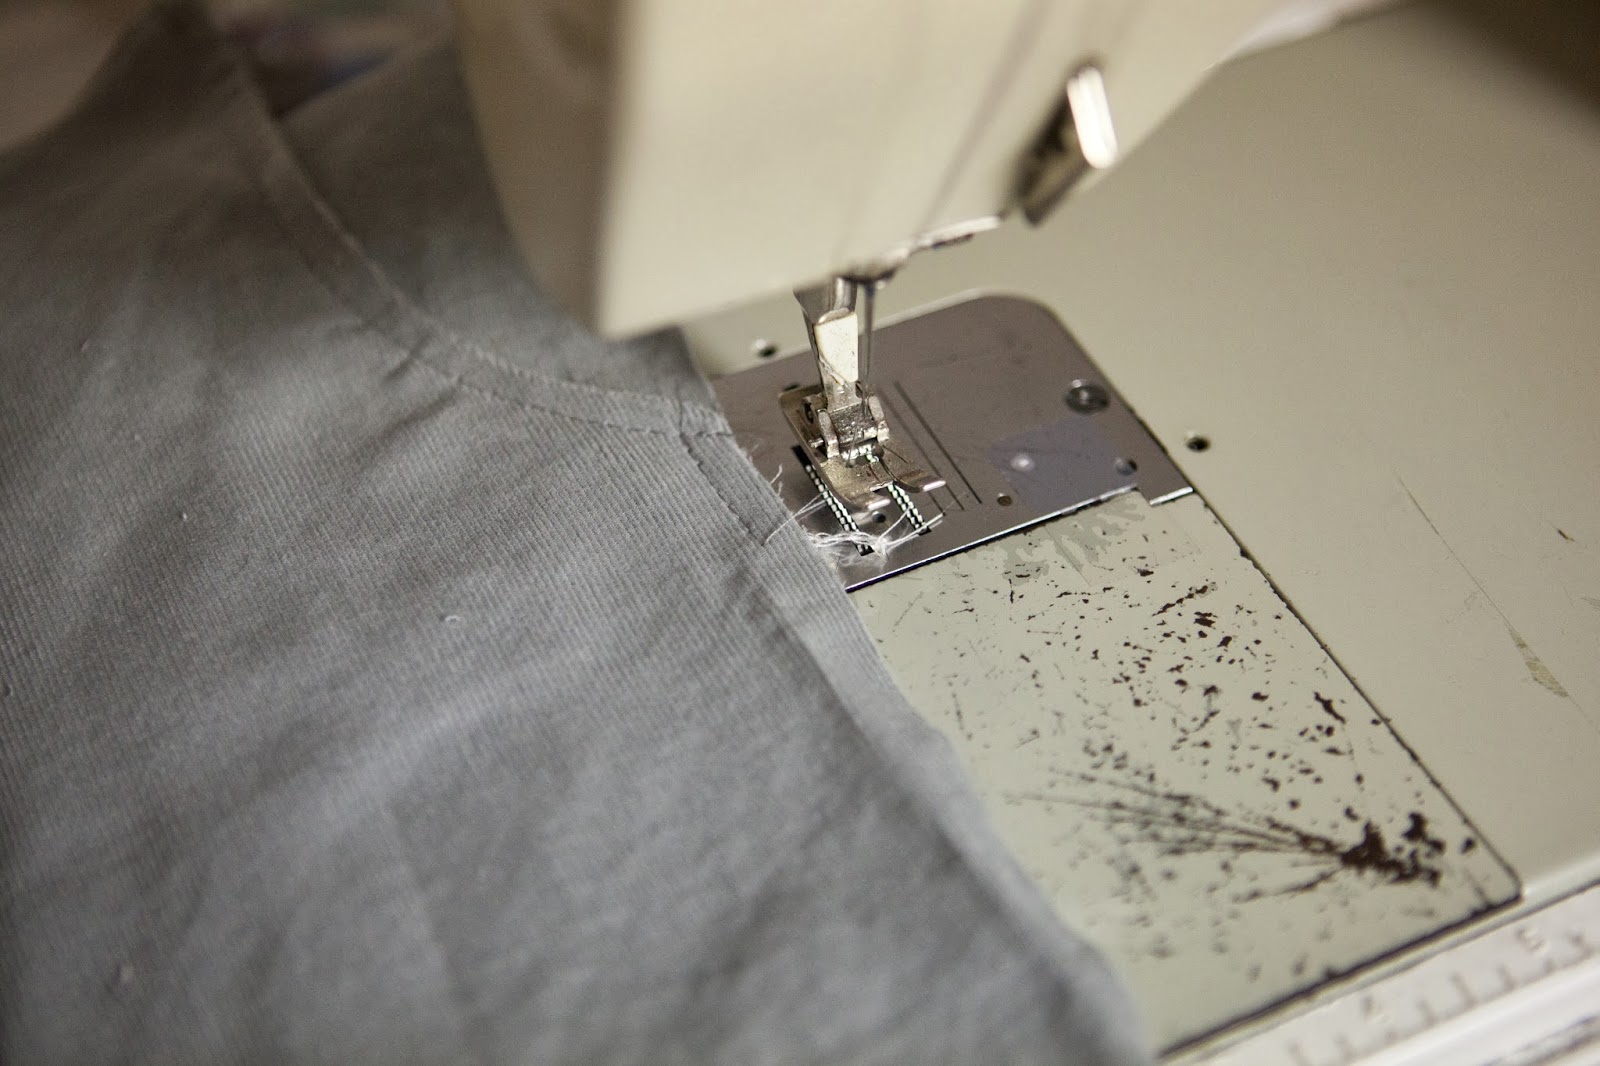
- Stitch the pocket into place along the edge.

- Sew to the corner,
plant your needle, lift your presser foot, turn the garment, put your
presser foot back down and continue.


- Stitch a second row of stitching 1/4 in from the edge to give a decorative double stitch to your pocket.
- Repeat for your Second pocket.


Completing the Back Leg
- Line up the top of your Bottom Back leg section to the bottom of the
top section (what you just attached you pocket too). Make sure the
pieces are Right Sides Together.

- Pin together.

- Sew with a 1/2inch seam allowance.

- Finish your seam allowance by serging or using a zig zag along the edge.
- Press your seam allowance down to the bottom of the pant leg.

- Top stitch along the edge of the seam.

- Sew a second row of top stitching 1/4inch in from the edge.
*You are going to be using this method to finish almost every seam in these pants - so get used to the method and it will become second nature. This will give you pants a very professional finish. You can use matching thread, or a contrasting thread for POP. - Repeat for your other leg.


Front Pockets

- Line up the curve of your front Pocket with the curve of your front pants piece - make sure your fabric is RIGHT sides together.

- Pin in place.

- Sew along the curve from edge to edge back stitching at each end with a 1/2" seam allowance.

- Trim your seam allowance to 1/4".
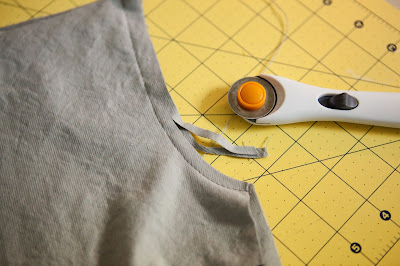
- Clip the curve (you want to make small slits towards the stitching line, just don't cut through your stitching line).

- Press your seam allowance towards the Pocket.

- Flip the fabric so that your pieces are now WRONG sides together and press the curve of the pocket.

- Top Stitch along the pocket edge.

- You can add a second line of top stitching 1/4" from the edge.
- Fold your Pocket in half, RIGHT sides together (you want to match the edges and your notches). Press well.

- Stitch along the bottom edge of your pocket and finish the seam.

- Using a basting stitch, secure your pocket to the front piece along the top edge and side below the curve.


We are done for today! Get ready, cause tomorrow you are going to learn how to make an awesome cargo pocket!
* If you would like to enter the prize drawing, please make sure you submit a picture of your completed lesson to the Facebook Album by 8:00 AM CT, Friday, November 22nd.
Suzanne
No comments:
Post a Comment