*If you need to see more detail in any of the pictures please click on them to enlarge.
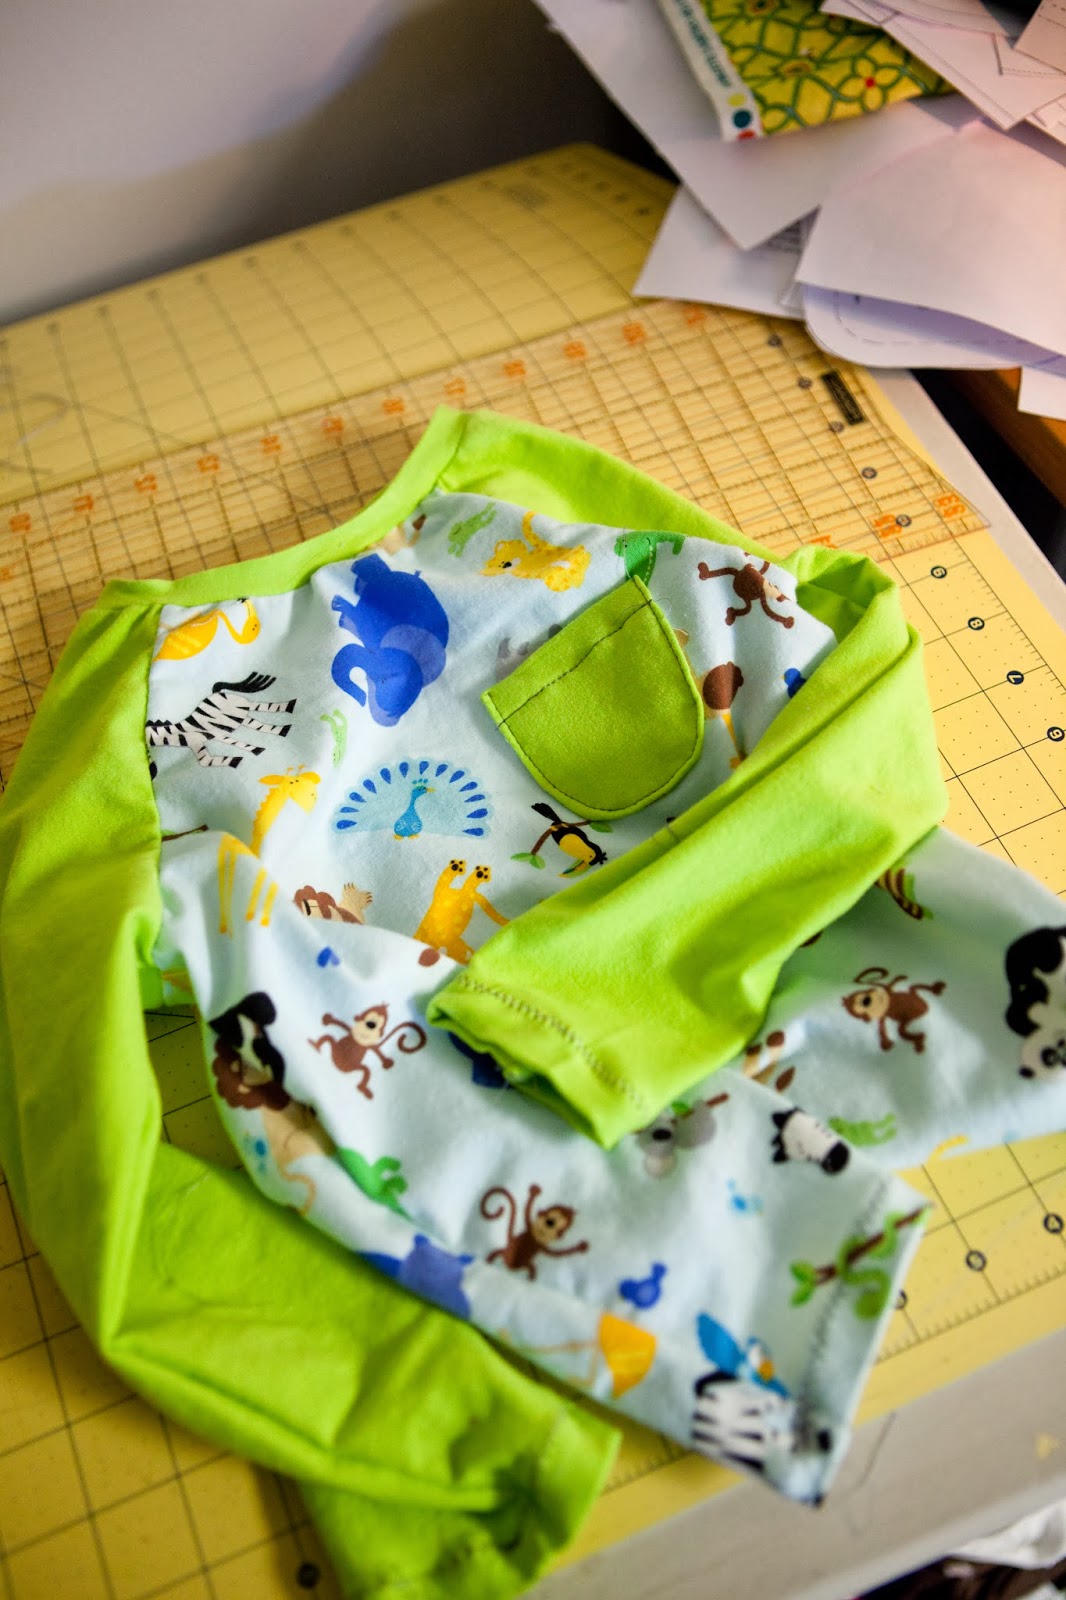
Day 3 - Finishing the Field Trip Raglan Tee
All right, so last time we made the main body of our T-shirt. Today we are going to attach the neck band and then hem the bottom and sleeves - and then you can do the HAPPY DANCE, because your shirt will be done!

Make sure that Iron is on - you will need it more today than yesterday!
Creating the Neck Band
- Take your neck band piece and fold it in half so that the short ends match up. It should be folded RIGHT sides together.*Telling the 'right' side of your knit. If you have a print, this is pretty easy, but if you are working with a solid you can still figure out the right and wrong side. The right side of your knit will have vertical lines when you look at it up close, the wrong side will have more of a cross hatch look or more 'fuzzy' for lack of a better word.

- Stitch the short ends together with a 1/4in seam allowance. (I do
not serge this seam as it will create extra bulk in the neck band.)

- Press the seam allowance to one side.

- Fold the circle in half (top to bottom) with WRONG sides together. Press well.


- Mark the center front of your neck band with a notch or pin.


Attaching the Neck Band to the Shirt
*The Band is smaller than the neck opening, we will be stretching it as we sew to make them match
- Turn your shirt Rightside Out - Place the neck band on the outside
with the folded edge pointing down and the raw edges matching.

- Match the seam of your neckband to the center back of the shirt, pin in place.
- Match the marking for the center front of your band to the center front of your shirt, pin in place.
- Pin the half way point of the Band to the center of each sleeve
section. (to find the half way point on the band, match your pin to pin
and fold the band in half.)

- You can add additional pins if you would like using the same method.
- Starting at the center back seam, sew the neck band to the shirt
stretching the band to match the shirt (do not stretch the body of the
shirt). *Lift the presser foot and slide the fabric underneath before
starting to sew.*You MUST use a stretch stitch (serger, zig zag, or lightning bolt) in order for the band to retain enough stretch to fit over a child's head.

- Sew around the neck going slowly until you have made a complete circuit.

- Press well with lots of steam so that your seam allowance is facing down towards the bottom of the shirt.*This is not in the instructions, but you can top stitch around the neck opening with a twin needle or a zig zag to hold the seam allowance down and create a finished look.


Hemming
- To Hem your sleeves and Bottom hem, you can use a zig zag, a twin needle, or a long straight stitch.
- The Pattern recommends that you finish all raw edges before hemming -
this will give you the most professional finish. I did for my garment.
But, knit will not fray, so I leave this decision up to you (just
don't tell...mmm'kay.)

- For all hems, turn your finished edge up 3/4inch and press.


- If you are using a zig zag or straight stitch, sew along the inside
finished edge of your hem. For the sleeves you want to sew inside the
circle - as pictured below. This will make sure you don't catch any
fabric as you sew.

- If you are using a twin needle you must sew on the right side of your garment - for the sleeves, this means that you will want to turn your sleeve inside out. (the top is the twin stitching, the bottom is a zig zag stitch, so you want that on the inside). Use a 1/2 inch seam allowance and you will catch the inside without fail!
- Repeat for the bottom hem and both sleeves. Go Slowly and make sure you are NOT stretching the fabric as you sew.


You have a finished shirt!!!! Go put it on your kiddo and share a picture with us!!!!!
* If you would like to enter the prize drawing, please make sure you submit a picture of your completed lesson to the Facebook Album by 8:00 AM CT, Thursday, November 21st.
Suzanne
No comments:
Post a Comment