* If you need to see more detail in any of the pictures please click on them to enlarge.
Today these babies are going to look like shorts - yep, they sure are!!! I love this day because it is the easiest day with the biggest result of - WOW, THEY LOOK LIKE SHORTS!!! Now we won't be finishing them completely today, but I wouldn't blame you if you ended up wanting to jump ahead - there are a few techniques I will help you through the next lesson with the waist band though.
Ok, let's go...
*If you are doing all one fabric, continue reading - if you are doing contrasting fabrics, skip down to the break where the fabrics change to pink and red.*
The Crotch (All One Fabric)
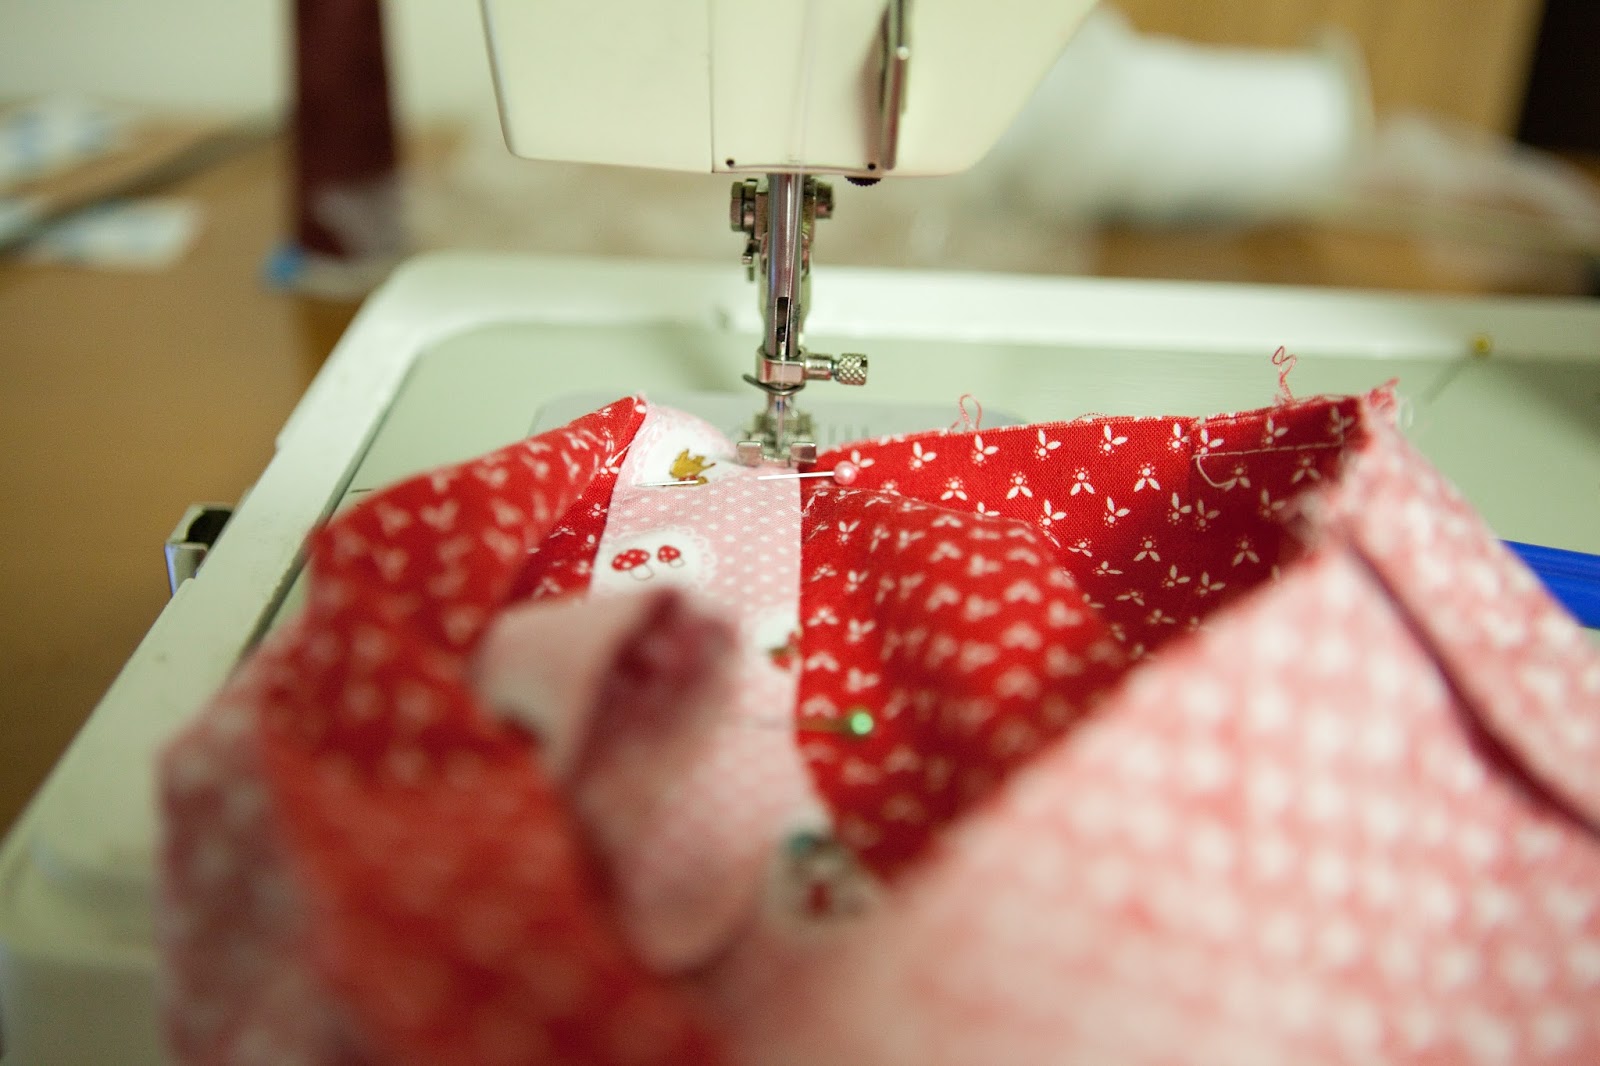
- Lay your two short sections on top of one another with RST lining them up along the front crotch.

- Make sure that you have transferred the dot for both front pieces.
- Sew from the Top front, along the curve, and and to the back edge
(you are going to plant your needle at the dot, lift your presser foot,
pivot your fabric, put your presser foot back down and keep sewing).


- Sew a second seam from the dot to your clip mark on the back seam
following your first seam line (this will reinforce the seam and make
sure it doesn't pull or split while your child moves and plays - I can't
count the number of times I have had to go back and fix seams in the
past because I skipped this simple step!)

you can see I have drawn over the section in disappearing marker - Clip from the corner of your seam edge to the dot at the fly.

- Fold one edge of your seam over to the shorts and press.

- Fold the other edge of the seam allowance to the other side and press.
- Finish each edge of your seam allowance individually by serging or stitching with a zig zag.


The Faux Fly (All One Fabric)
- Take a ruler and line it up from the notch at the top of your front to the dot where you sewed your crotch seam. Draw a line.


- Sew along this line.

- Trim your seam allowance and finish the seam with the serger or a zig zag stitch.

- Press the curved fly to the left (I know the directions show you the
other way, but I am picky about girl fly vs boy fly - you don't have to
be, they are kids after all, but this is the correct direction for a
female fly)

- Turn the short wrong side up and pin your fly in place - baste along the top of the fly so it wont shift when doing your decorative fly stitching.
- Stitch, following along your original curved stitch line.


The Side Seams (All One Fabric)
- Take your front and back sides and overlap the back over the front.

- line the edge of your back leg facing over the inside edge of the front leg facing.


- Pin in place.

I like to place one pin at the drawn stitching line as an extra reminder to myself to stop there! - Stitch from the top down to the horizontal stitching line you drew on the back facing.


- Plant the needle, lift your presser foot, and turn the fabric so that you are now in line with your drawn line.

- Stitch across. When you come to the original edge stitching, plant
your needle, lift your presser foot, and turn your fabric so that the
original edge stitching is in line with the presser foot. Lower your
foot and sew back up to the top along the original edge stitching.

- Repeat on the other side.


------------------------------------
The Crotch (Two Different Fabrics)- Lay your two shorts sections on top of one another with RST lining them up along the front crotch.

- Make sure that you have transferred the dot for both front pieces
- Sew from the Top front, along the curve, and and to the back edge
(you are going to plant your needle at the dot, lift your presser foot,
pivot your fabric, put your presser foot back down and keep sewing)


- Sew a second seam from the dot to your clip mark on the back seam
following your first seam line (this will reinforce the seam and make
sure it doesn't pull or split while your child moves and plays - I can't
count the number of times I have had to go back and fix seams in the
past because I skipped this simple step!)


- Clip from the corner of your seam edge to the dot at the fly.

- Fold one edge of your seam over to the shorts and press.


- Fold the other edge of the seam allowance to the other side and press
- Finish each edge of your seam allowance individually by serging or stitching with a zig zag.


The Faux Fly (Two Different Fabrics)
- Take a ruler and line it up from the notch at the top of your front to the dot where you sewed your crotch seam. Draw a line.


- Sew along this line.
- Trim your seam allowance and finish the seam with the serger or a zig zag stitch.

- Press the curved fly to the left (I know the directions show you the
other way, but I am picky about girl fly vs boy fly - you don't have to
be, they are kids after all, but this is the correct direction for a
female fly)

- Turn the short wrong side up and pin your fly in place - baste along
the top of the fly so it wont shift when doing your decorative fly
stitching.

- Stitch, following along your original curved stitch line.


The Side Seams (Two Different Fabrics)
- Take your front and back sides and overlap the back over the front

- line the edge of your back leg facing over the inside edge of the front leg facing.

- Pin in place.

I like to place one pin at the drawn stitching line - this way I can't forget to stop and turn at that point! - Stitch from the top down to the horizontal stitching line you drew on the back facing.

- Plant the needle, lift your presser foot, and turn the fabric so that you are now in line with your drawn line.

- Stitch across. When you come to the original edge stitching, plant
your needle, lift your presser foot, and turn your fabric so that the
original edge stitching is in line with the presser foot. Lower your
foot and sew back up to the top along the original edge stitching.

- Repeat on the other side.


Suzanne
No comments:
Post a Comment