* If you need to see more detail in any of the pictures please click on them to enlarge.
Are you still grinning from ear to ear about your blouse?!?! I love all of the things that you have been putting in the Facebook Group. Keep showing all your pictures, there are more prizes to come!
*If you are sewing with all one fabric keep reading. If you are sewing a contrasting leg facing, skip down to the break where the fabrics switch to red and pink.*
Sewing the Inseams (All One Fabric)
- Make sure you have your inseam dot marked on your shorts pieces.


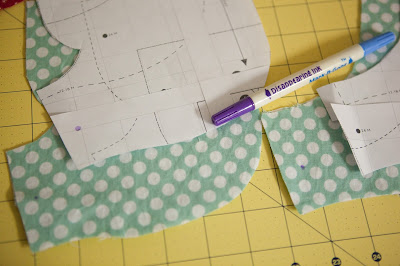
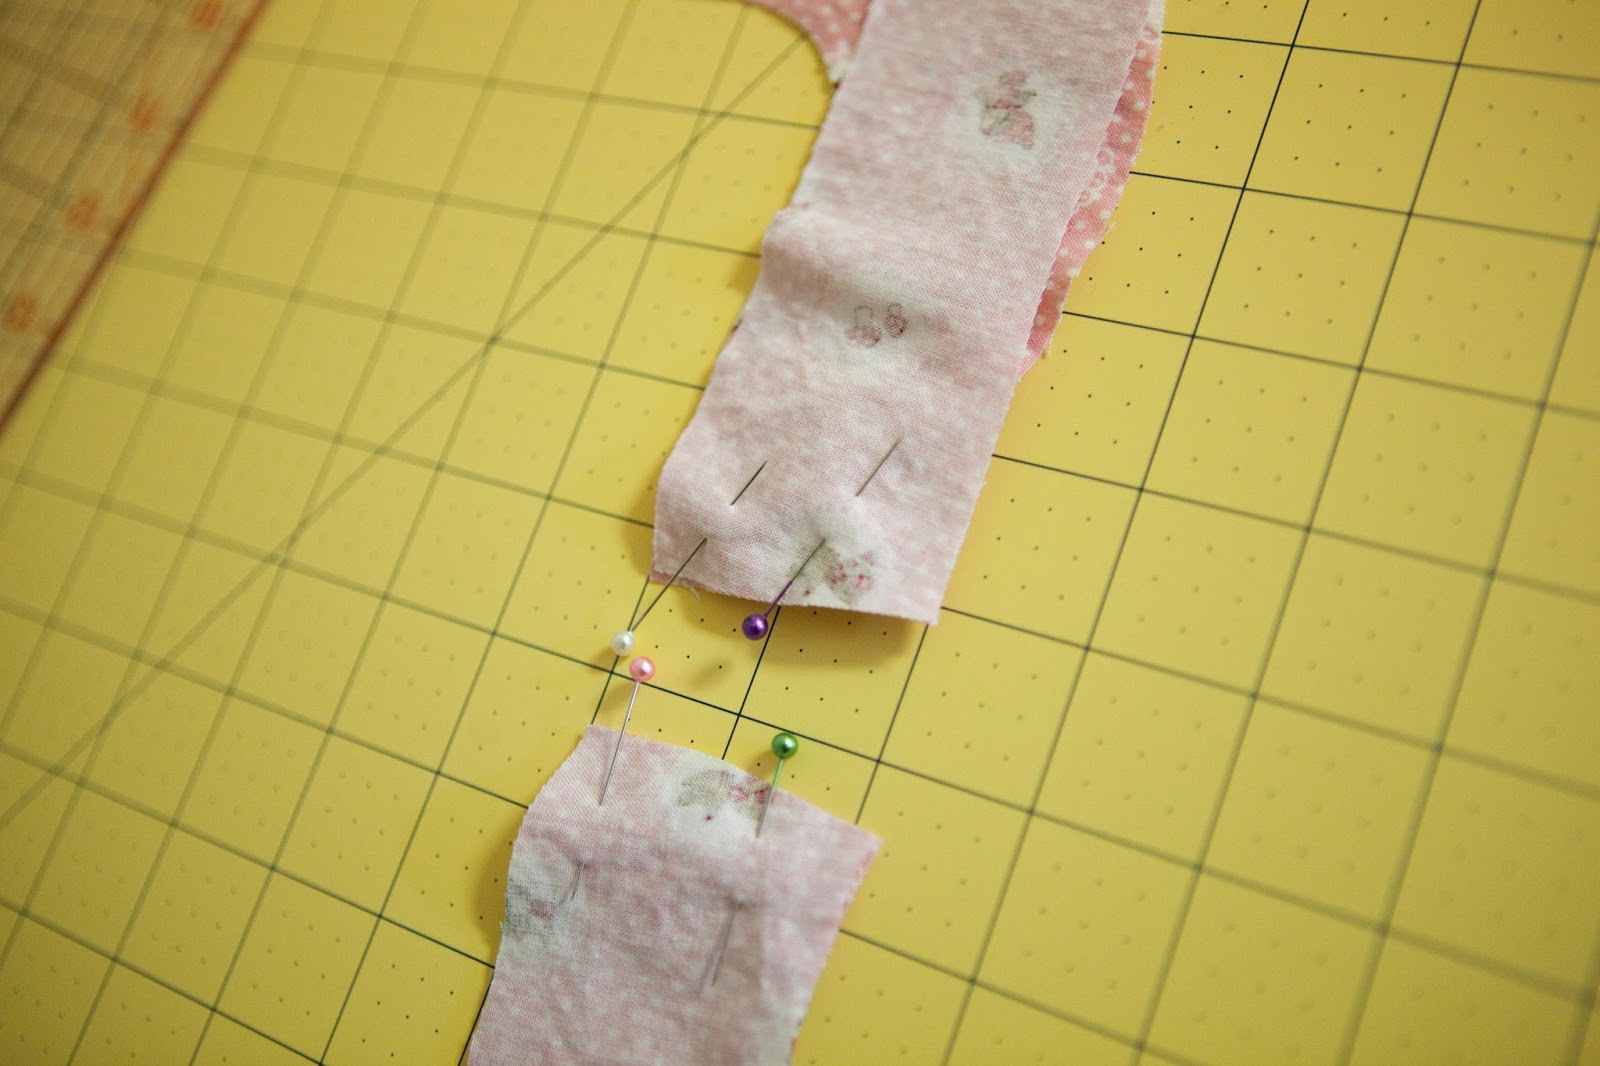
- Line one short front up with one short back (RST) along the short straight seam (the inseam) and pin in place.


- Sew from the crotch to the dot with a 1/2 inch seam allowance (to make sure you don't overshoot, start at the dot and sew up).


- Cut from the edge of your seam allowance in to the dot at an angle.
- Flip your fabric so that Wrong Sides are Together, pull the un-stitched edges out.
- Sew from the dot to the bottom edge with a 1/2 inch seams allowance (this is going to ensure that you have no raw seams on your facing).
- Press the seams open.

- Finish both edges of the top section of the inseam by serging or using a zig zag along the edge.
- Repeat on the other Front and Back.


Preparing your Facings (All One Fabric)
- Transfer the marking for your stitching line from the pattern to
your back leg facing. (I find it easy to fold the pattern down along the
edge and trace the line, you could also use tracing paper.)

- Sew one front and back leg facing together at the short seam with a 1/2 inch seam allowance.

- Press the seam open.
- Sew a basting stitch along the inside curve of your leg facing piece (make sure the seam stays open when you stitch around).
- Clip around the curve (this will allow your curve to spread and lay flat when pressed).

- Press the edge in toward the wrong side of the leg facing along the
basting stitch (go slowly to make sure you don't press any creases into
the facing, and make sure the seams stay pressed open).
- Repeat for the other set of leg facings


Sewing the Facing to the Shorts (All One Fabric)
- Line up the raw edge of your leg facing with RIGHT side of facing to WRONG side of the shorts.

- Pin in place.

- Sew along the curve with a 1/2 inch seam allowance.

- Trim the seam allowance to 1/4.
- There is a hint in the instructions for making the curve turn more
easily, but here is mine: Clip the round corner every 1/8 inch, do not
clip your stitching line - I tried it both ways and I thought this was
the cleaner edge.

This is an image of the tip from the instructions with a gathering stitch run 1/8 from the edge and pulled in. - Flip your leg facing to the right side of the shorts and press the
edge (make sure to use your seam turning tool, I like the rounded edge
for the rounded corner). Go slowly and press well.

- Pin in place and Edge stitch along the inside folded curve.

- Press again making sure to press out toward the outside edge for a crisp line.
- Repeat on the other side.


And we are done for today - today was the most tedious part
of the shorts, I promise - the next two days will be easy and I promise
all this pressing will make a huge difference in your finished
product!!!
Don't forget to
turn in your images of today's progress for your chance to win a Prize:
today's prize is your choice of ANY Oliver & S pattern!!!
Sewing the Inseams (Two Different Fabrics)
Preparing your Facings (Two Different Fabrics)
Sewing the Facing to the Shorts (Two Different Fabrics)
------------------------------------------------------
- Make sure you have your inseam dot marked on your shorts pieces.

- Line one short front up with one short back (RST) along the short straight seam (the inseam) and pin in place.

- Sew from the crotch to the dot with a 1/2 inch seam allowance (to make sure you don't overshoot, start at the dot and sew up).
- Cut from the edge of your seam allowance in to the dot at an angle.
- Flip your fabric so that Wrong Sides are Together, pull the un-stitched edges out.

- Sew from the dot to the bottom edge with a 1/2 inch seams allowance
(this is going to ensure that you have no raw seams on your facing).
- Press the seams open.


- Finish both edges of the top section of the inseam by serging or using a zig zag along the edge.

- Repeat on the other Front and Back


Preparing your Facings (Two Different Fabrics)
- Transfer the marking for your stitching line from the pattern to
your back leg facing. (I find it easy to fold the pattern down along the
edge and trace the line, you could also use tracing paper.)
- Sew one front and back leg facing together at the short seam with a 1/2 inch seam allowance.


- Press the seam open.
- Sew a basting stitch along the inside curve of your leg facing piece (make sure the seam stays open when you stitch around).
- Clip around the curve (this will allow your curve to spread and lay flat when pressed).

- Press the edge in toward the wrong side of the leg facing along the
basting stitch (go slowly to make sure you don't press any creases into
the facing, and make sure the seams stay pressed open).
 |
| - Repeat for the other set of leg facings.


Sewing the Facing to the Shorts (Two Different Fabrics)
- Line up the raw edge of your leg facing with RIGHT side of facing to
WRONG side of the shorts (both wrong sides will be facing you with the
leg facing on top).

- Pin in place.

- Sew along the curve with a 1/2 inch seam allowance.
- Trim the seam allowance to 1/4.

- There is a hint in the instructions for making the curve turn more easily, but here is mine: Clip the
round corner every 1/8 inch, do not clip your stitching line - I tried it both ways and I thought this was the cleaner edge.

- Flip your leg facing to the right side of the shorts and press the
edge (make sure to use your seam turning tool, I like the rounded edge
for the rounded corner). Go slowly and press well.


- Pin in place and Edge stitch along the inside folded curve.


- Press again making sure to press out toward the outside edge for a crisp line.
- Repeat on the other side


And we are done for today - today was the most tedious part
of the shorts, I promise - the next two days will be easy and I promise
all this pressing will make a huge difference in your finished
product!!!
Don't forget to
turn in your images of today's progress for your chance to win a Prize:
today's prize is your choice of ANY Oliver & S pattern!!!Suzanne
No comments:
Post a Comment