Welcome to the Dress No.17 & Leggings No.8 sew-along. Our wonderful instructor is Suzanne Winter of Winter Wear Designs. We have been fortunate enough to have Suzanne teach a few of our past sew-alongs. You can read more about Suzanne and her precious family here and here. Suzanne also blogs at Winter Wonderings and over at Pattern Revolution. She is a VERY busy lady and I'm super grateful to have her here with us this week. :)
NOTE: Please make sure you read over the E+M Patterns Dress and Legging Tutorials prior to starting this lesson. You should keep these tutorials open and where you can read them as you go through this lesson.If you have any questions, suggestions, or tips to share; please make sure to post them on our Facebook group. Also, if you would like to see any of the images larger that are posted in this blog, just click on them to enlarge.
Printing
Ok - so let's start by printing your patterns - yep print both the dress and leggings!
1. Make sure you have saved the pattern to your computer and that you are printing from the Adobe program and not an Adobe app.
2. This pattern prints in B&W, so make sure to set your printer to the grey scale or B&W setting to save on ink. If you are doing the cowl neck, you may want to print the dress pieces in color color as the cowl cutting lines print in dark blue instead of black.
3. Hit 'scaling none' or 100% for printing - DO NOT select 'fit to page'

Pattern Assembly:
1. Now that you have all of the pages printed, begin to assemble your pattern. I trim off the leading edge of each page for the top row. Then, the top edge and leading edge of each page there after. I find it easiest to use my quilting ruler and a spare (for paper only) rotary cutter, but you can just use scissors if you prefer. DO NOT cut off the grey lines. You want to cut just right up to the grey line, trimming off all the white.


2. Next, you are going to match up the page numbers to create a grid. *Note this pattern has a cute prompt to tell you when to start a new row!
3. Do not overlap the grey lines. The grey lines need to butt up against each other. Continue to tape all of your pages together.


4. Once all your pieces are taped together, you can either cut out your needed size (this is what I love about PDF pattern, tape and cut and go) OR you can trace out the size you need on freezer paper or tracing paper. *Tip: To make cutting/tracing easier - trace your size with a highlighter, marker, or crayon to make visually following your line even easier.

Tracing Your Pattern Pieces (Optional)
1. Pull out your freezer paper and lay out one of your pattern pieces. Note:
These pictures were taken when tracing a different pattern

2.
Tear off a length of freezer paper and lay it on top of your pattern
piece. I like to use pattern weights to help hold it in place.

3.
Using a Sharpie, trace around the pattern lines. If the lines are hard
to see you can darken them on the original pattern with your sharpie. For straight lines it might help to use a ruler.

4.
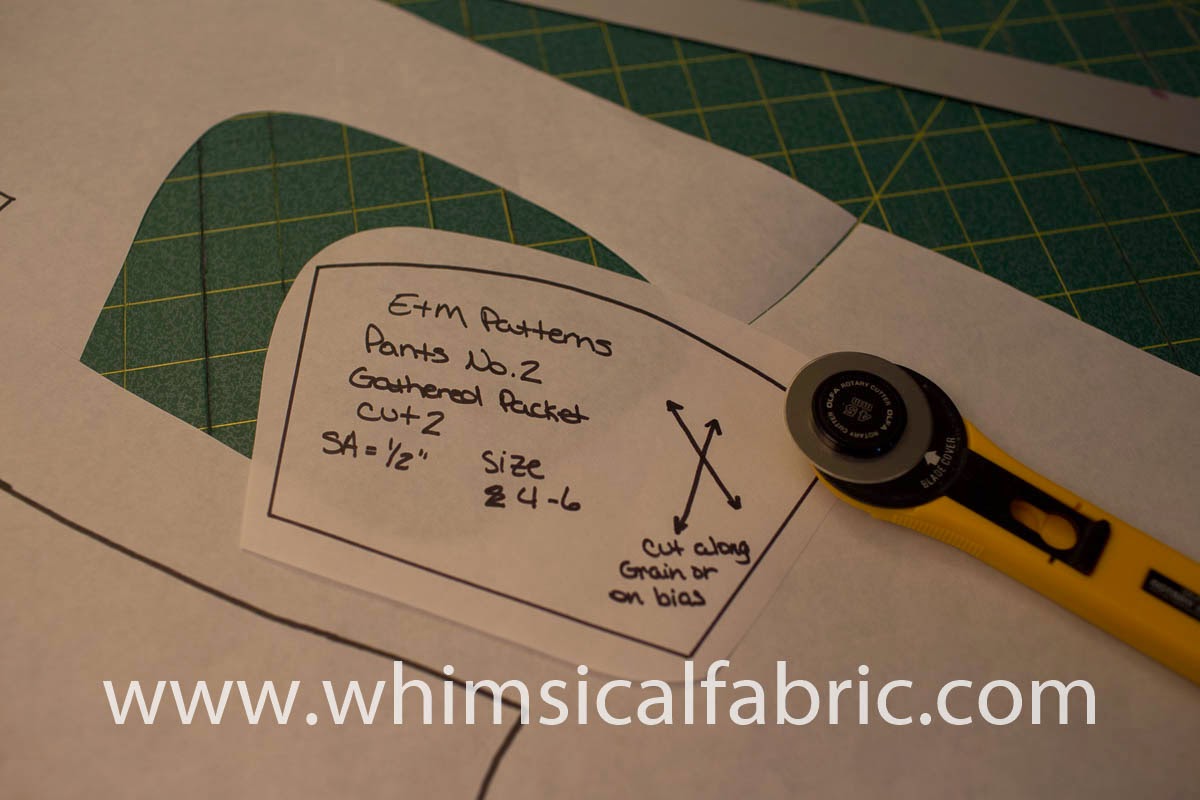
Make sure to transfer all your markings and pattern information.

5. Continue to trace all of your pattern pieces onto the freezer paper.

6. When you have finished tracing your pattern pieces fussy cut around each one.
Cutting Your Fabric
Dress: Lay your pattern on the fabric so that you are following the same fabric direction with all pieces - you don't want part of your dress to be upside down!
*Freezer paper trick: If you are new to cutting knits, I highly recommend using the freezer paper method. To use your freezer paper pattern pieces you simply lay the paper, shiny side down onto your fabric. Take your iron and iron over the pattern piece. DO NOT touch the iron to the glossy side of your freezer paper! It will melt and make a mess of your iron. The freezer paper will temporarily stick to your fabric making it super easy to cut your pieces out.1. Cut out your Pieces (note that the back and front are both cut on the fold).


4. Place all you pieces for the Dress together and set to the side (if you ordered a kit from Whimsical Fabric, you can place everything in your handy-dandy drawstring bag).
Leggings:
The initial notes are for standard cutting. I will have some notes for cutting full length leggings at the end!
1. Cut out all of the pieces from your main fabric. If you are using a stripe, chevron, or plaid, make sure that you cut both pieces so that everything will match up.Full Length Leggings: It is so awesome to get to work with a FREE pattern - particularly one so well made, but you might be disappointed when you see that these are capris. Well turn that frown upside down, because I am going to show you haw to very easily make these full length leggings.
2. Make sure to transfer all the notches from your paper pattern to the fabric (you can use a fabric marker, chalk, pins, or cut in notches to transfer the markings).
3. Pile all your pieces together and set aside in a safe place.
1. Measure your child from the top of the inseam to the floor. Write down this measurement.
2. Lay your pattern out on your cutting table.
3. Measure the pattern from top of the inseam to the bottom of the pattern. Write this number under your first measurement.
4. Subtract the second number from the first.
5. This is the number of inches you need to add to the bottom of your pattern to get full length leggings.
6. Lay your pattern on your fabric, and measure the number of inches you need to add down form the bottom of the pattern on both sides and make marks.
7. Then connect the marks with a fabric marker, chalk, or a Frixion pen up to the pattern so you know where to cut.


8. Slide the pattern down to the markings and trace the curved hem.


9. Cut out your new full length legging.
10. One of my favorite things about this legging pattern is the higher cutting line for diaper coverage!!! My daughter is 2 but wears a size 5....so she obviously still needs extra room for diaper coverage. I simply followed the curve of the cut line for the 2 up at my 5 size line. If you like extra coverage in the rear, consider using this trick.


* If you would like to enter the prize drawing, please make sure you submit a picture of your completed lesson one to the Facebook Album by 12:00 noon CT, Thursday, January 29th. Also, if you have any questions the Facebook Group is a great place to ask.
Make sure to come back tomorrow for Lesson 2.
Suzanne
No comments:
Post a Comment