If you would like to see any of the images larger just click on them.
Day 2 - Sewing the Dress
Note: If you are new to pique it will be helpful to know that the right side of your pique will have small cords or ribbing.
|
|


First, let me apologize for the quality of the pictures. I had to use both hands to demonstrate some of the steps. So, I set all the settings on my camera, gave my husband a mini tutorial, and handed it over. Let's just say he needs a little more teaching time with me. Also, I'm slightly appalled at how horrible my hands look. Please don't judge me. LOL Anyway, we are starting at the top of page 6. Let's sew!
1. Grab your dress back and two dress side fronts. With right sides together pin them at the shoulders.

2. Now, grab your lining back and your two lining side fronts. With right sides together pin the shoulders.

3. Stitch the shoulder seams for both the dress and the lining using a ¼" seam allowance.

4. Press seems open on both the dress and the lining.

5. If you are using interfacing in the button area, cut that interfacing now. You will need two pieces, each 1.5" wide by the length of your lining side fronts.

6. My interfacing strips.

7. Adhere your interfacing according to the manufacture's directions to the wrong side of your lining side fronts.

8. With right sides together pin your dress to your lining following the diagram in your instructions. You might want to also follow the instructions regarding having the edge of your lining stick out from the dress fabric as you pin. I love this trick. It will give you a very professional result. Remember to keep your hems lined up though.

9. Stitch pinned seams with a ¼" seam allowance. If you desire you can follow the instructions regarding creating a winter version dress. Don't you just love all these little tips Trisha adds to the instructions!!
10. Trim your seams to ⅛", clip curves and trim corners.

11. We are now going to pull our dress right side out through the shoulders. To do this you will need to grab the open side of one of the side fronts.

12. Grab the bottom of the side front and push it up through the shoulder.

13. Keep pushing it all through. It's a tight squeeze, but it will fit.

14. Now, reaching through the open side seam on the dress back, reach up into the shoulder area.
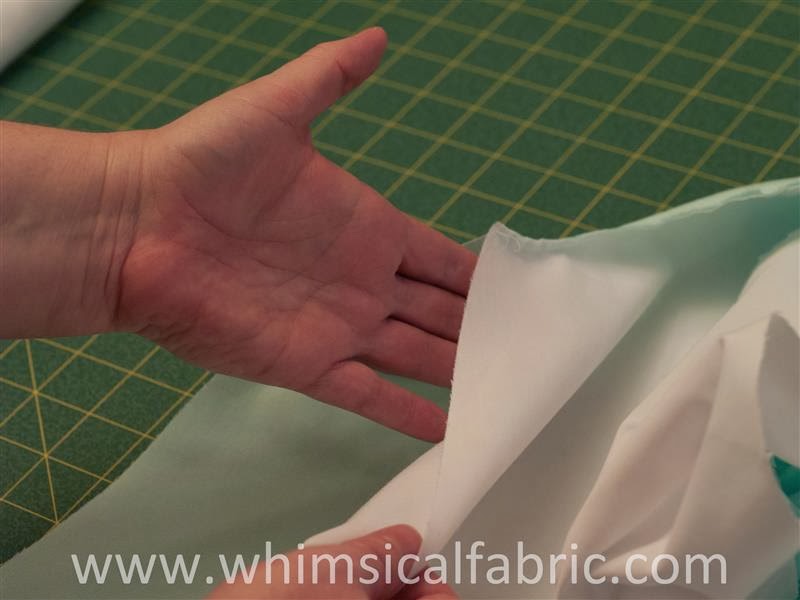
15. If you look closely you can see my hand/arm under the fabric coming in from the left side of the picture frame. My hand is in the shoulder grabbing the side front section.

16. Keep pulling it through. (Why does my right hand look so strange? LOL)

17. And pulling . . .

18. And pulling, until you pull it all the way through.

19. Push out the corners well. Repeat for the other side.

20. Iron your dress on the lining side. Look how beautifully the dress fabric pulls over to the inside. No boring lining fabric poking out. What a professional finish this creates!

21. Turn your dress inside out.

22. Pin the dress back to the dress front at the underarm and at the hem on BOTH sides. Use a different colored pin for the underarms than you do for the hems. Note the color you used. I used purple for the underarms and pink for the hems on my dress.

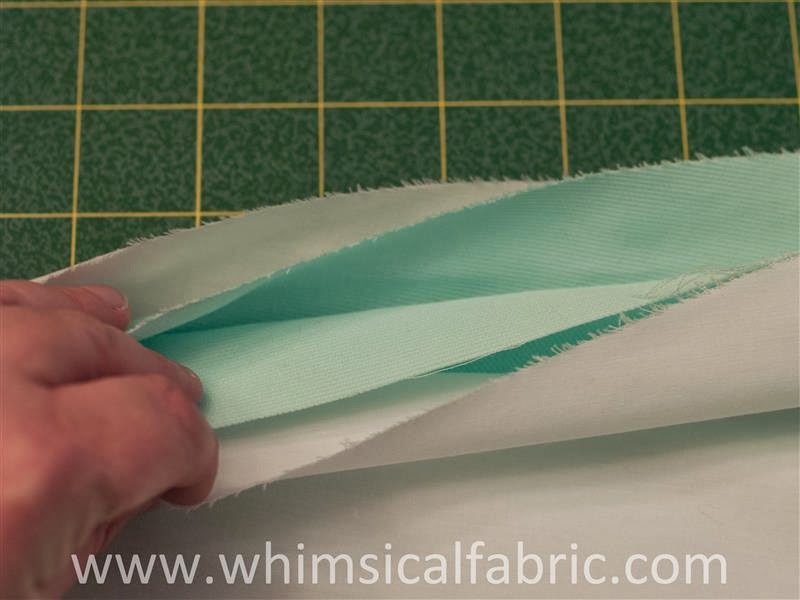
23. Now, reach between the lining back and the dress back at the right hand side seam. You will have three layers of fabric above your hand and one below.


25. Grab the four layers of fabric on the left side side.

26. Pull the left side seam layers towards the right hand side seam.

27. With right sides together, begin to match up and pin the lining to the lining and the dress fabric to the dress fabric.

28. When you have this finished pinning it will look like a circle.

Note: When you are pinning you will most likely have to adjust your pins at both the underarm and hem.
Notice how my lining fabric is folded over because of the pin.
To fix this just remove the pin and straighten out the seam.
Don't forget to match up the seams.
Repin and . . .
. . . . keep on pinning.


31. Now we are moving on to seaming the right hand side. I have a purple pin at my underarm and pink pin at my hem. Turn your instructions to page 7.


36. Remove a pin (or pins) in the middle of the lining side so that you have a 5" opening.

38. When you are finished stitching, press your seam open as well as possible. Again, this is going to be a bit difficult. Make sure to press the opening area flat too. The better job you do of this the smoother your seam will look.
39. Now, pull your dress through the opening in the lining. Push out any corners well.


41. When you are all finished press your dress well.

We are all done for today. Great job. Isn't it looking amazing?
I'm going to give you a side assignment. You will need to add your embroidery/applique to your center panels before you begin the final lesson. You should start working on that soon so that it doesn't hold you back from completing your dress. Please CAREFULLY read the information under "Center Font Panels" on page 7 of your Exchange Dress Instructions regarding applique/embroidery placement.
* If you would like to enter the prize drawing, please make sure you submit a picture of your completed lesson to the Facebook Album by 8:00 AM CT, Friday, January 31th. Also, if you have any questions the Facebook Group is a great place to ask.
Thanks for sewing with me,
Danielle Storm
www.whimsicalfabric.com
No comments:
Post a Comment