The Penny Dress by Modkid
* If you need to see more detail in any of the pictures please click on them to enlarge.

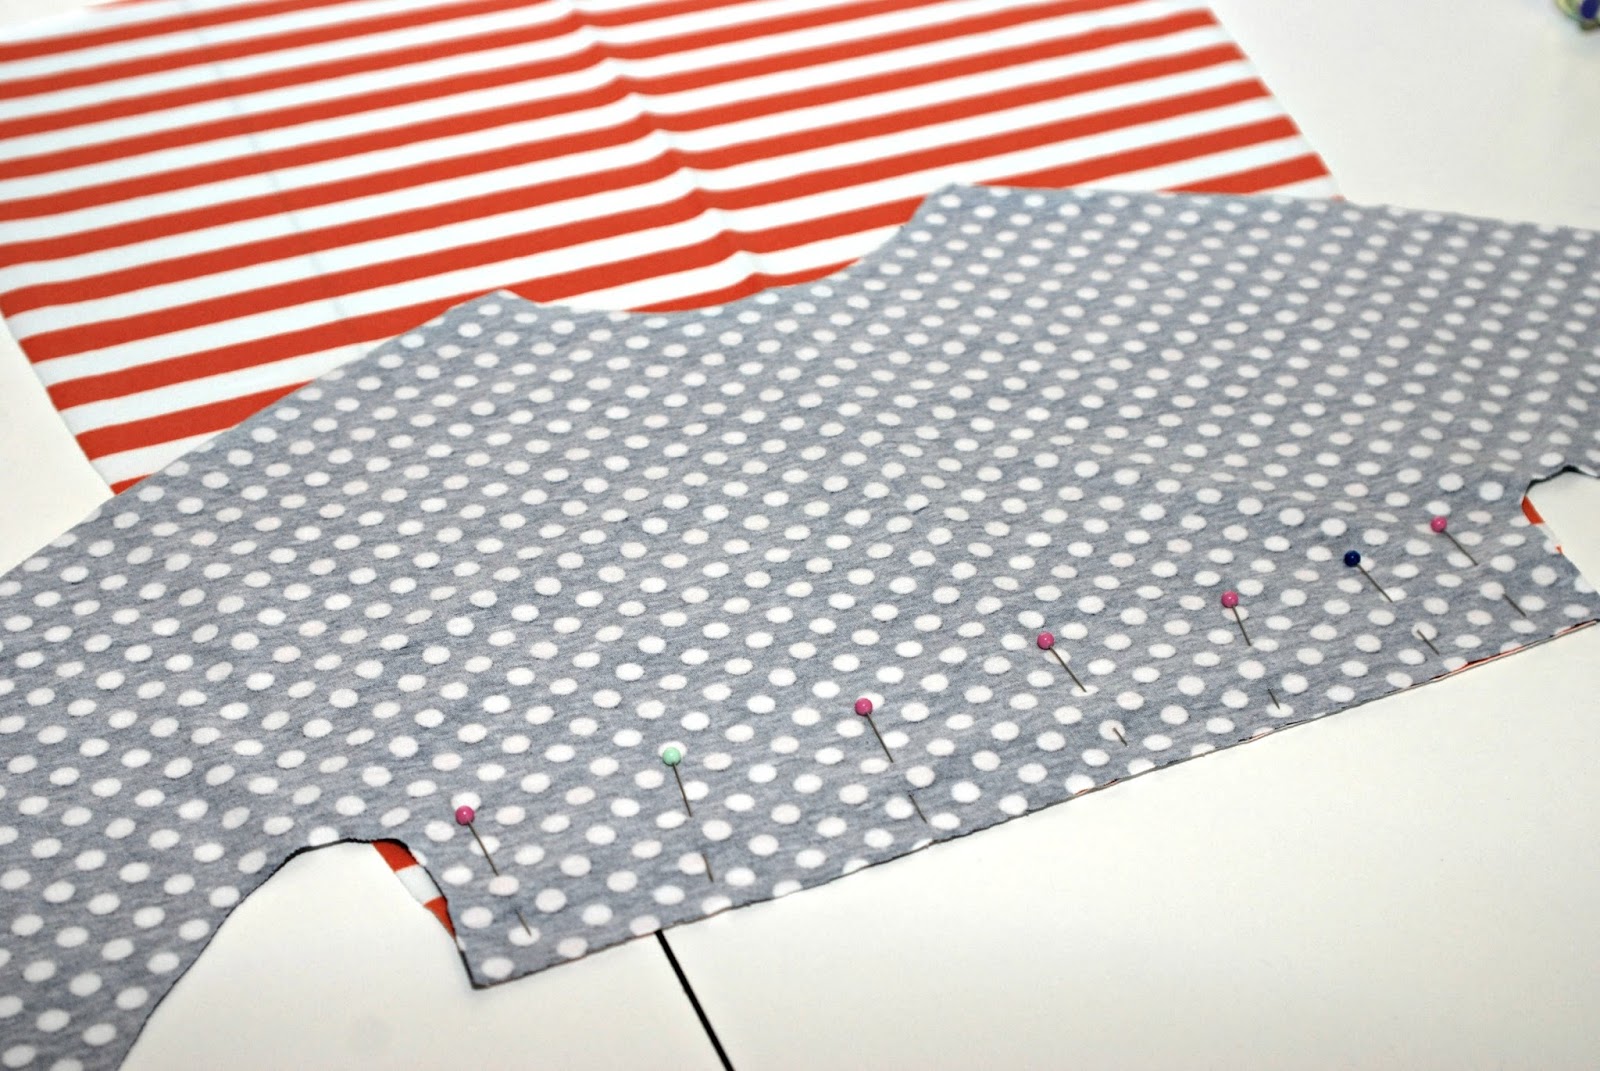
We are starting with our pattern pieces that we transferred onto freezer paper and cut out. You should have something like this or two solid pieces if you aren't doing the empire waist.

Embellish
Our first step is to embellish the garment. The only embellishment I am doing is a ruffled hem but there are many options here. This dress is perfect for embroidery or appliqué, especially if you are making a halloween outfit! A pumpkin appliqué would be so cute! But really, go crazy here, whatever you can think of to make it fun. If you are not ruffling, skip ahead to the "empire waist section". If you would like to add your ruffle, continue to the next step.
Ruffling
So let's talk ruffling. First decide if you want your ruffle to have a hem or be left raw(it won't fray so it isn't absolutely necessary to have a hem). I am leaving my hem with a raw edge.
Make sure you have reviewed my tips on sewing with knits so you are all caught up and ready to sew. You must set your tension and stitch length to the greatest amount and stitch the top edge of your ruffle piece. The measurements for your ruffle are found on page 6, figure 11 of your pattern book. You can see in the picture that I have decreased the amount of pressure in my presser foot and ruffled my fabric.

I like to go ahead and add my ruffle to the main fabric so that the sides can be matched and sewn up easily at the end. You will need to determine the length of your ruffle by measuring it out to the same length as your front and back pieces.

Let's pin that baby onto our skirt front and back pieces. Look at all those pins I have used, this makes it much easier in the long run because there will be less slippage of the fabric. I know you probably hate using pins but it really helps me to be a happier person in the end!

Time to take it over to the sewing table to attach your ruffle (make sure you adjusted your tension and stitch length back to the appropriate settings). Use your lightening bolt stitch or a twin needle to attach the ruffle (from here on out I will be using a twin needle). You don't have to finish your seams but I went ahead and serged my edges. You can also use the serger for construction instead of using the sewing machine, I prefer to sew first then serge....I know, I like to make things hard on myself! You can also just use a zigzag stitch or take pinking shears to the edges.

Empire Waist
If you are making an empire waist we are ready to talk turkey, if you are not making the empire waist skip ahead to "right shoulder seam". I mentioned earlier that using tons of pins is essential! Really, you will save yourself frustration if you use more pins than you would typically use. It's worth the extra effort so you aren't pulling your hair out! Pin your bodice front to your skirt front and repeat for the back bodice and skirt pieces.
Back to that machine to sew your pieces together and serge or finish your edge however you desire. (Remember, you can just use a zigzag stitch or take pinking shears to the edges instead of serging.) Iron your edge up toward the bodice so we can topstitch. Topstitch your dress on both the front and back where your bodice and skirt meet. I like to topstitch on the bodice since we ironed the edge up toward the bodice.

Right Shoulder Seam
We are now moving on to the right shoulder seam. We are only sewing the right shoulder at this time, this allows us to attach the neck binding later. I hope you transferred the markings from the pattern because we need to line those little triangles up just to be sure we get the seam in the right place.

Here are my pins again, use them like there is no tomorrow! You can also add seam binding, twill tape or skinny ribbon to your shoulder seams to be sure they don't stretch out with wear. Just add them right where I have my pins, lining up with the edge and sew all together. Fun tip!

Here is the long sleeve version pinned.

Head back over to your machine and attach the shoulder seams. You can see my twin stitching below.

Now head over to your serger and serge the seam (or however you prefer to finish). Are you getting your exercise today or what??? My machines are across the room from each other, maybe I should consider putting them closer together.....

Ok, that's it for today! Whew! Take a break and get a nice cold drink. Let's make sure the rest of our friends have a chance to catch up with us and we'll start back right here in a couple of days. Please let me know if you have questions or have a different method than mine. (Our Facebook Sew-Along group can be found here.) See you again soon!
Happy sewing!
XOXO,
Kara
Here's what you have to look forward to!


No comments:
Post a Comment