Showing posts with label Sew-Along Project #15. Show all posts

Wednesday, July 16, 2014

Sew-Along #15 - Sketchbook Shirt + Shorts - Lesson #6

The Sketchbook Shirt + Shorts

If you have any questions, suggestions, or tips to share; please make sure to post them on our Facebook group.

Note: If you would like to see any of the images larger just click on them.  

Please read the directions in your Sketchbook pattern all the way through before you begin.  It's also a good idea to read through this sew-along lesson before starting.

Making SHORTS!:
  • Leave one pant leg INSIDE out and turn the other leg RIGHTSIDE out.
  • Place the RIGHTSIDE out leg inside the INSIDE out leg, matching them up along the crotch.
  • Pin together making sure to match up the inseams of the pants.

  • Sew along the curve - make sure to plant your needle and pivot at the marked dot at the bottom of the front fly.
  • Sew a second line of stitching on top of the first from the dot at the bottom for the fly to the double notches in the back - this will reinforce the crotch and prevent the stitches from ripping out.
  • Using a ruler or stright edge, draw a line connecting the dot at the crotch up to the notch at the top of the pants.

  • Stitch along this line, making sure to back stitch at the dot.

  • Clip the SA from the bottom of the fly up to the dot.

  • Finish the edges of the SA with a serger or zig zag.

  • Press the fly and SA to the wearers left side for boys (press to the right for girls if wanted).
  • Run a basting stitch along the top of the fly to hold it in place.

  • Top stitch along your fly - I work from the wrong side so that I can follow the stitching line.  If you work from the right side, use a marking tool to draw your stitching line and then sew along the line.

  • Press the hem of the shorts 1/2" to the wrong side.

  • Press again 1 inch to the wrong side.

  • Stitch your hem along the inside folded edge - you could also use an invisible stitch or do a running or whip stitch by hand.

Waist Band:
  • Take your waist band and match the short ends, right side together.

  • Sew.
  • Press your seam open.
  • Fold one raw edge 1/2 inch down to the wrong side and press.

  • Match the unfolded edge of the waistband to your shorts, right sides together (make sure to match up your markings and the seam on the waistband matches the back seam on the shorts.)

  • Sew together.

  • Press your seam allowance up toward the band.
  • Fold your waist band over so that your folded edge overlaps the seam slightly, pin in place.

  • Sew the waist band and shorts together by stitching in the ditch, leaving a 2 inch opening for your elastic:  If you want to do a flat front, like I have done, sew from the pleat on one side around to the pleat on the other side.

  • Take your elastic (I love that Whimsical Fabric kits always include the notions you need like elastic or interfacing!)  and cut a length approximately 2-3 inches smaller than your child's waist.  *My one pet peeve with O&S is that they do not include elastic measurements. You can always use the recommendation from another pants pattern you have, or cut it a bit long and then fit it to your child.

  • You are going to feed your elastic through the opening left in the front between the two belt loops.  Attach a safety pin to one end and push it through.  Once you have it threaded through, stitch your ends together. 

  • For the flat front, you will stitch each end of the elastic to your waistband by sewing straight up from the pleat seam - this will give one continuous seam.  Then stitch across the front opening so that the entire waist band is secured. Press well.

     Wohoooo - You made the Shorts!!!
Now your outfit is done, put it on your child and snap some pictures so that I can see - I love seeing what people get to create!!!


* If you would like to enter the prize drawing, please make sure you submit a picture of your completed Lesson 5 to the Facebook Album by 12:00 noon CT, Friday, July 18th.

Suzanne

Tuesday, July 15, 2014

Sew-Along #15 - Sketchbook Shirt + Shorts - Lesson #5

The Sketchbook Shirt + Shorts

If you have any questions, suggestions, or tips to share; please make sure to post them on our Facebook group.

Note: If you would like to see any of the images larger just click on them.  

Please read the directions in your Sketchbook pattern all the way through before you begin.  It's also a good idea to read through this sew-along lesson before starting.

We have a shirt, now we need some shorts!  Compared to the shirt, these are quite easy, I promise you.  And if you have sewed along with me on the Field Trip Cargo Pants, many techniques will be the same.

Lay out all your shorts pieces, turn on that iron, and let's get going...


Front Pockets
  • Line up the curve of your front Pocket with the curve of your front pants piece - make sure Your fabric is RIGHT sides together.

  • Pin in place.
  • Sew along the curve from edge to edge with a 1/2" SA (seam allowance), back stitching at each end.

  • Cut your SA to 1/4".

  • Press your seam allowance towards the pocket.
  • Flip the fabric so that your pieces are now WRONG sides together and press the curve of the pocket.

  • Top stitch along the pocket edge.

  • You can add a 2nd line of top stitching 1/4" from the edge if you would like.
  • Take your pocket and lay it out so that the curved edges of the pocket and pocket lining match. 

  • Pin in place.

     
  • Stitch along the curved edge of your pocket.

  • Finish the seam.
    Do not baste in place yet!

Front Pleats
  • Make sure your markings are transferred form your pattern piece to your shorts front.

  • Fold the shorts right sides together so that the marking match.

  • Pin in place.
  • Sew your pleat.  Make sure to back tack at the end.

  • Press the pleat toward the pocket.
  • Using a basting stitch, secure your pocket to the front piece along the top edge and side below the curve. (Make sure that the pocket overlaps the pleat if there is any overlap in your size.)

Leg Assembly
  • Pin the out seam of your shorts together (one front, one back), right sides together.

  • Sew.
  • Finish your seam with a serger or zig zag stitch.

  • Press the seam.

  • Repeat on the other leg.
  • Finish the raw edges of each inseam with a serger or zig zag.

  • Sew the inseam together, right sides together.

  • Repeat on the other leg.
  • Press the seam open.

That's it for today - come back tomorrow to complete your shorts!!!

* If you would like to enter the prize drawing, please make sure you submit a picture of your completed Lesson 5 to the Facebook Album by 12:00 noon CT, Thursday, July 17th.

Suzanne

Sunday, July 13, 2014

Sew-Along #15 - Sketchbook Shirt + Shorts - Lesson #4

The Sketchbook Shirt + Shorts

If you have any questions, suggestions, or tips to share; please make sure to post them on our Facebook group.

Note: If you would like to see any of the images larger just click on them.  

Please read the directions in your Sketchbook pattern all the way through before you begin.  It's also a good idea to read through this sew-along lesson before starting.

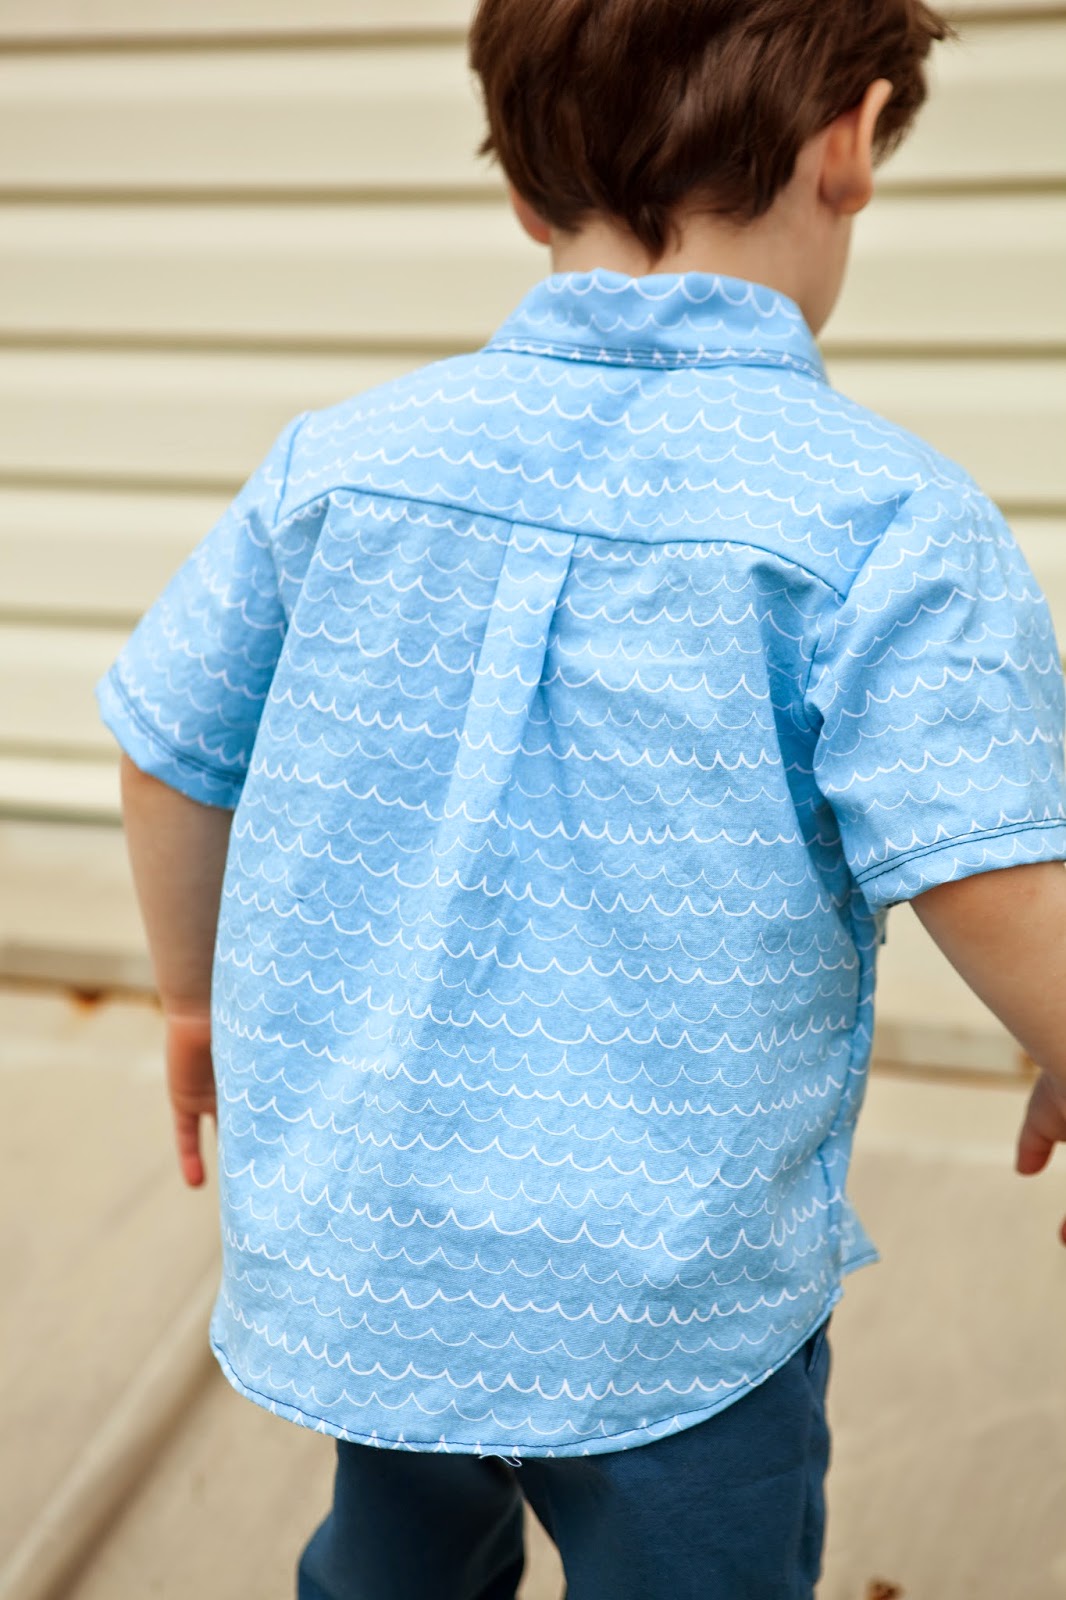
Today we will finish our shirt - WAAHOOOOOOO!

Press your sleeve hem:
*This is out of order from the instructions, but way easier to do right now.*
  • Turn the raw edge of your sleeve in toward the wrong side 1/2".
  • Press well.
  • Turn it in to the wrong side again, this time 1".
  • Press well.
    I did it there way after sewing the side seam but really, it is simpler to do this first.
  • Repeat for the other side.
Side Seam:
  • Line up the side seams of your shirt making sure to match the seam of the armscye.  Make sure to unfold your sleeve hem!

  • Pin together.
  • Sew

  • Finish your raw edges with a serger or zig zag stitch.
  • Repeat for the other side.
  • Hem your sleeves by refolding along your pressed markings.

  • Sew along the inside fold.  I chose to do two rows of stitching for an added detail, that is optional.
Hem
  • Start off by sewing a basting stitch 1/2 inch from the raw edge of the bottom of your shirt.  *This is going to help keep your turned hem smooth along the curves of the shirttail.

  • Press the raw edge up toward the wrong side of the shirt along the basting line.

  • Turn the raw edge down into the fold with your fingers while you edge stitch the hem.  *If you prefer, you can go ahead and press the raw edge down into the fold to make this step easier.

  • Remove your basting stitch.
Almost there, time for BUTTONHOLES!
One of the things I like about this pattern is the inclusion of the button hole guide, no measuring or guessing.
  • Take your button hole guide and make sure you have cut slits in all the markings.

  • Line the guide up with the seam where the collar meets the shirt (boys are left over right - so your button holes need to be on the left placket when worn.)
  • Take a marking pen or chalk and draw a line in each of the markings all the way down (make sure to go from point to point.)

  • Create a button hole on each marking.

  • Open the button hole with a seam ripper (for safety, place a pin at the top edge of your button hole, so that you can't rip into your shirt.)

  • To add the buttons, line the guide up on the opposite placket and mark the center of each button hole marking.
  • Sew on your buttons.
Voila - an awesome oxford shirt!!!

* If you would like to enter the prize drawing, please make sure you submit a picture of your completed Lesson 4 to the Facebook Album by 12:00 noon CT, Wednesday, July 16th.

Suzanne
#navbar-iframe{ display:none !important;}