Thursday, December 4, 2014

Sew-Along #19 - Riley Dress and Dapper Bow Tie + Suspenders - Lesson 4

The Dapper and Riley by Modkid

Today we are going to create the collar for your Riley dress.  Please read the Riley pattern directions all the way through if you haven't already.  It's probably a good idea to read through this lesson before you begin also.

If you would like to see any of the images larger that are posted in this blog, just click on them.  It might be helpful in some steps.  Let's begin now.

A. Creating the Collar  

1. Trace one of your front neck band piece onto your fusible interfacing and cut out.  If you haven't done so already, make sure to transfer the loop marking dots to all of your back neck band fabric pieces.  I didn't do this the first time and ended up attaching the back neck bands backwards.  Oops!  After transferring your marks, trace two of your back neck band pieces (mirrored) onto your fusible interfacing and cut out.

2. Fuse the interfacing the the wrong side of these pieces.

3. I like to carefully press with my iron on the underside and then flip the piece over and iron on the top side to smooth it out.

4. With right sides together, pin 2 of your back neck band pieces to one of your front neck band pieces.  Stitch with a ½" seam allowance.  Repeat for the remaining neck band pieces.

5. Press the seams open on both neck bands.

6. We are going to attach the elastic cord (hair tie if you bought a kit) to the collar.  I like to use Washable Wonder Tape.  If you have this amazing stuff, pull it out and add a small strip to your bottom collar piece at the mark.

7. Now, add your elastic cord right on top of it like so.   If you don't have the tape, pin it in place. 
Note: Regarding the elastic hair ties, make sure to cut it in half only at the weld line.  This is where the hair tie is it's weakest.  Also, they tend to unravel easily.  In the past I've kept them longer than I needed and added a bit of tape to each of the ends.  Then, I just trimmed off the taped edge after securing the elastic.  I didn't have any tape handy here, so just went with it.  But, on the Rosecliff dress I made after this one, I didn't cut my hair tie until after I had stitched it on.  Don't know why I didn't think of that before.  It worked out GREAT!

8. I didn't want to just baste my elastic onto the collar, I wanted to make sure it was really secure.  I have one daughter that likes to test the strength of everything.  I think she is going to be an engineer someday.  Anyway, I decreased my stitch length and stitched back and forth over the elastic and within the seam allowance 3 or 4 times.

9. Pin the two neck bands with right sides together.  Stitch around them according to the diagram in the instruction booklet using a ½" seam allowance.

10.  I trimmed my seam allowance and then clipped my corners and around the entire seam allowance.  Just be careful to not cut through your seam if you trim is short like I did.

11. Turn your collar right sides out and push out your corners.  Press your collar well.

12. You now need to top stitch parallel lines around your collar.  It's called an echo effect. I marked out my stitch points so I stayed on track while sewing.  I'm showing them to you here, on my black collar, because you can see them better.  To make your marks, subtract your ½" seam allowance from the open (outer edge) side.  Then, divide the remaining width of your collar by 3.  Measure this 1/3 amount from the inside seam and mark all the way around.  Then, measure this same 1/3 distance from the first set of marks and mark again.

13. Stitch around your collar following these marks.

B.  Creating the Button

1. We are now going to make our covered buttons.  If you are not using covered buttons, skip down to section C.

2. If you purchased a kit you received a covered button kit.  On the packaging you will see a half circle like below.  Cut it out and then use it to trace a circle onto a scrap piece of fabric.  I normally trace a second circle and double the fabric when making a covered button. It keeps the shiny silver of the button from showing through the weave of the fabric when it's stretched around the button top.  If using a polka dot, like I am below, I would find a fabric that is more neutral for the lining fabric.  Otherwise, you will most likely see the dots on the lining fabric showing through.  You can just use a simple white fabric.  That's what I used.


3. Layer your button fabric with the lining fabric underneath. (Switched up the pictures on you here.)

4. Center the button making base on top of fabric circles. 

5. Carefully flip the whole thing over.

6. Push your button front down into the button making base, being careful not to shift your fabric.

7. Fold the edges of your fabric circles in and place the button back, shank side out, on top of the button.

8.  Using the button pusher, press the button back onto the button front, making sure all of the fabric raw edges are caught between the two. 
Note: I use a pistol grip clamp to snap my backs on.  I must have wimpy fingers because I seriously can't do it without the clamp.  If you are like me, a clamp might help.
 

9. Pop your button out of the base and admire the beautiful button you just created.

C.  Attaching the Button

1. You will be attaching your shank button ½" in from the edge of your collar.  Mark this location with a fabric pen.

2. Thread a needle and knot the end to form a double strand.  I like to use hand quilting thread because it's strong, but regular thread is fine too..  Then, going in from the open side of your collar, thread your needle up between the two layers of fabric.  This will ensure that the knot is hidden inside the collar.

3. Push your needle out at the mark you made and pull it all the way through, burying the knot within the inside of the collar.

4. To secure your knot, push your needle back down through the layers and out the underside of the collar.  

5. Then back up again.  This time you are going to thread your button onto your needle and thread.

6. Back down we go.

7. Now, pull your thread tight to secure your button, but not so tight it distorts your collar fabric.  Push your needle back up through to the front.  Go through your button shank again, and then back down to the underside.  Do this 2 or 3 more times to really secure the button.

8. Next you want to wrap your thread around the button shank and create a little loop.

9.  You then pass your needle through this loop and pull taunt.  Repeat making 2 or 3 more loops and passing your needle through them.

10. Lastly you want to pass your needle through the fabric/thread at the base of your button. 

11. Then, wrap your thread around your needle and pull tight to create a knot.

12. Before cutting your thread pass your needle back down through the inside of your collar and out the open edge.  Cut your thread at the needle and tie a couple of knots so that your thread is secure and your knot is hidden inside the collar.

Wow, it's coming together.  You're in the homestretch!  Make sure to come back tomorrow for the final lesson.

* If you would like to enter the prize drawing, please make sure you submit a picture of your completed lesson four to the Facebook Album by 12:00 noon CT, Monday, December 8th.  Also, if you have any questions the Facebook Group is a great place to ask.

Thanks for sewing with me,
Danielle Storm
www.whimsicalfabric.com

Wednesday, December 3, 2014

Sew-Along #19 - Riley Dress and Dapper Bow Tie + Suspenders - Lesson 3

The Dapper and Riley by Modkid

Please read the Riley pattern directions all the way through if you haven't already.  It's probably a good idea to read through this lesson before you begin also.

If you would like to see any of the images larger that are posted in this blog, just click on them.  It might be helpful in some steps.  Let's begin now.


A. Creating the Ties

1. Grab two of your tie pieces and pin with right side together.  Leave the short end open.

2.  With a ½" seam allowance stitch all three sides of the tie together  Don't forget to leave the short end open for turning. 
Note: When pivoting at the corners you can create a sharper corner if you pivot your fabric 45°.  Then, using your hand wheel, make one stitch across the corner.  This stitch forces the seam allowances into the corner, creating a sharper point.

3. Clip corners, notch hills, and clip valleys.  Do this carefully without clipping any stitches.  Here is a great tutorial explaining why you need to do this.

 4. I also trimmed the seam allowance at the bottom of the ties because it seemed a little too bulky.

 5. Make sure to carefully push out all of the corners.

 6. Then, press well.  Repeat with second set of ties. 

B. Attaching the Ties to the Dress

1. Grab your center front panel.  Pin the ties in place.  Make sure to carefully follow the orientation of the ties shown in the instruction booklet.  I wrote in the seam allowance on my ties "Left" and "Right" so that I would remember.  Your ties should be centered on your notches.

2. Baste in place within the seam allowance.

C. Attaching the Side Panels and Back of Dress

1.  With right sides together, pin your two side panels to the center front panel.  Make sure the loose ends of your ties are not caught up in the seams.  Stitch seams with a ½" seam allowance.

2.  Finish seams with either a zig-zag stitch or by overlocking.

3. Press these seams to the back of the dress.

4. Top stitch both seams.

5. Lay out your dress like so and cross your ties in front so they are out of the way of the side seams.

6. With right sides together lay your dress back on top of the center front panel and side panels.  Pin together being careful to not catch up those ties.  Stitch using a ½" seam allowance.  Finish the seams with either a zig-zag or overlock stitch.

D. Attaching the Sleeves

1.  Fold your sleeve with right sides together and pin.  Follow the diagram in your instruction booklet, pinning from the bottom edge of the sleeve to the sleeve opening.  Stitch together with a ½" seam allowance.  Zig-zag or overlock the seam to finish.  Repeat with the second sleeve.

2. Turn your sleeves right sides out.  Then, lay out one of your sleeve openings like shown below.

3. With right sides together and matching up the underarm seam, top edges, and notches, pin the sleeve to the sleeve opening.  .

4.  Carefully stitch in place with a ½: seam.  Finish with a zig-zag or overlock stitch.  Repeat for the second sleeve.

5.  Press the seams toward the sleeve.  A tailor's ham will help with this.
Your Riley is starting to look like a dress.  Hooray!  Make sure to come back tomorrow for the next lesson.

* If you would like to enter the prize drawing, please make sure you submit a picture of your completed lesson three to the Facebook Album by 12:00 noon CT, Friday, December 5th.  Also, if you have any questions the Facebook Group is a great place to ask.

Thanks for sewing with me,
Danielle Storm
www.whimsicalfabric.com

Monday, December 1, 2014

Sew-Along #19 - Riley Dress and Dapper Bow Tie + Suspenders - Lesson 2

The Dapper and Riley by Modkid

Today we are going to start the Riley Dress.  Please read the Riley pattern directions all the way through before you begin.  It's probably a good idea to read through this lesson before you begin also.

If you would like to see any of the images larger that are posted in this blog, just click on them.  It might be helpful in some steps.  Let's begin now.


A. Tracing the Pattern

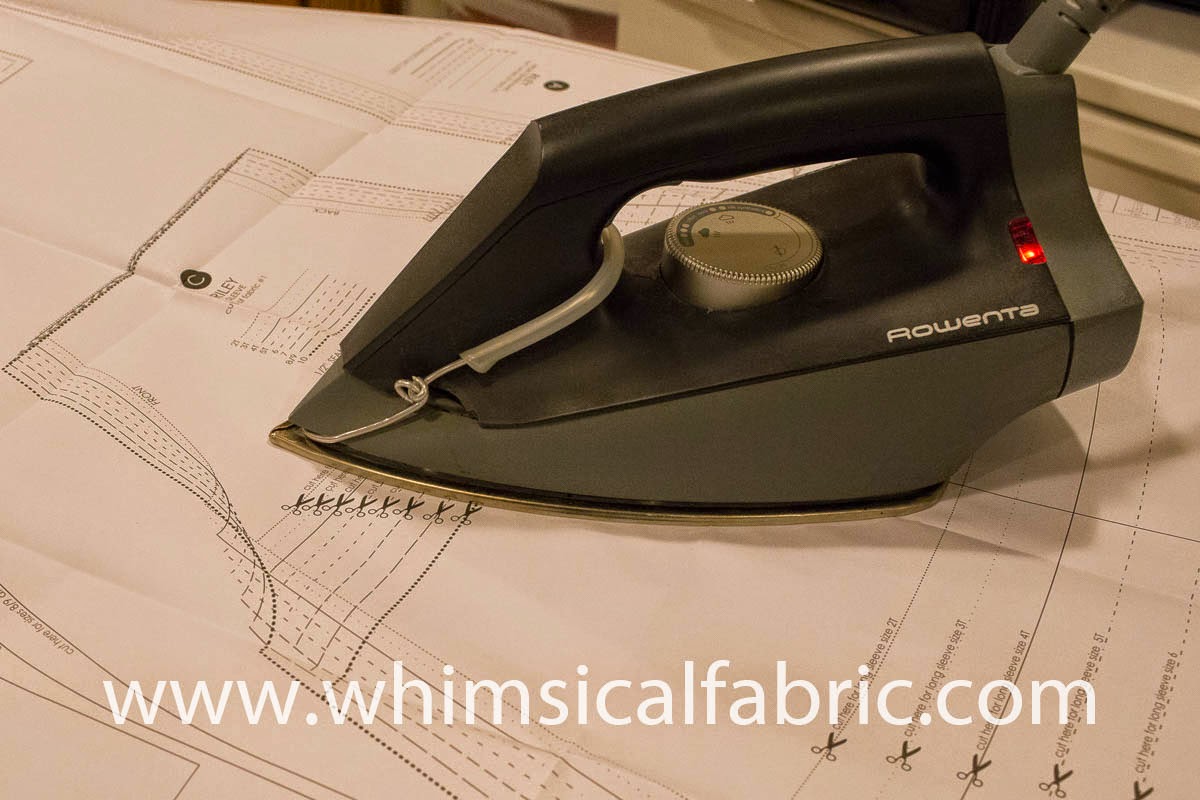
1. Let's start by pulling out our Riley pattern sheets.  I like to iron mine before I begin to make sure they are smooth and flat.

2. Pull out your freezer paper and tear off a length.  Lay it on top of your pattern piece sheet.  I like to use pattern weights to help hold it in place.  Using a Sharpie, trace around the pattern lines.  For straight lines it might help to use a ruler.  Make sure to transfer all your markings and pattern information.

3. Continue to trace all of your pattern pieces onto the freezer paper. When you have finished tracing your pattern pieces, fussy cut around each one.

4. You should end up with a nice stack of freezer paper pattern pieces.  I've got two stacks because I made two different sizes.


B. Cutting Your Fabric

1. Turn to page 3 of pattern directions and begin to lay out your freezer paper pattern pieces according to the layout diagram.  
Note: If you are making a size size 8/9 or size 10 and are using prewashed 44" wide fabric, your pattern pieces will most likely not fit according to the pattern layout shown in the instruction booklet.  If you purchased a kit I have included enough fabric to accommodate for this.  If you did not purchase a kit, hopefully you followed my suggestion and purchased extra fabric.  I will show you how to lay out your pattern pieces for size 8/9 and size 10.
 2. If you purchased a kit, follow the chart below for layout.

Kit Name Fabric #1
Side Panels &
Dress Back
Fabric #2
Center Front Panel

Fabric #3
Ties, Collar, &
Hem/Sleeve Ruffles
Nutcracker Kit
Snowman Kit
Gingerbread
Rosecliff Manor

Navy Damask

3. For size 8/9 and size 10 you will need to stager your pattern pieces like this to be able to fit them on our fabric.  The fabric will most likely be too narrow to fit them side by side.

4. For all other sizes you should be able to fit them side by side like the layout diagram shows in the instruction booklet. 

5. To use your freezer paper pattern pieces you simply lay the paper, shiny side down onto your fabric.  Take your iron and iron over the pattern piece.  DO NOT touch the iron to the glossy side of your freezer paper! It will melt and make a mess of your iron. The freezer paper will temporarily stick to your fabric making it super easy to cut your pieces out.

6. Make sure your pattern piece grainlines are aligned with the grain of the fabric.  This is very important for proper drape of your dress.

7. Once you have ironed on your pattern pieces onto your fabric go ahead and carefully cut them out with shears or a rotary cutter.

8. Now, you can either peel off the freezer pattern pieces or leave them on until tomorrow, when we sew.  The beautify of the freezer patterns is that you can use them over and over.  Next time you are ready to make another Riley dress just pull out your pattern pieces, iron them on your fabric, cut, and go!  How awesome is that?  Don't you just love it?

You are all done with the first lesson of the Riley.  Great job!  Please come back here tomorrow for Lesson #3, the second part of the Riley Dress.

* If you would like to enter the prize drawing, please make sure you submit a picture of your completed lesson two to the Facebook Album by 12:00 noon CT, Thursday, December 4th.  Also, if you have any questions the Facebook Group is a great place to ask.

Thanks for sewing with me,
Danielle Storm
www.whimsicalfabric.com
#navbar-iframe{ display:none !important;}